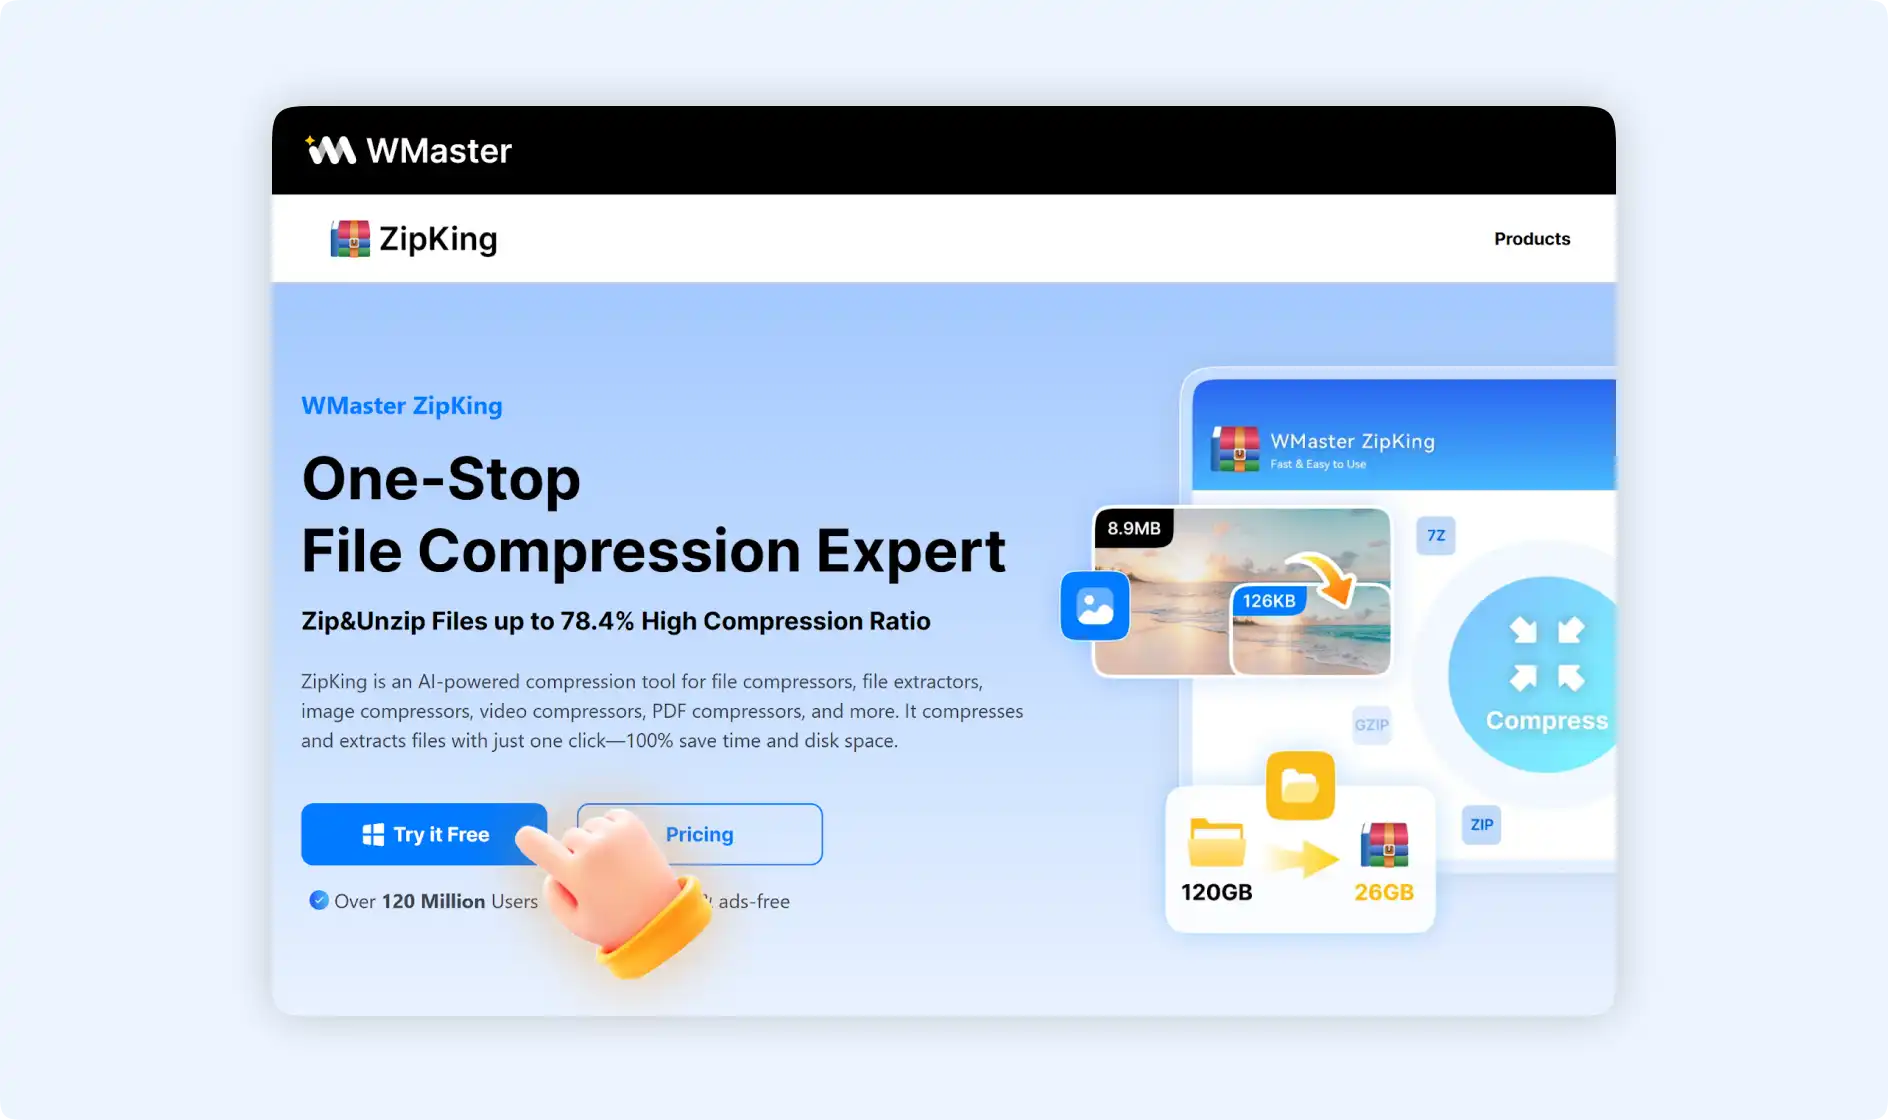
Troubled by bulky Word documents that are stuck in your storage and slow down your file transfer? Try our WMaster ZipKing Word document compressor Now. It can reduce the file size of Word documents effortlessly without losing quality. And it can accelerate your file transfer when sharing Word Files.
How to Compress Word Document by ZipKing
There are 2 ways to compress a Word document with ZipKing, to unlock these 2 features, you need to download and install WMaster ZipKing firstly.
Method 1: Compress Word Document with ZipKing tool
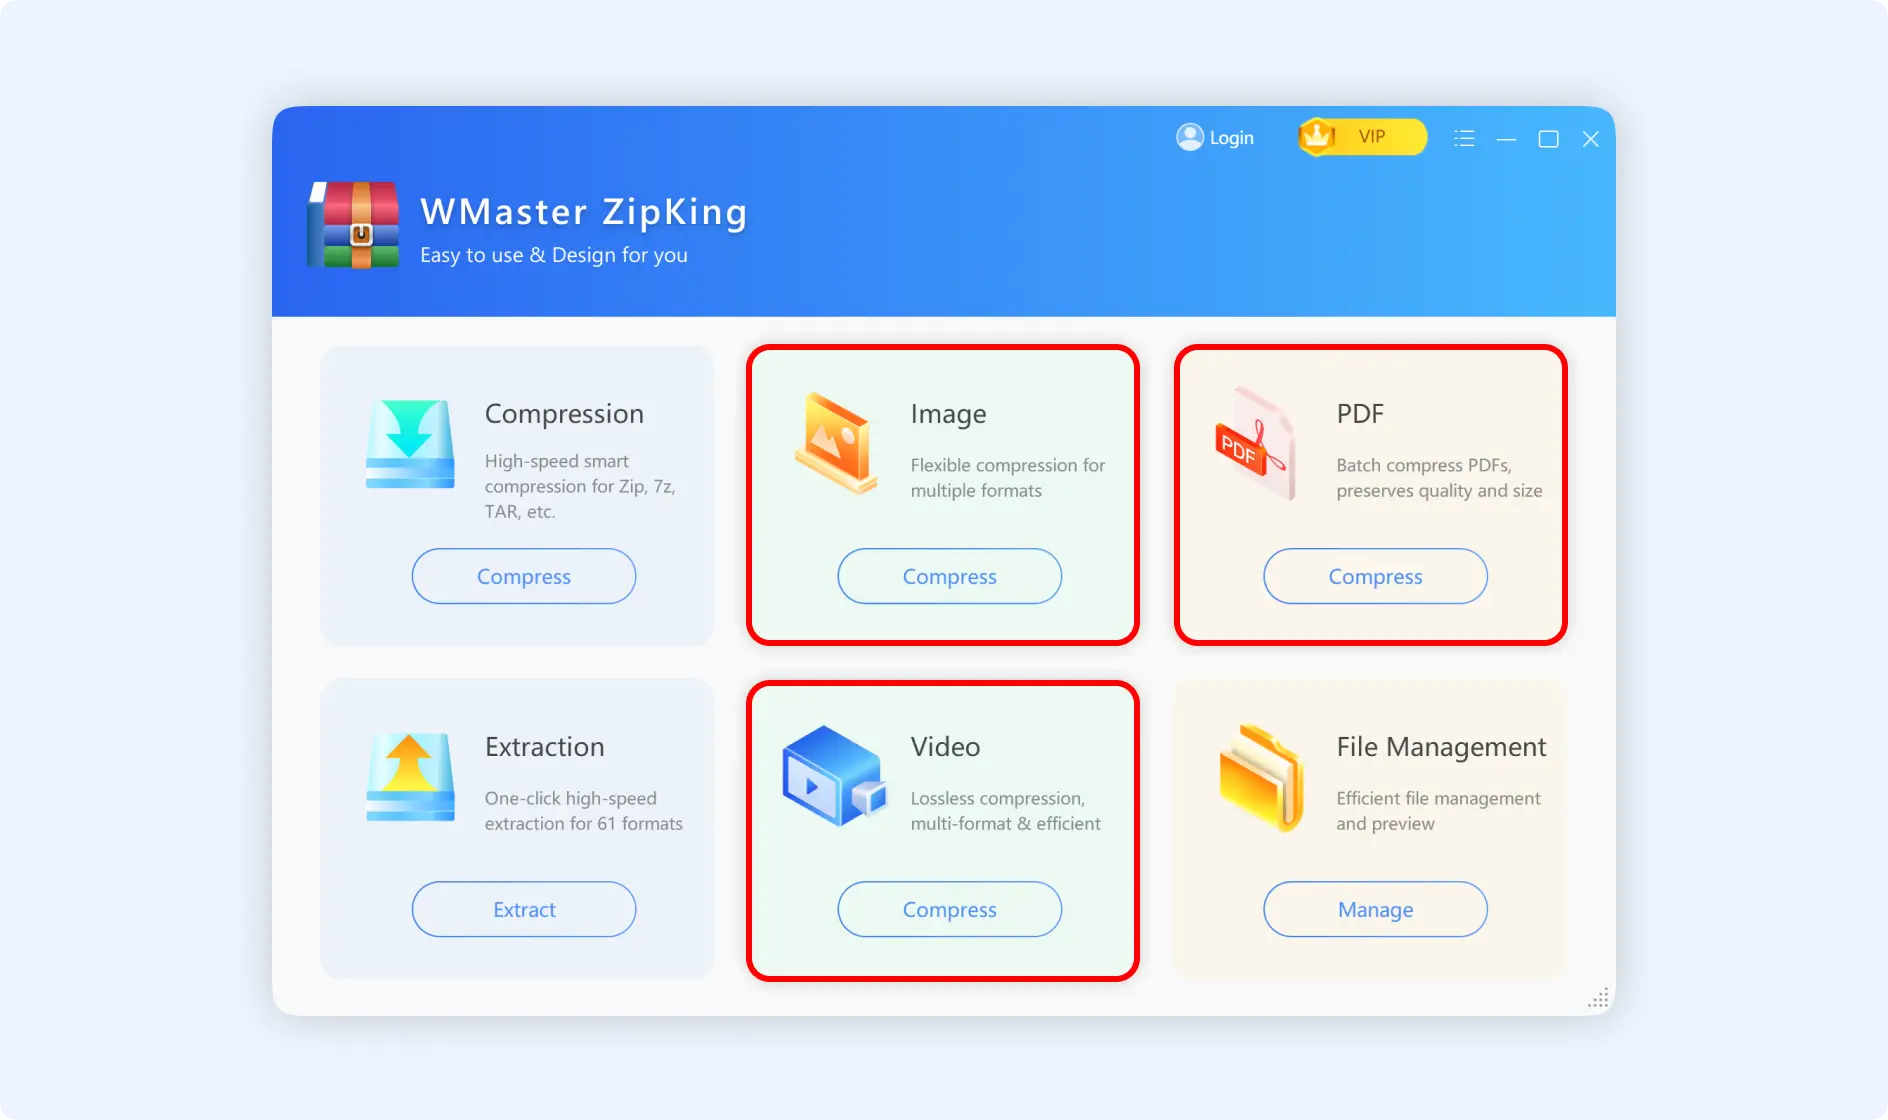
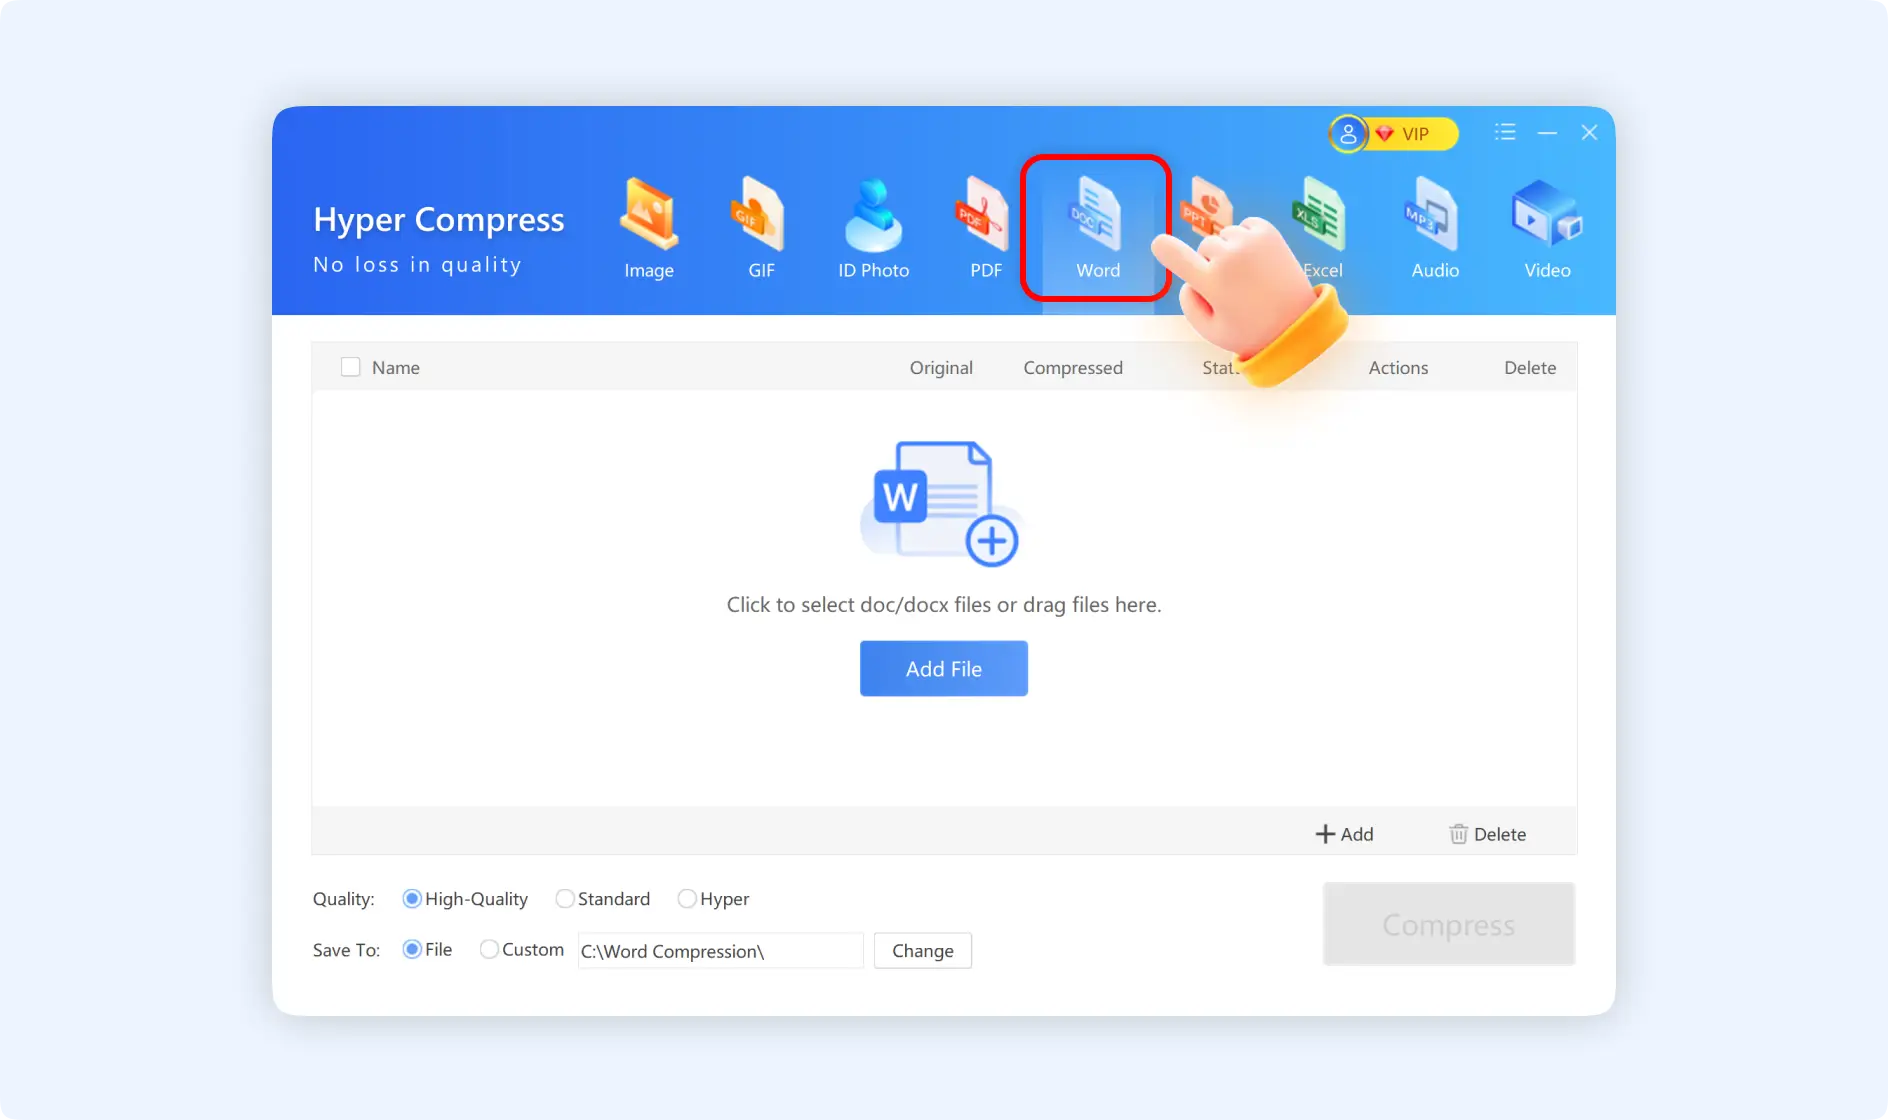
Step 1: Double-click to open ZipKing on your PC. Access to “Word” Hyper Compress interface by clicking one of the three feature panels (Video, Image, and PDF).
Step 2: Click “Add File” or drag and drop the Word document file to the panel. We support the .doc and .docx file formats.
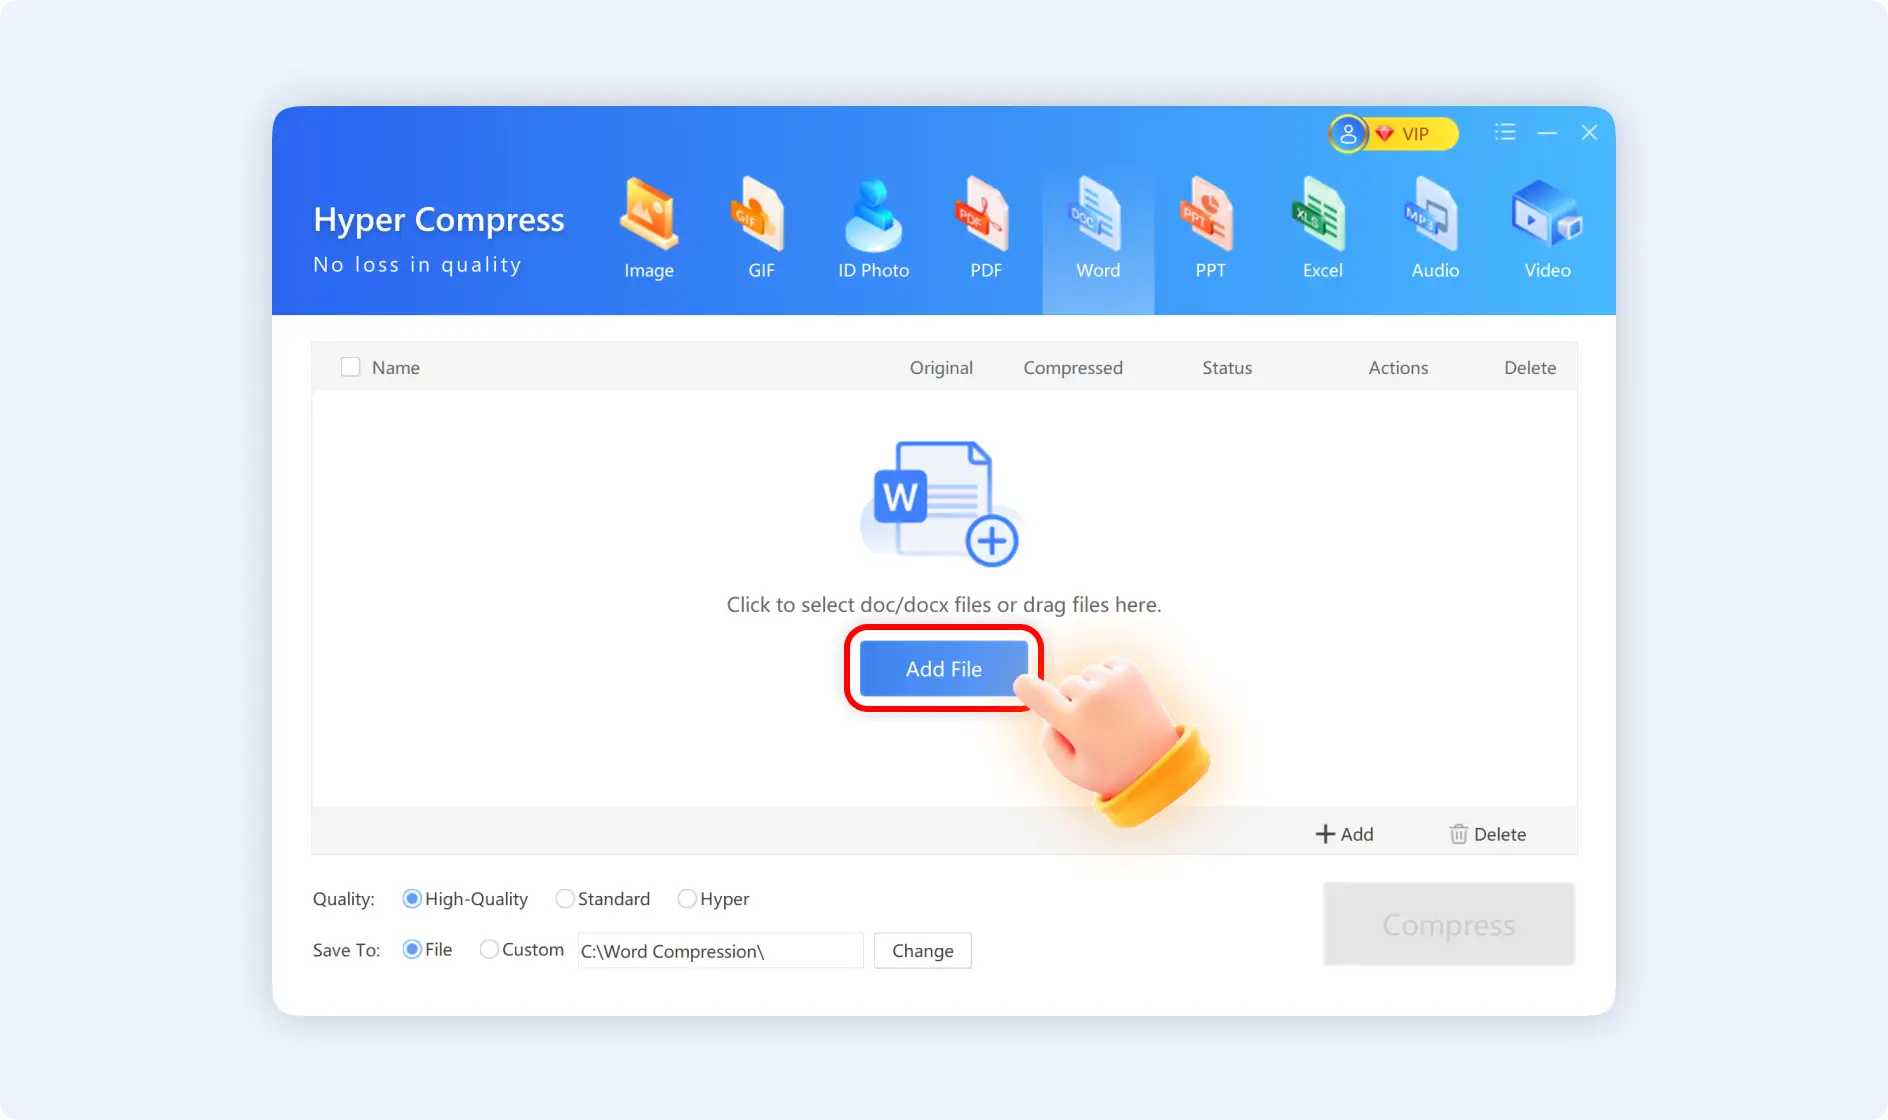
Step 3: Then set the quality option and storage path for your Word document. Finally, click“Compress” to start compressing Word docs.

Method 2: Compress Word Document with ZipKing Right-click Windows
ZipKing provides 3 compression modes for the right-click operation to compress Word documents.
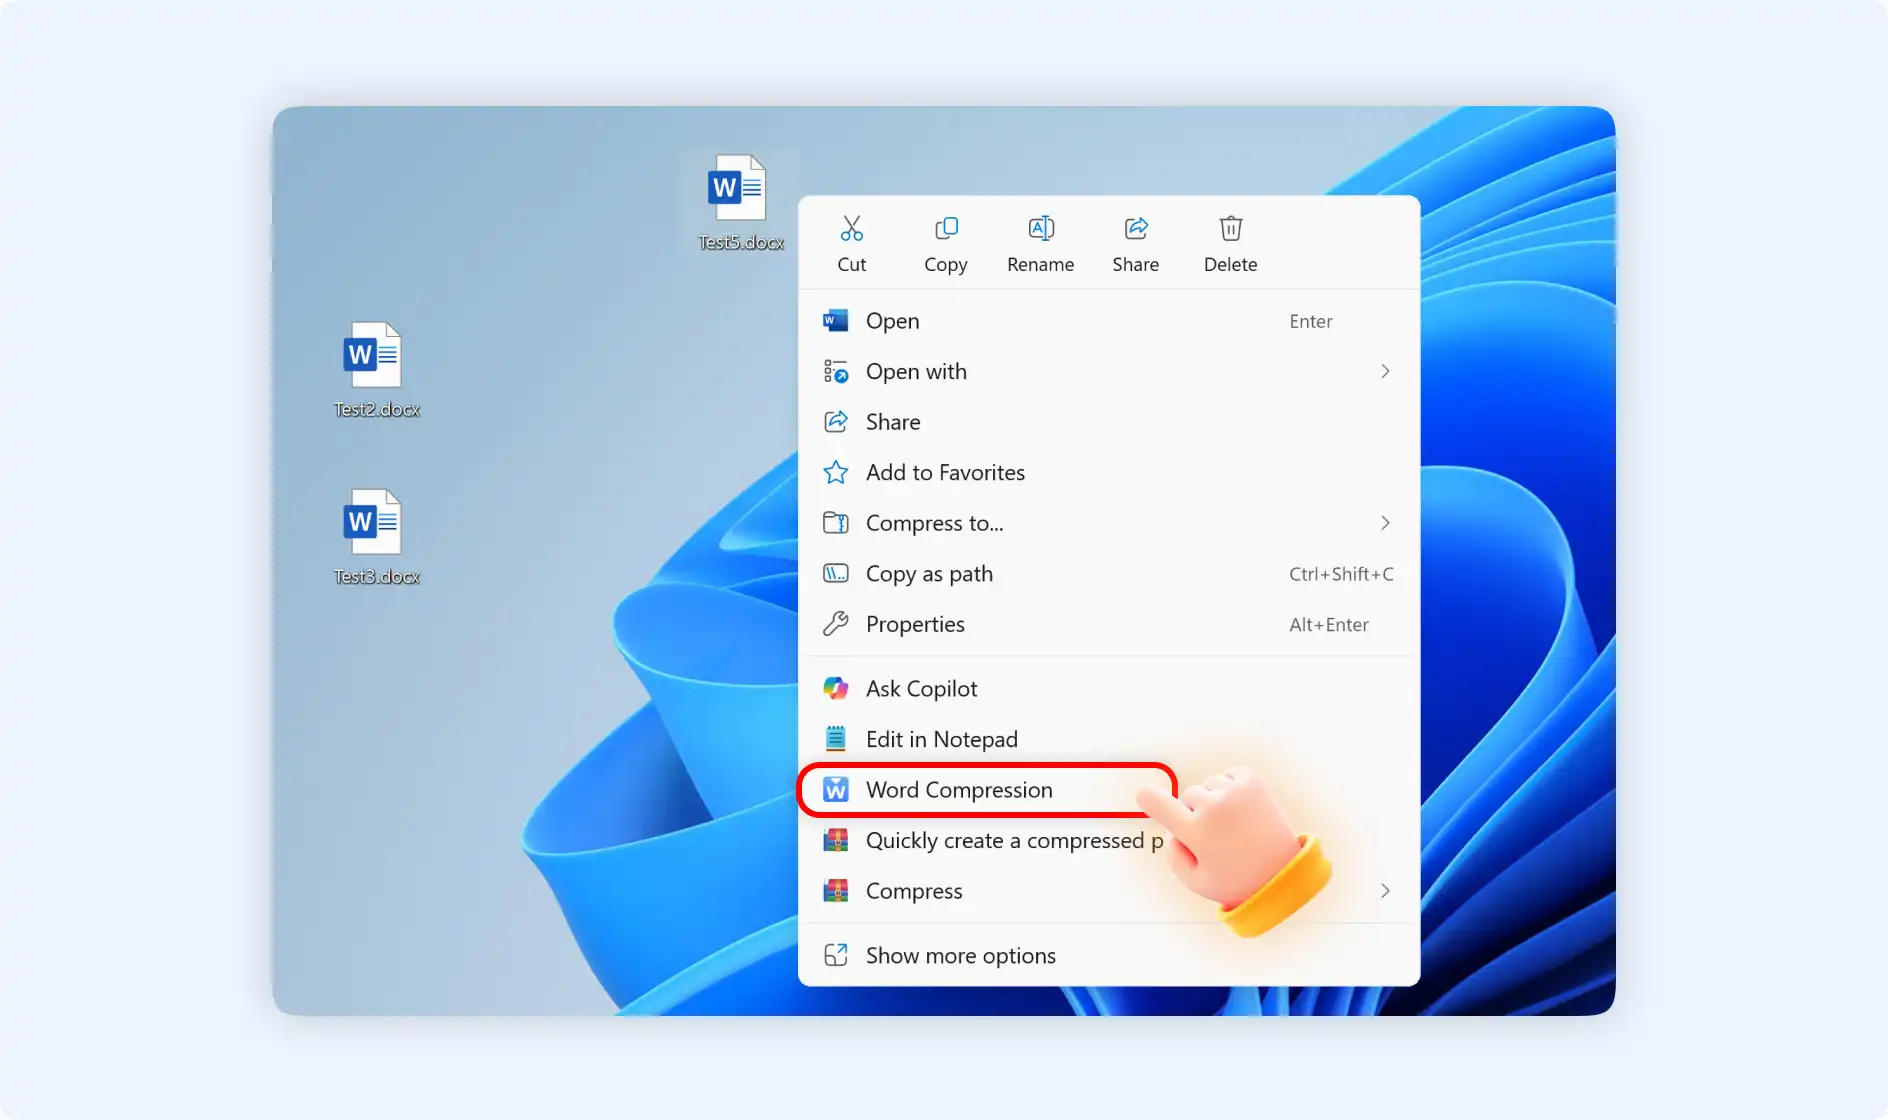
Situation 1: Select "Word Compression"
Step 1: Locate the Word Documents that you need to compress, and right-click to select" Word Compression".
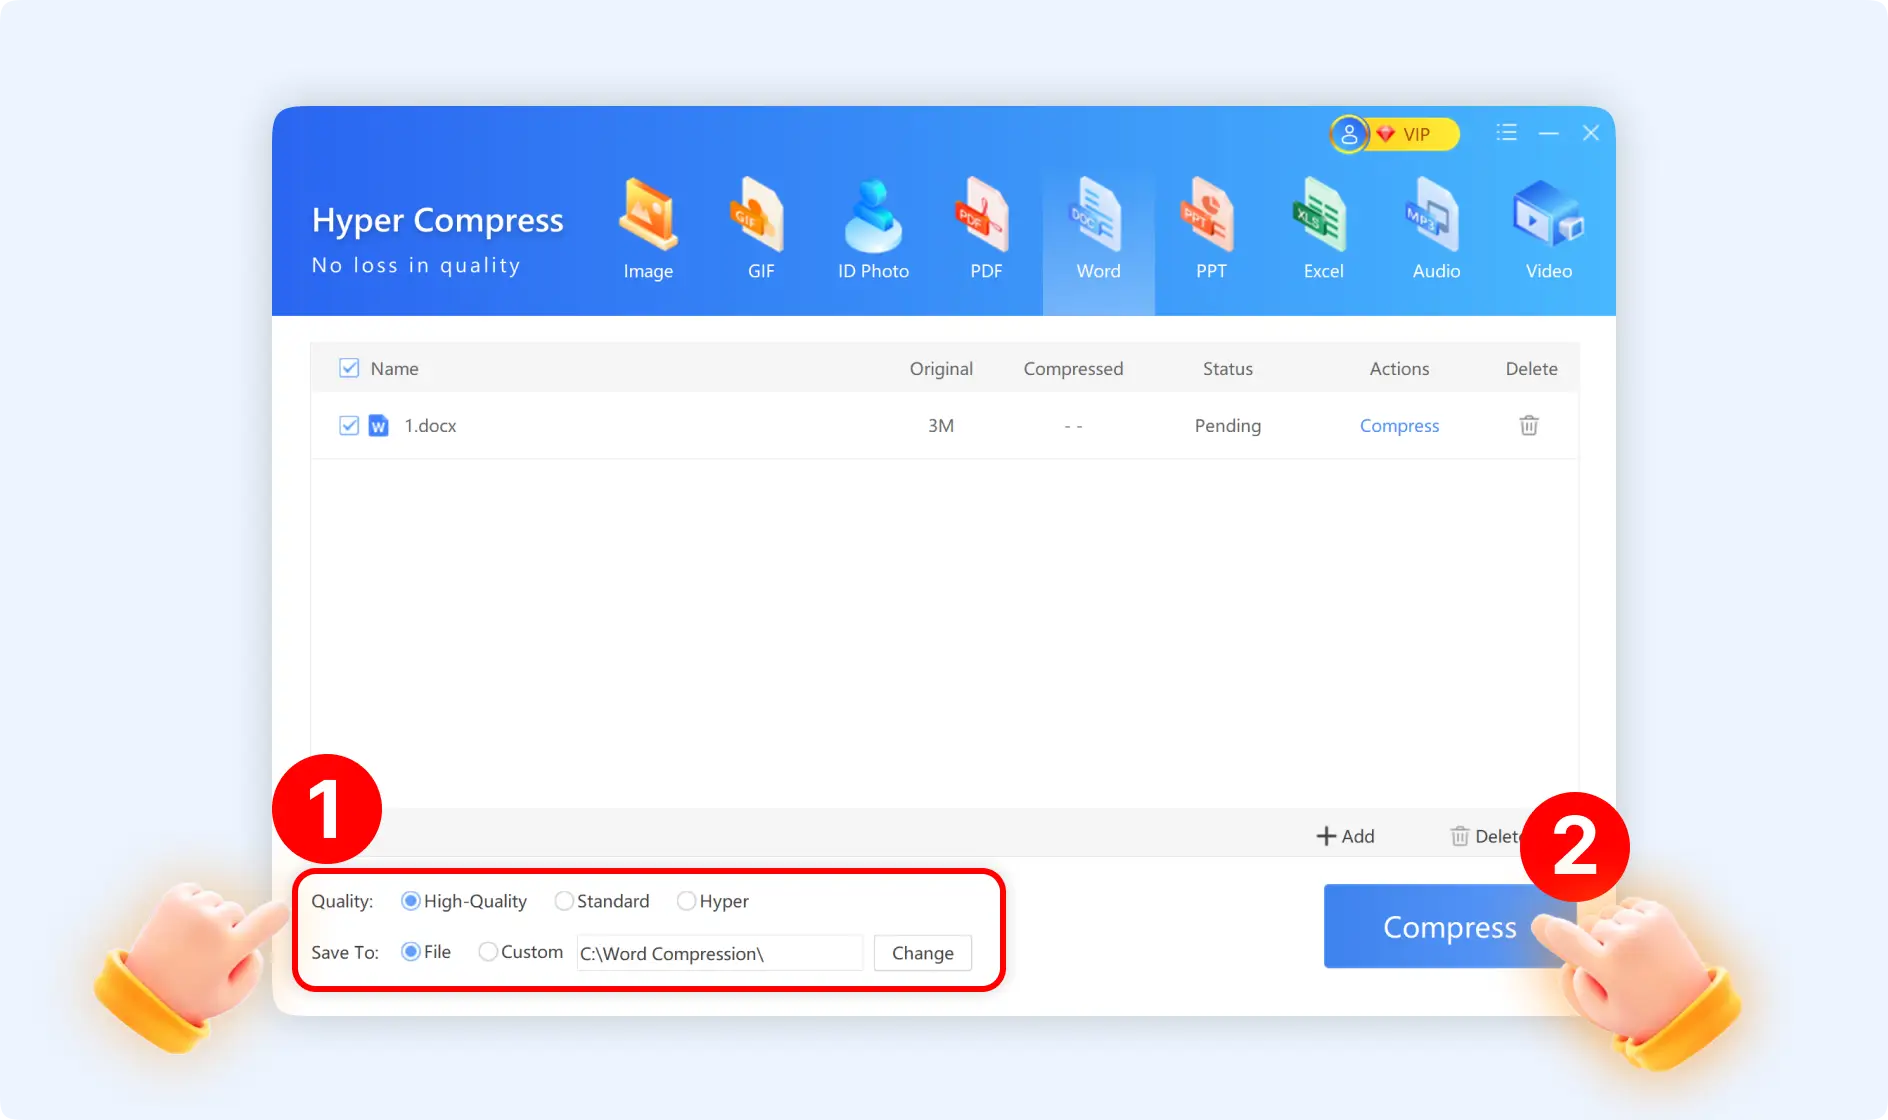
Step 2: After that, it will lead you to enter into "Hyper Compress" for the Word interface. Select your wanted setting then click"Compress".
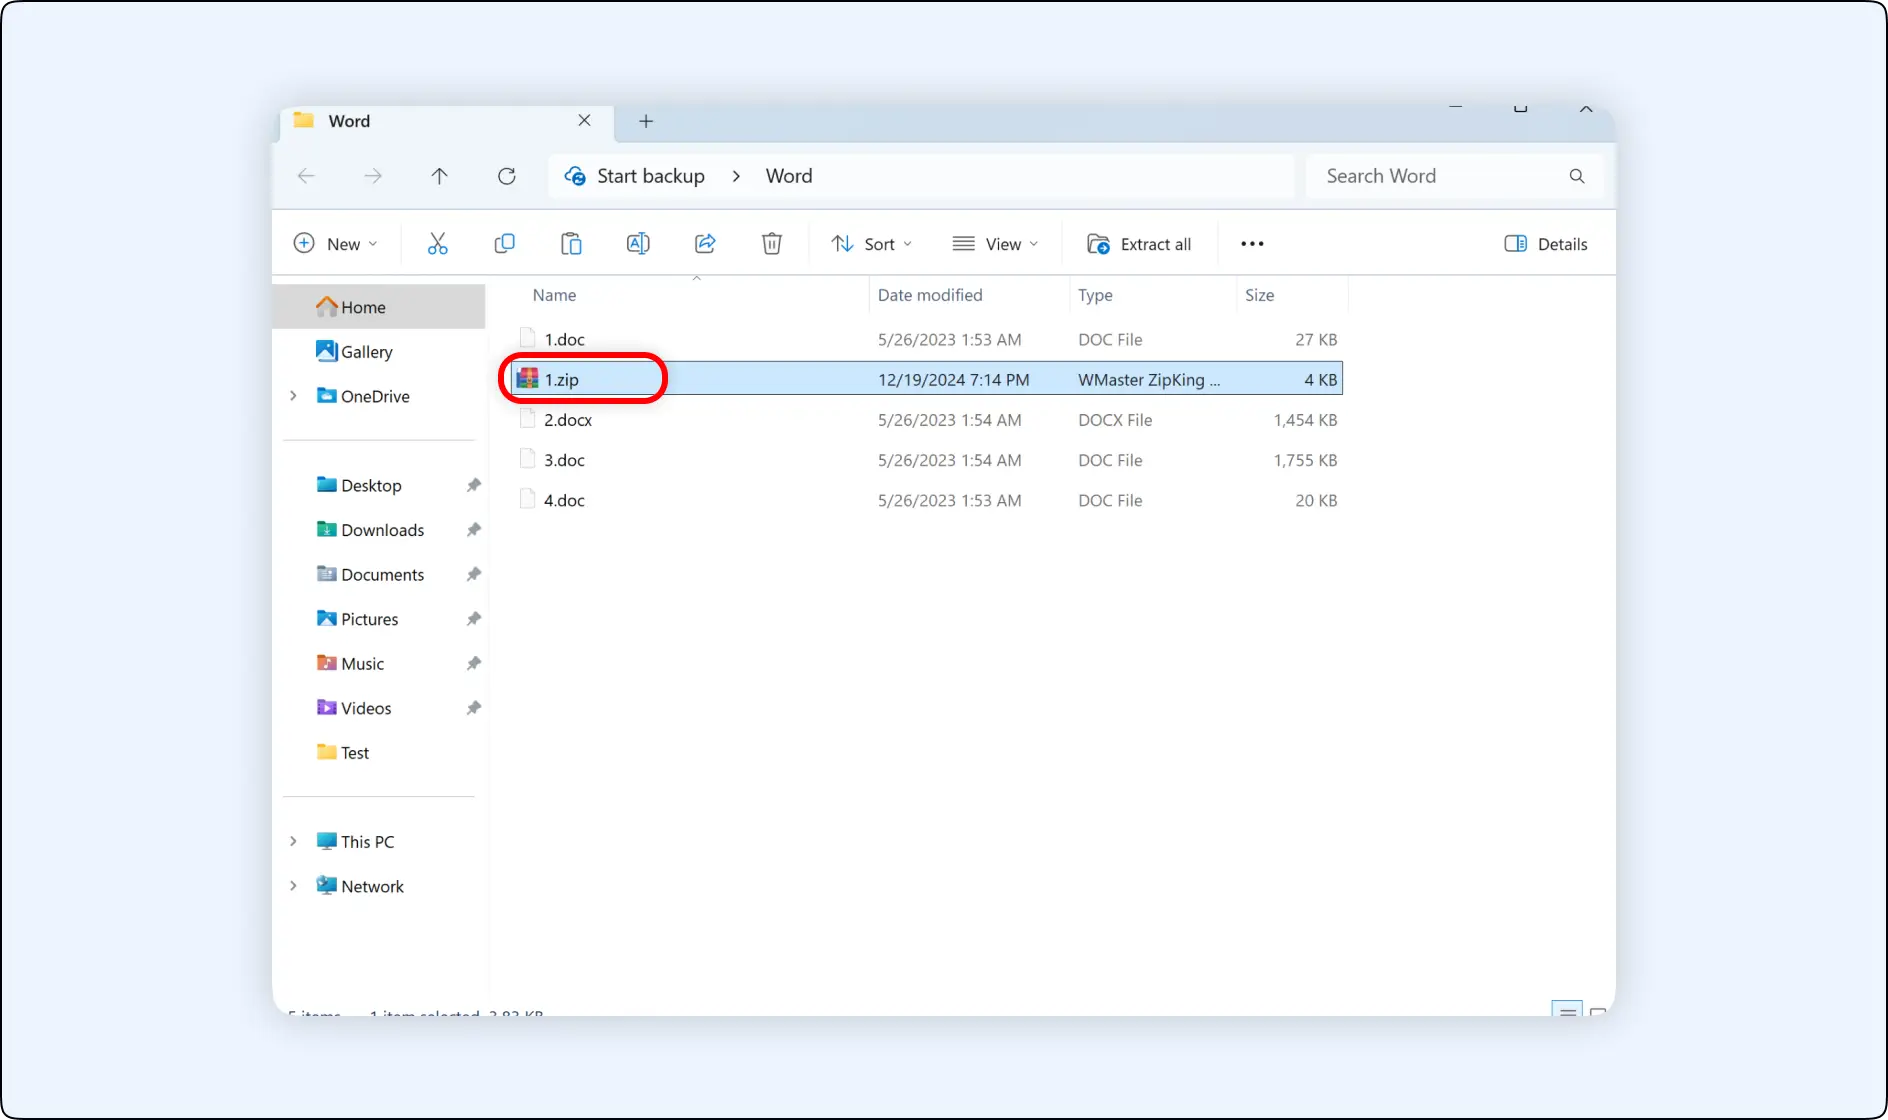
Situation 2: Select"Quickly create a compressed package"
Step 1: Locate the Word documents, right-click to choose"Quickly create a compressed package".
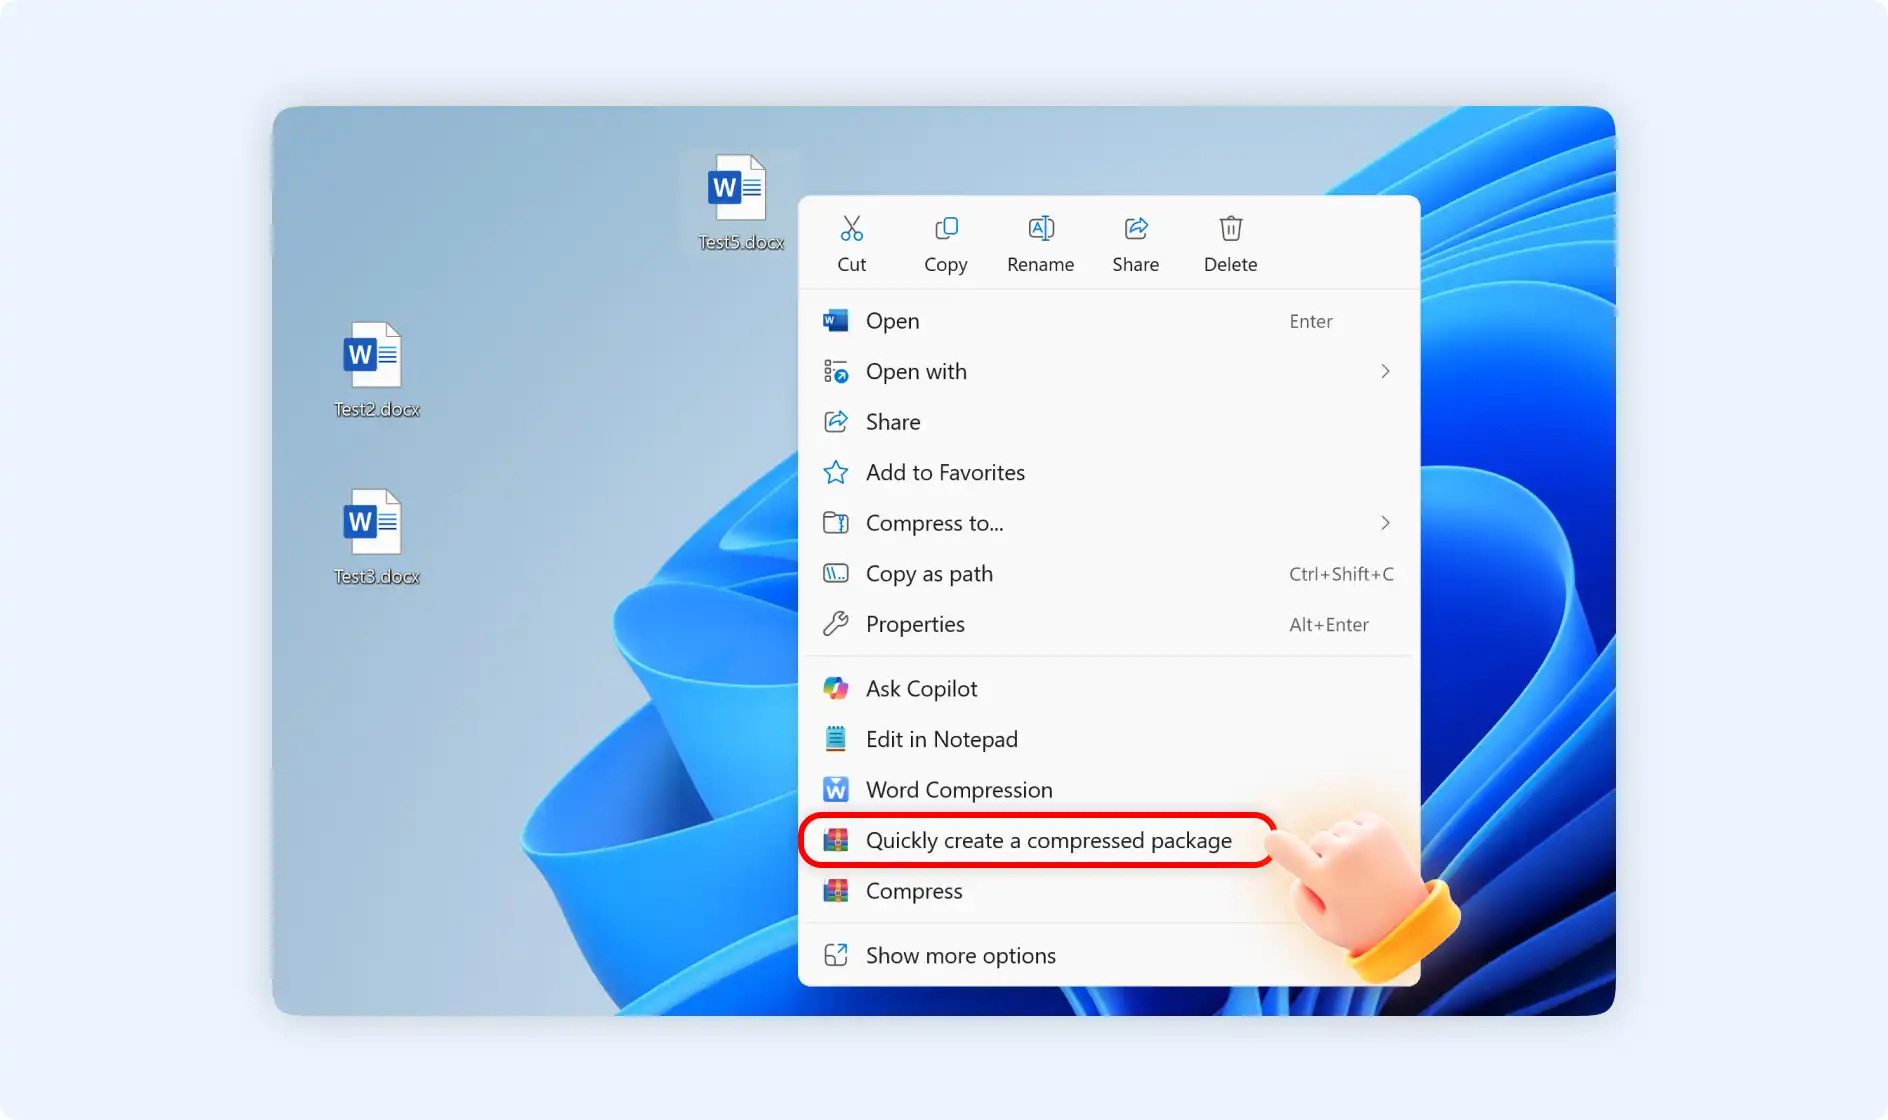
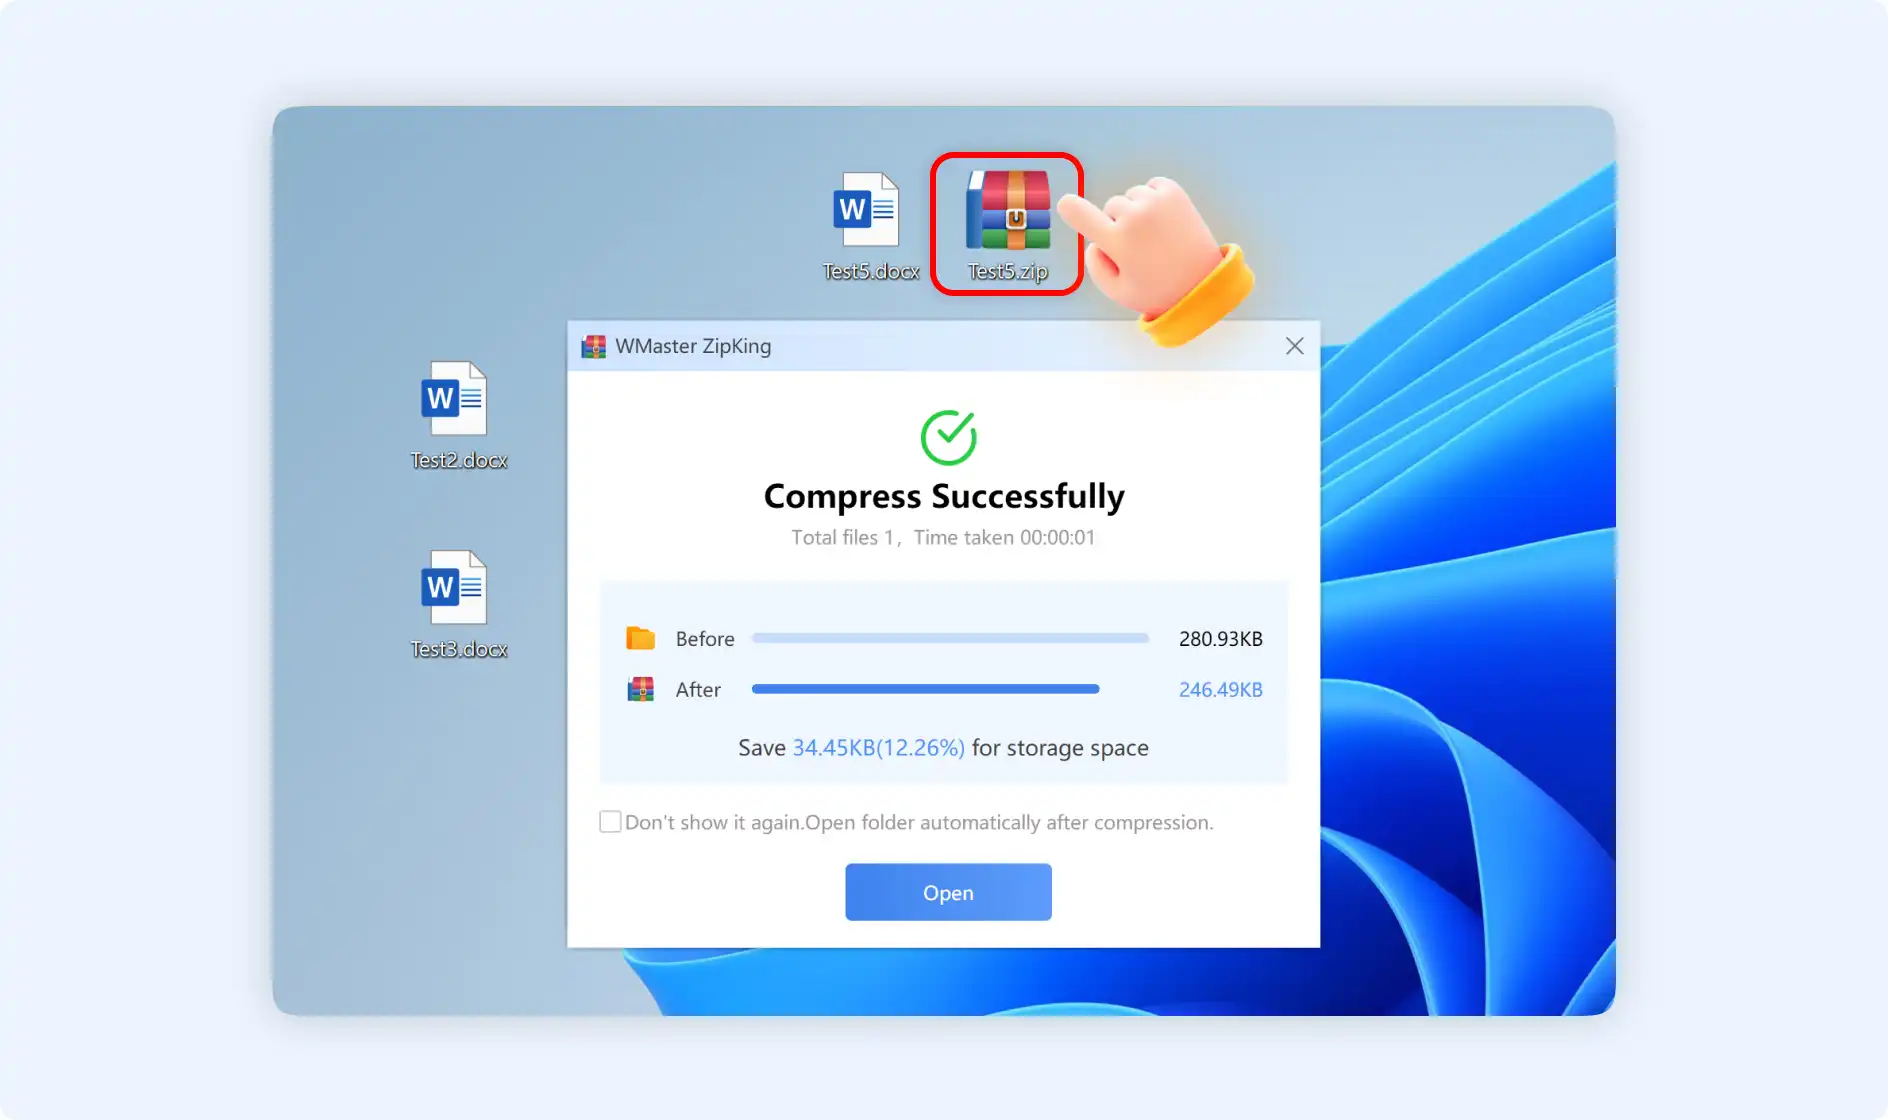
Step 2: Then you will create a direct .zip file to store the compressed Doc files, ZipKing will compress the Word document for you and then open the file destination automatically.
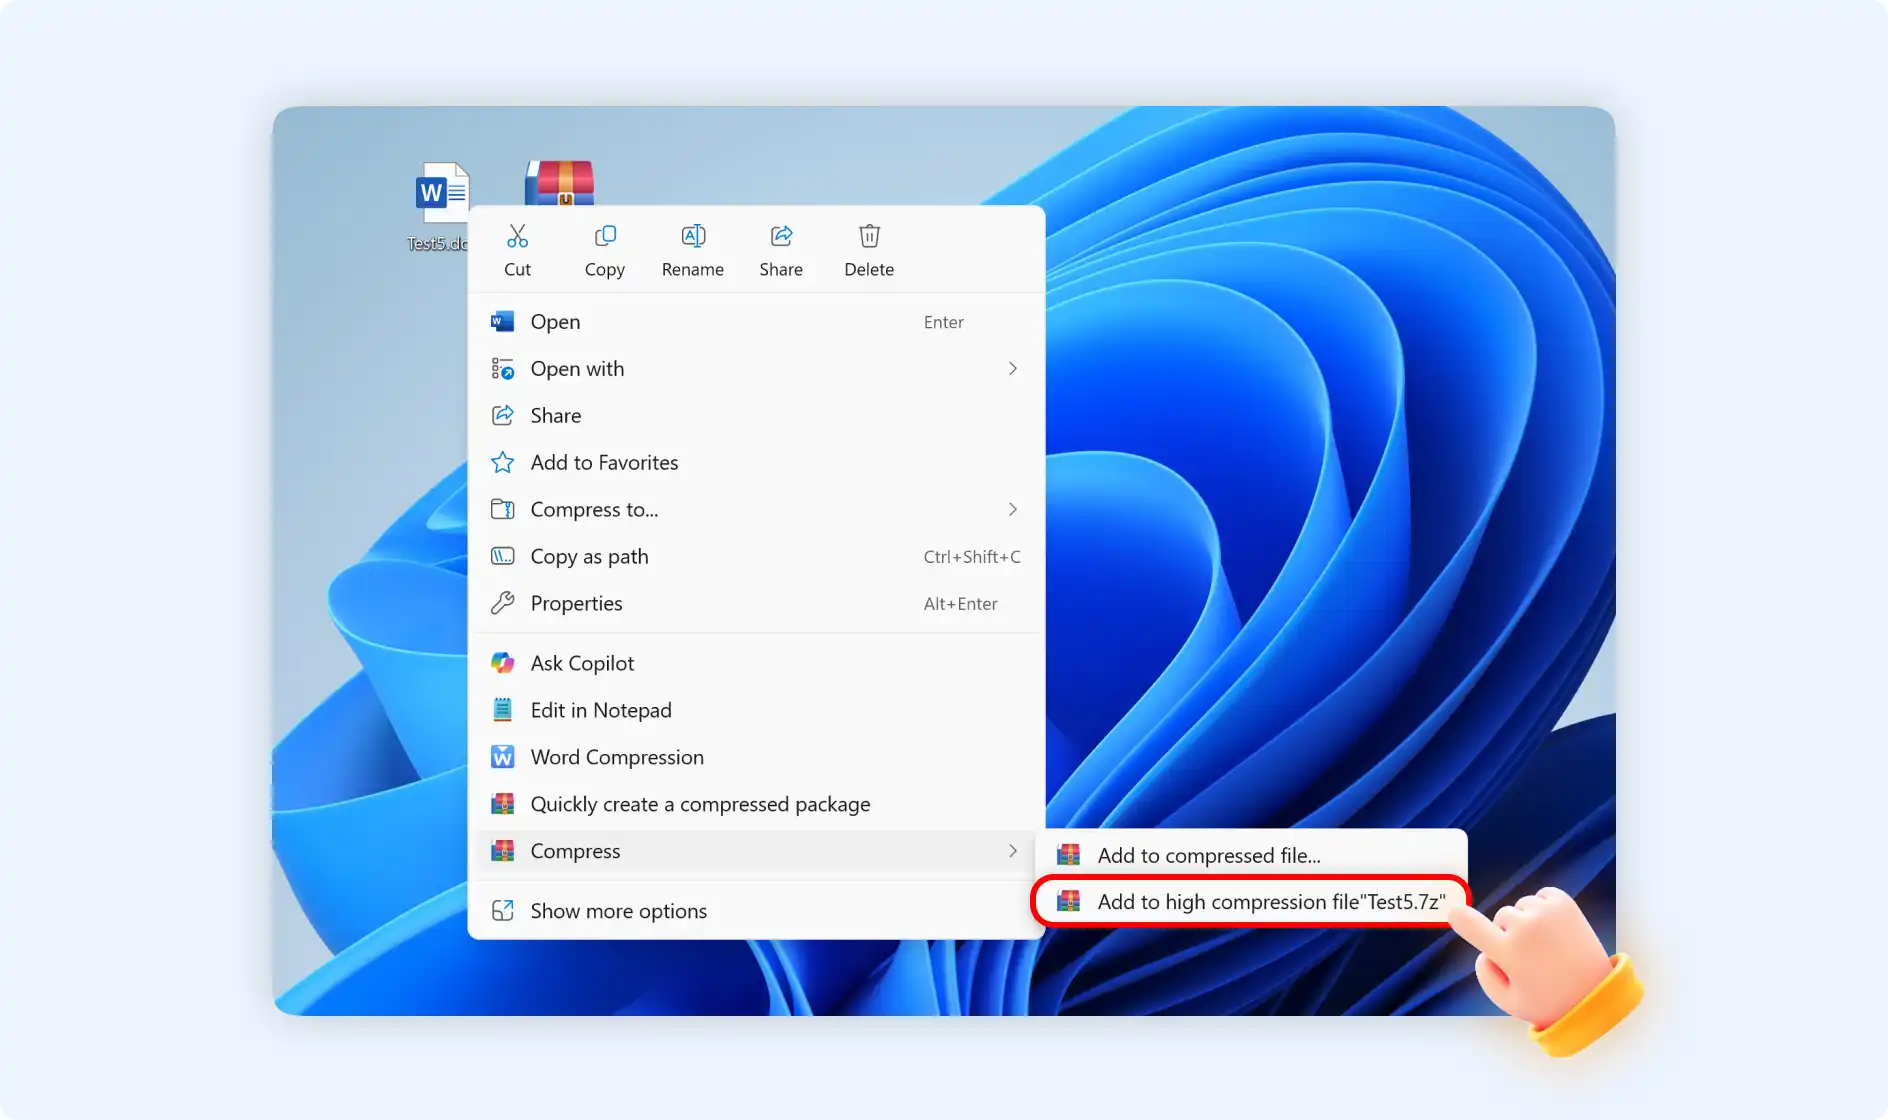
Situation 3: Select"Compress"
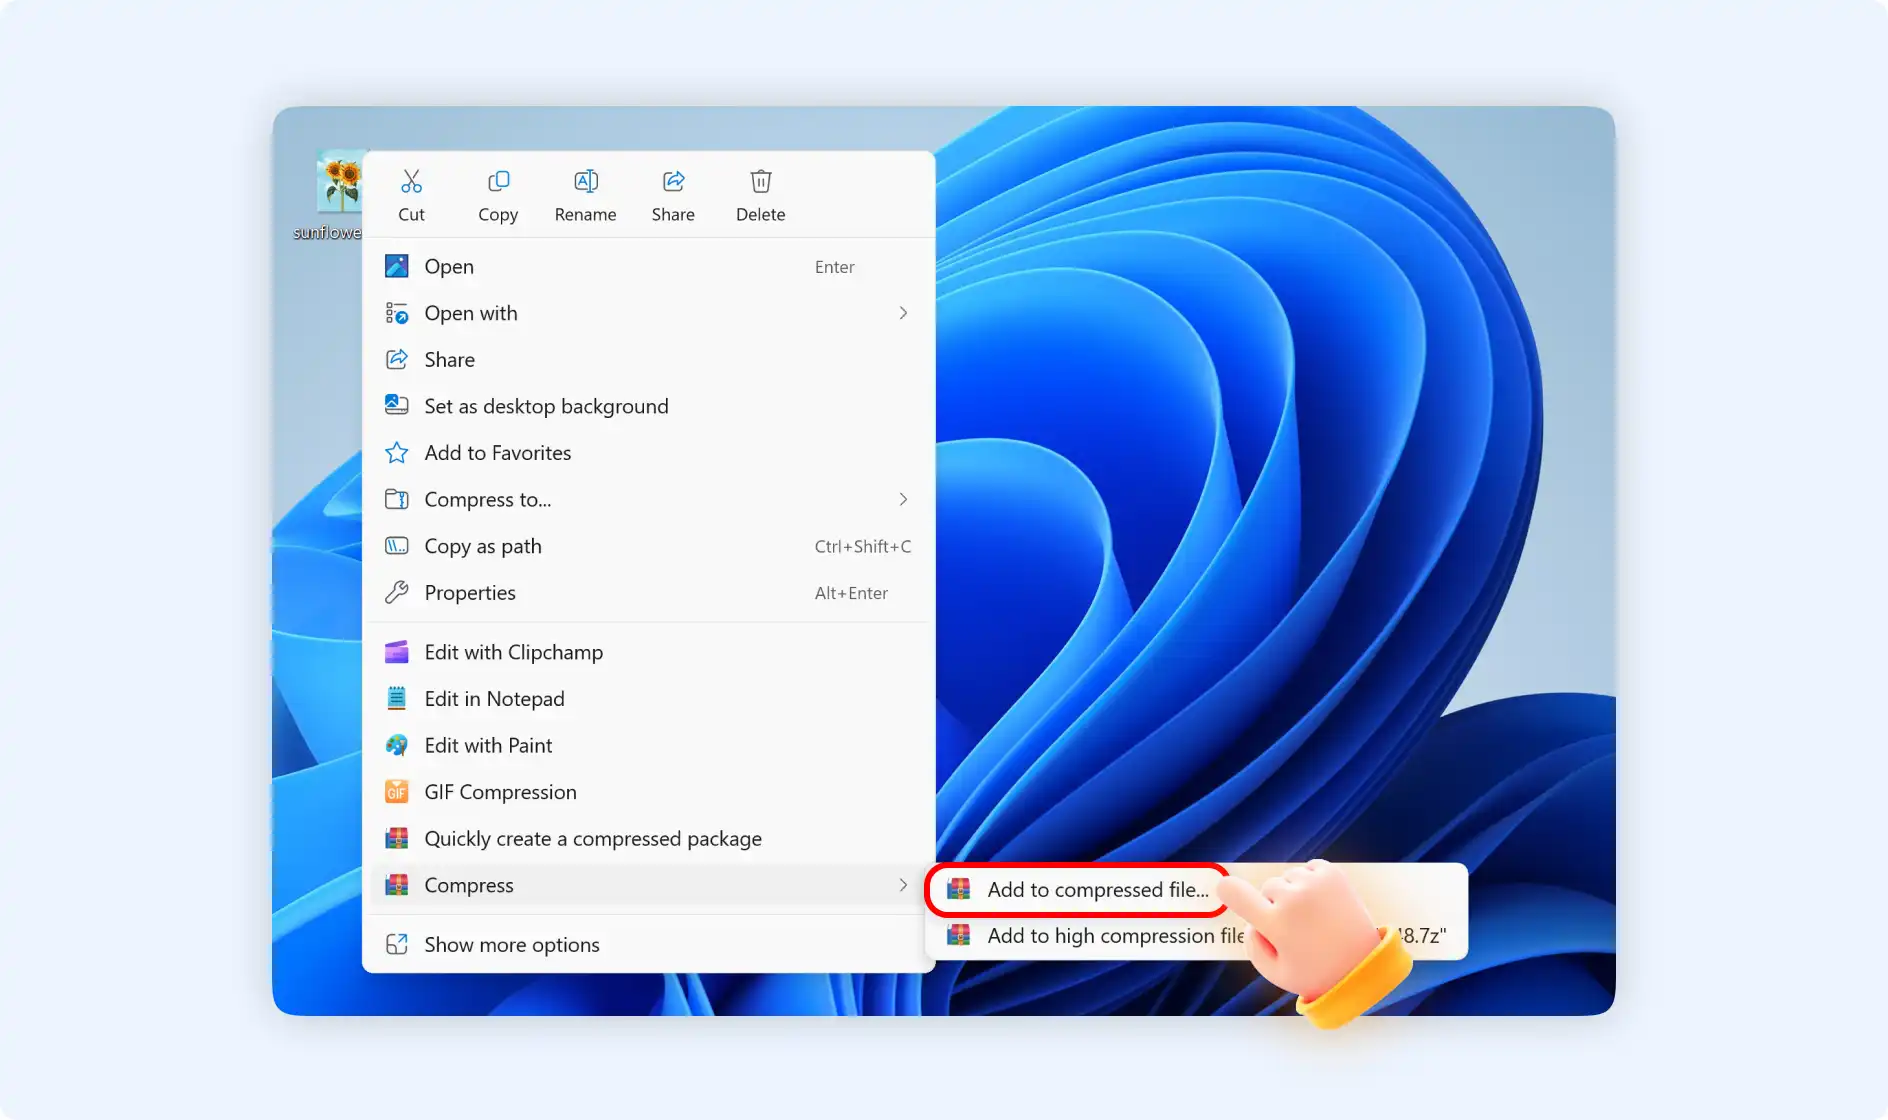
If you right-click to choose"Compress", there will be 2 options for your reference.
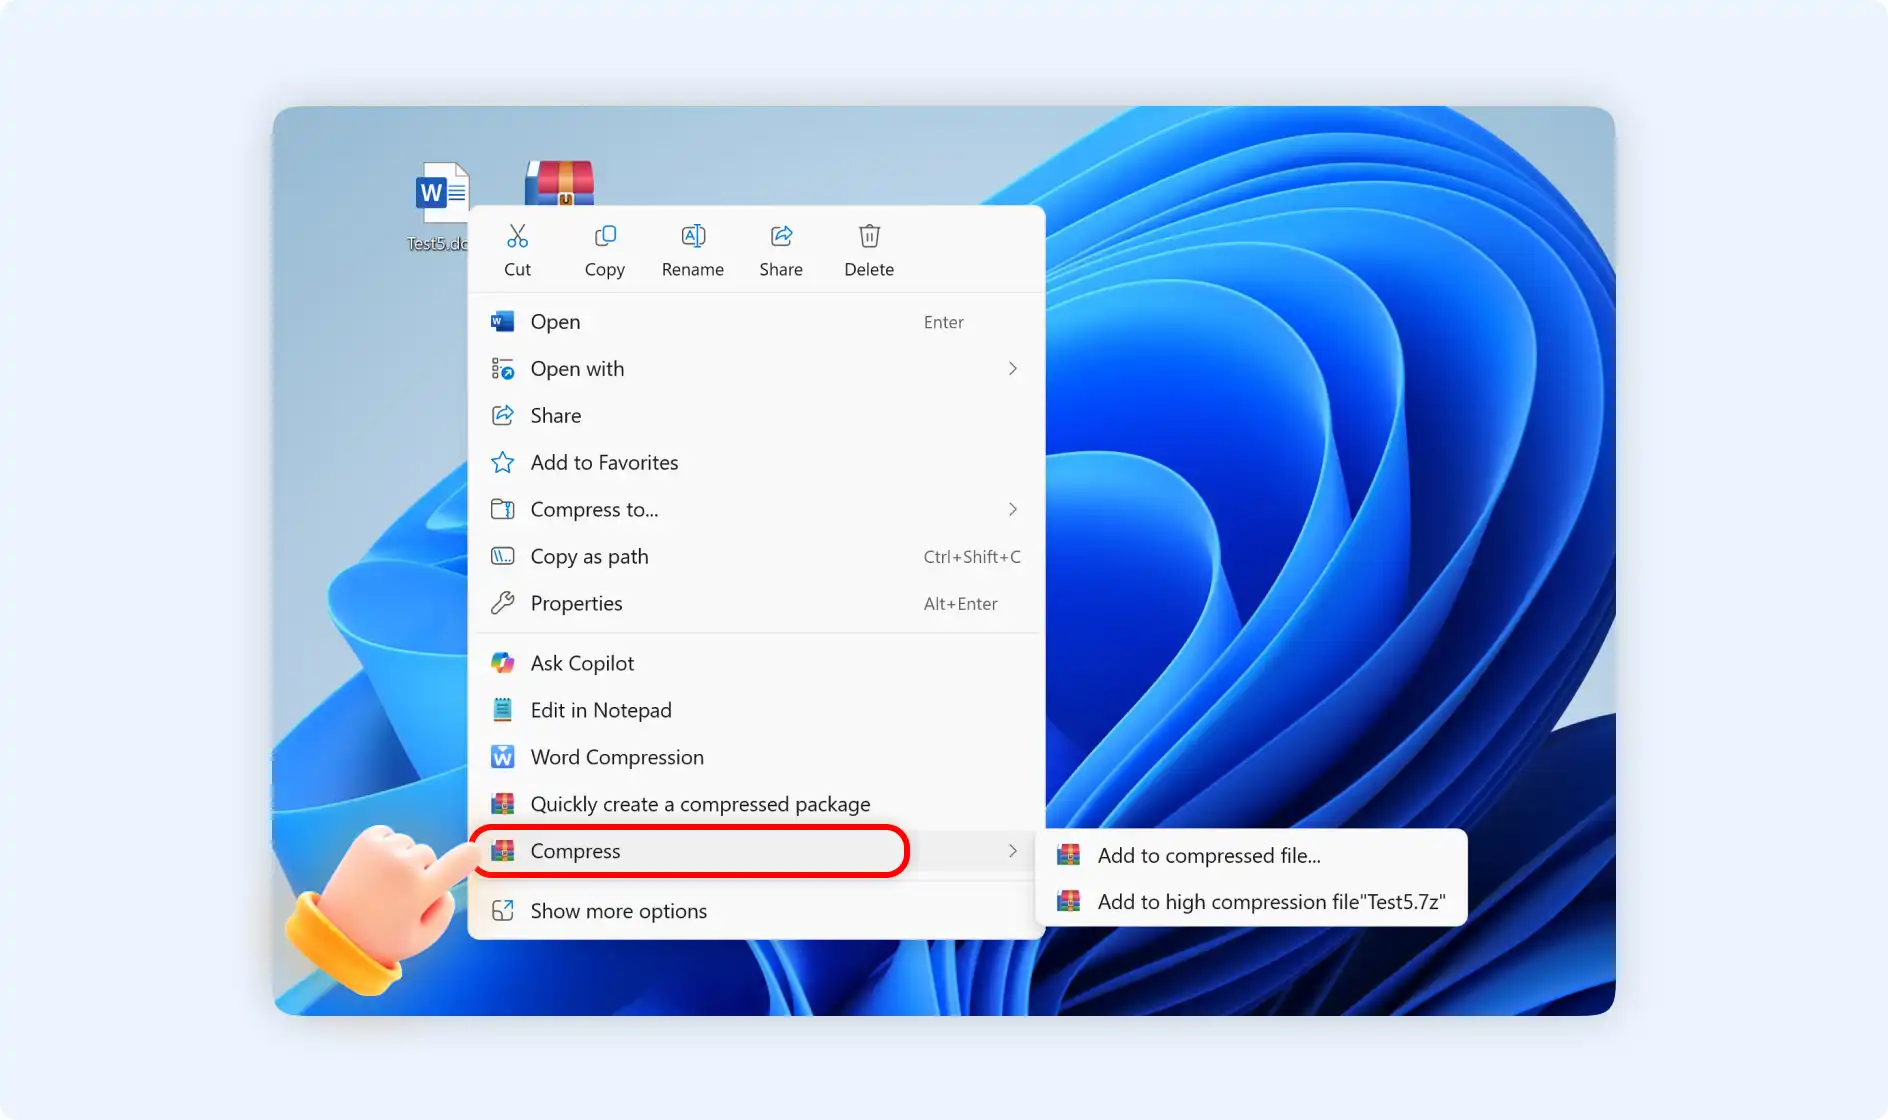
Option 1: If you want to create a compressed file, customize your storage path, or select compression options, you can choose“Add to compressed file…” Here you can add the password or annotation to secure or further illustrate your Word Docs.
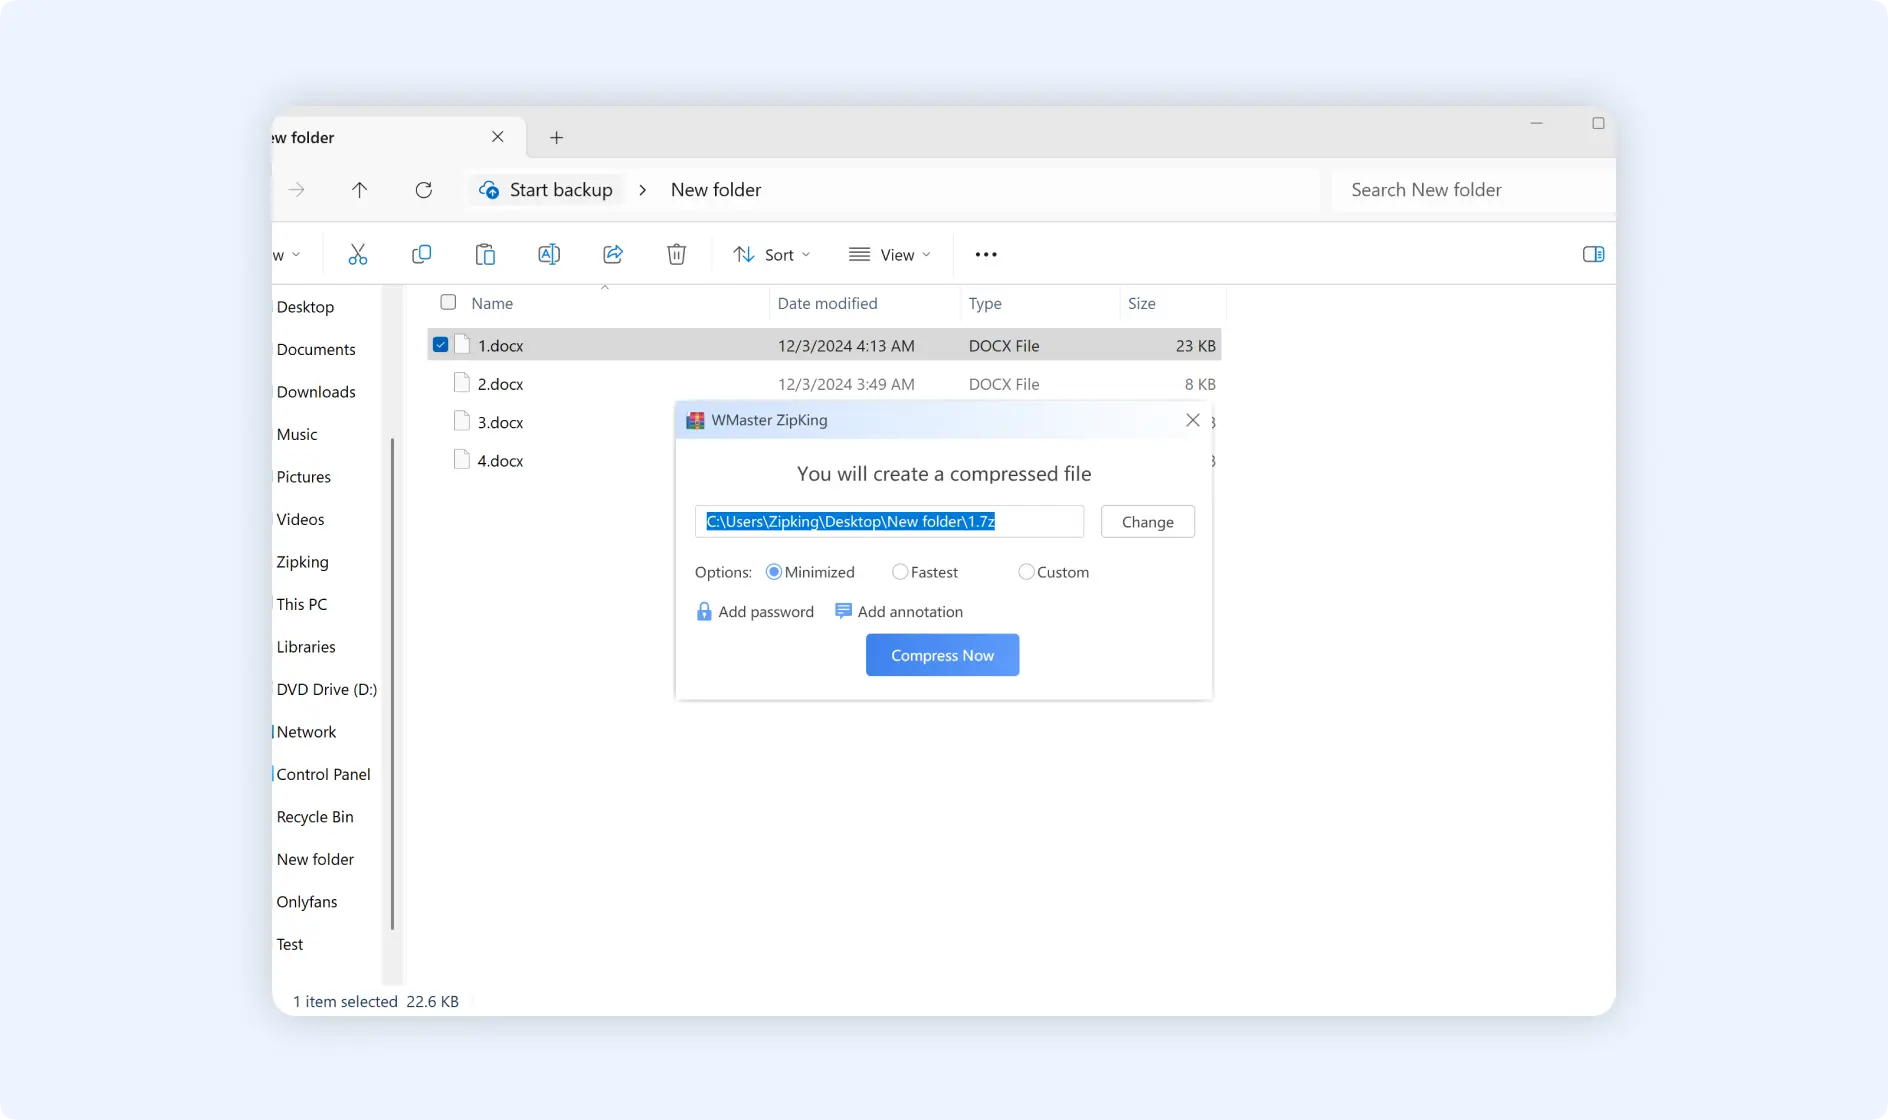
💡Tips: If you want to change your compressed file format or split the compressed file into separate smaller files, you can choose the“Custom” mode to compress the Doc files.
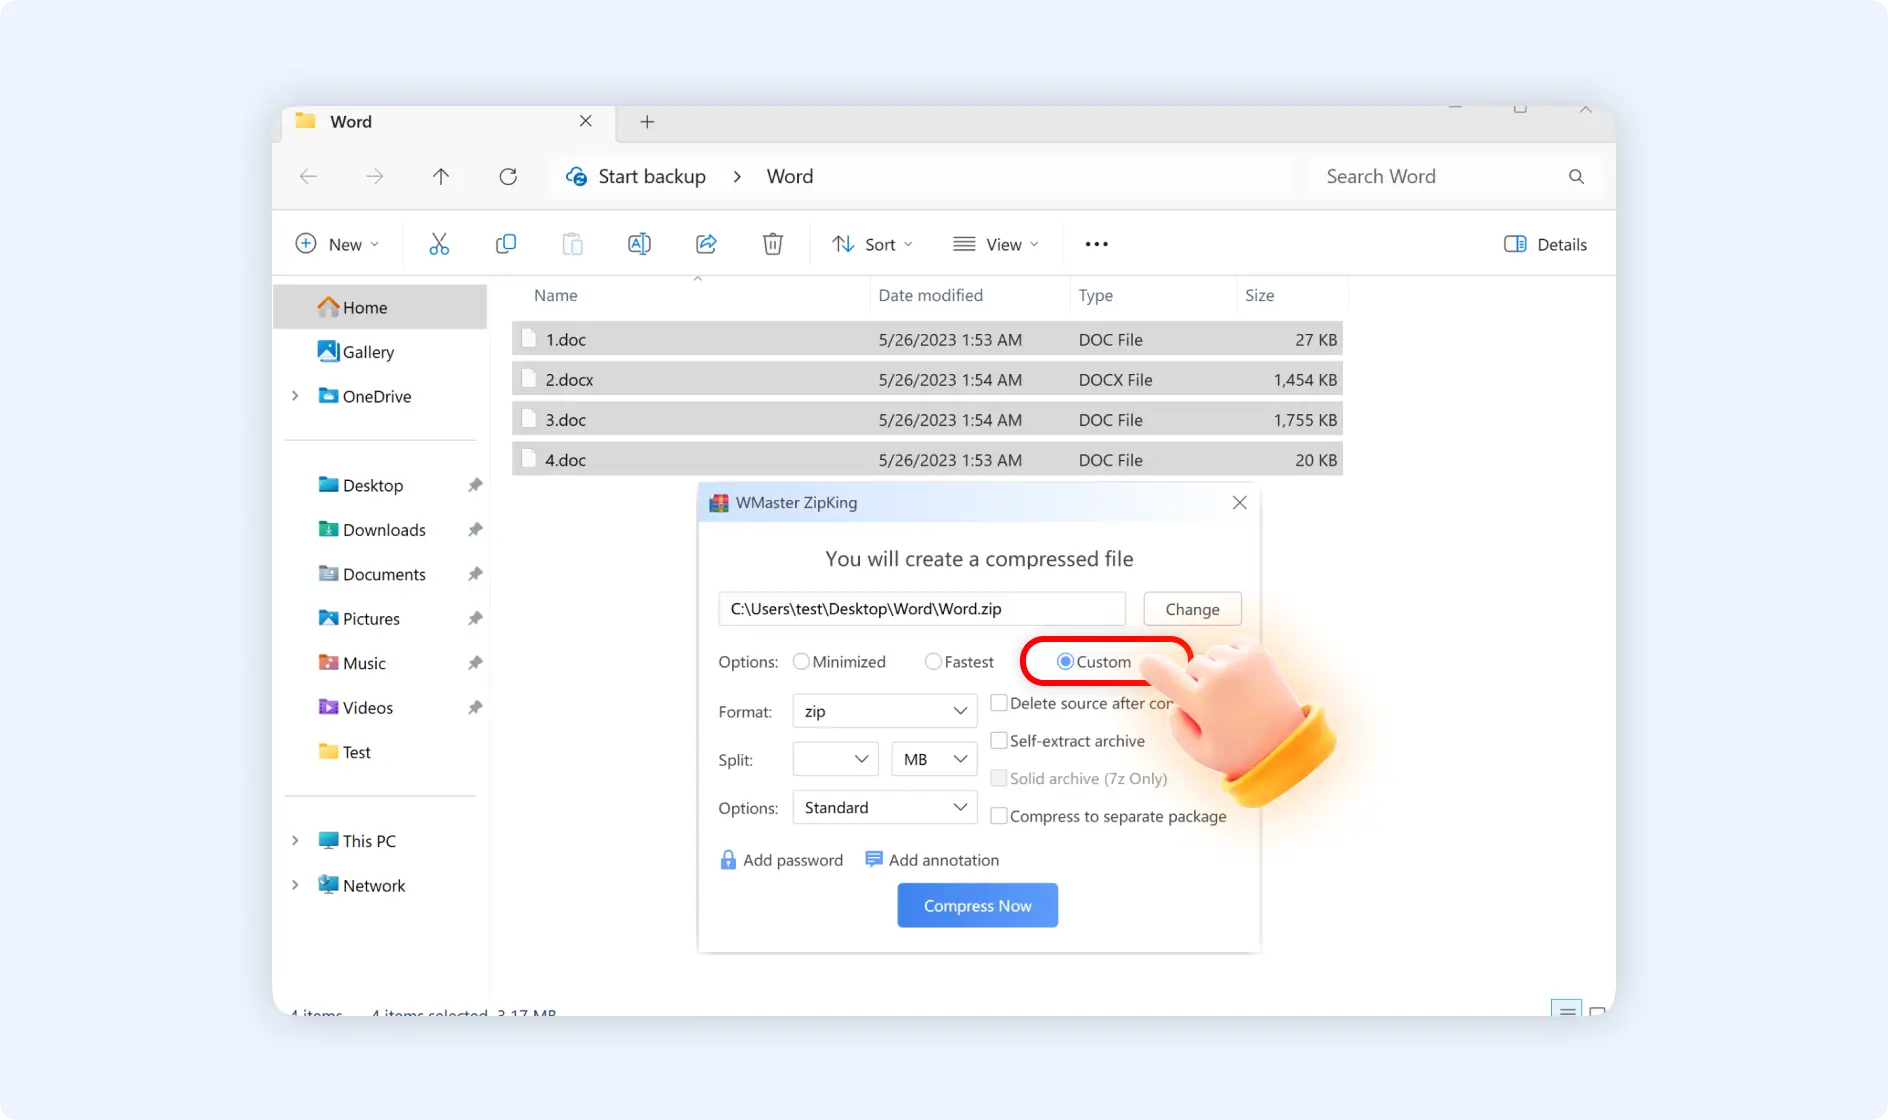
Option 2: If you need to create a direct.7z file, you can choose“Add to high compression file [file name].7z”. ZipKing will compress the Word document for you and open the file destination automatically.