Dealing with complicated Excel files can be a challenge when working with multiple financial reports, extensive data sets, or abundant data worksheets. WMaster ZipKing Excel Compressor can compress Excel files without losing a single cell of critical data. And it's lossless compression mode can make your Excel file lightweight so that it can be quickly stored and transmitted across different platforms.
How to Compress Excel Files by ZipKing
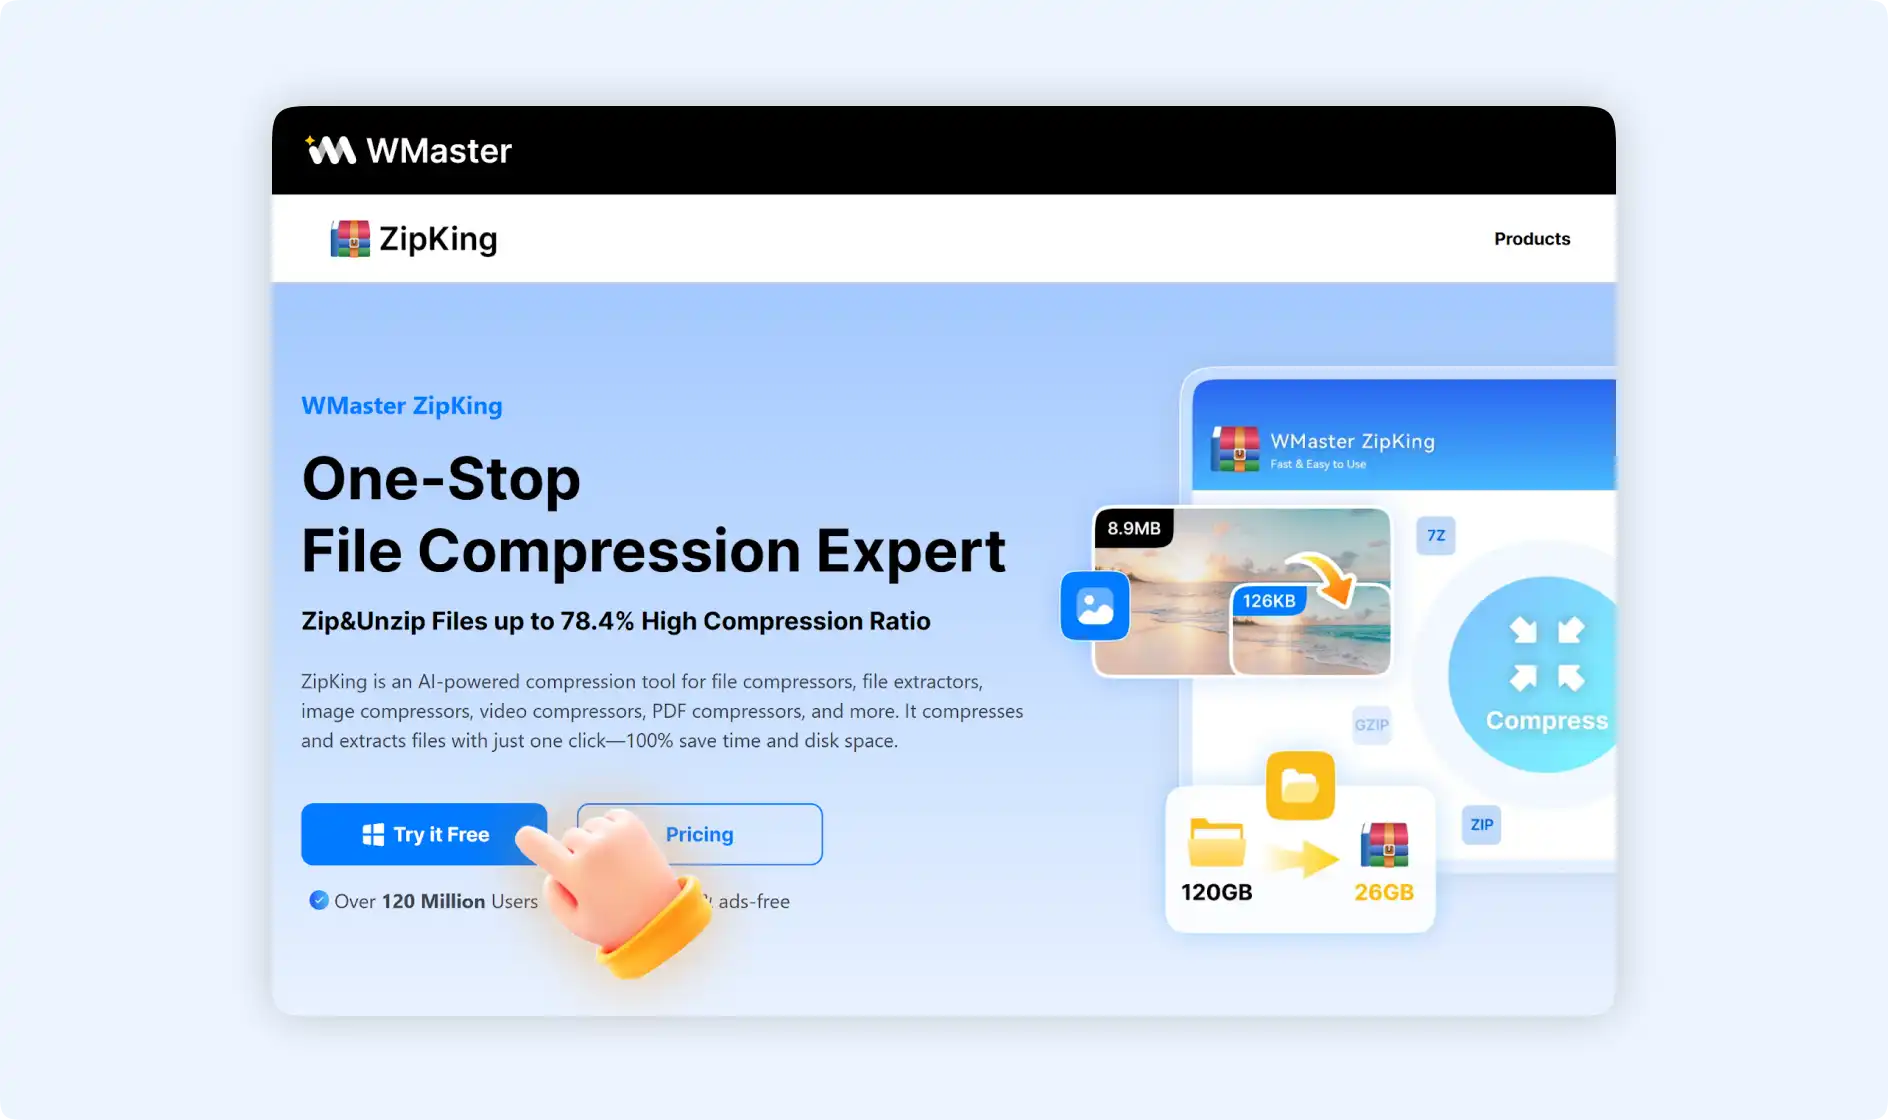
There are 2 ways to compress Excel files with ZipKing. Firstly you need to download, install WMaster ZipKing in your computer.
Method 1: Guide to Compress Excel Files with ZipKing Tool
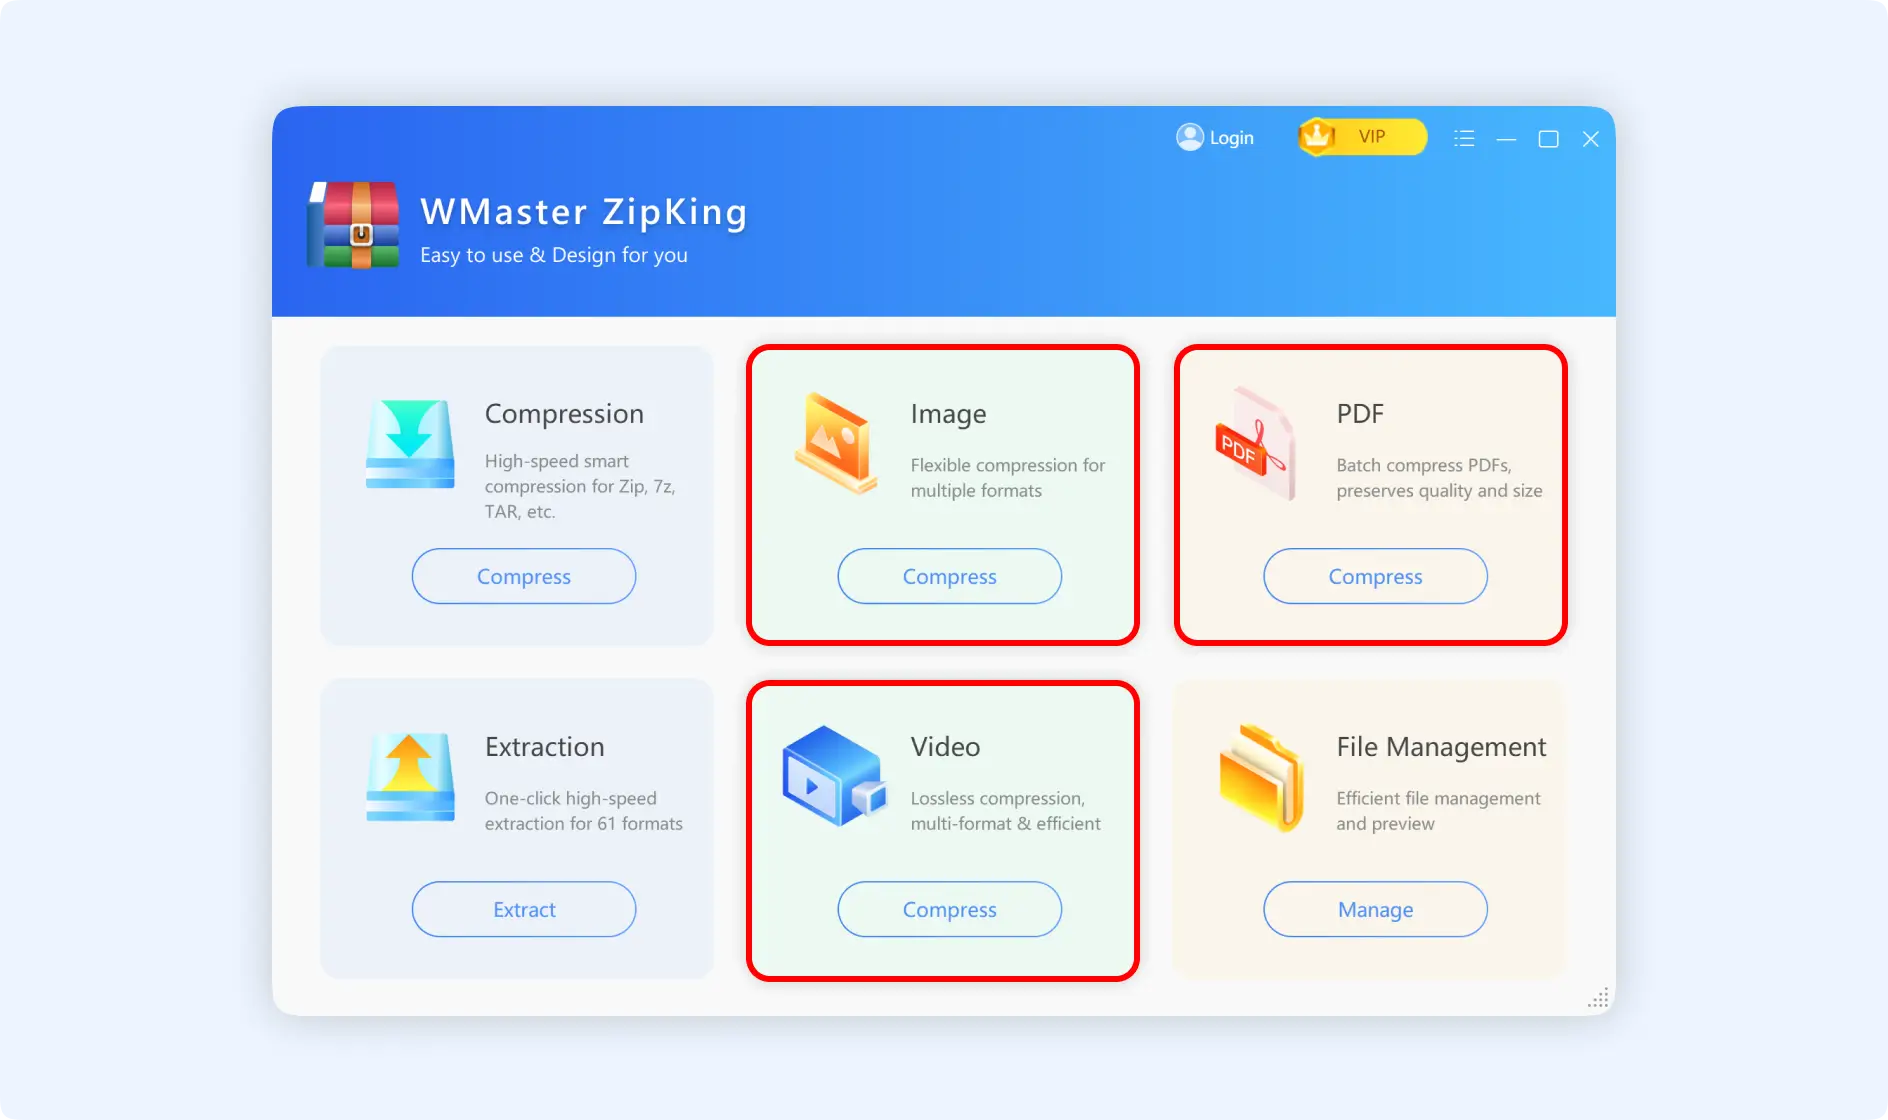
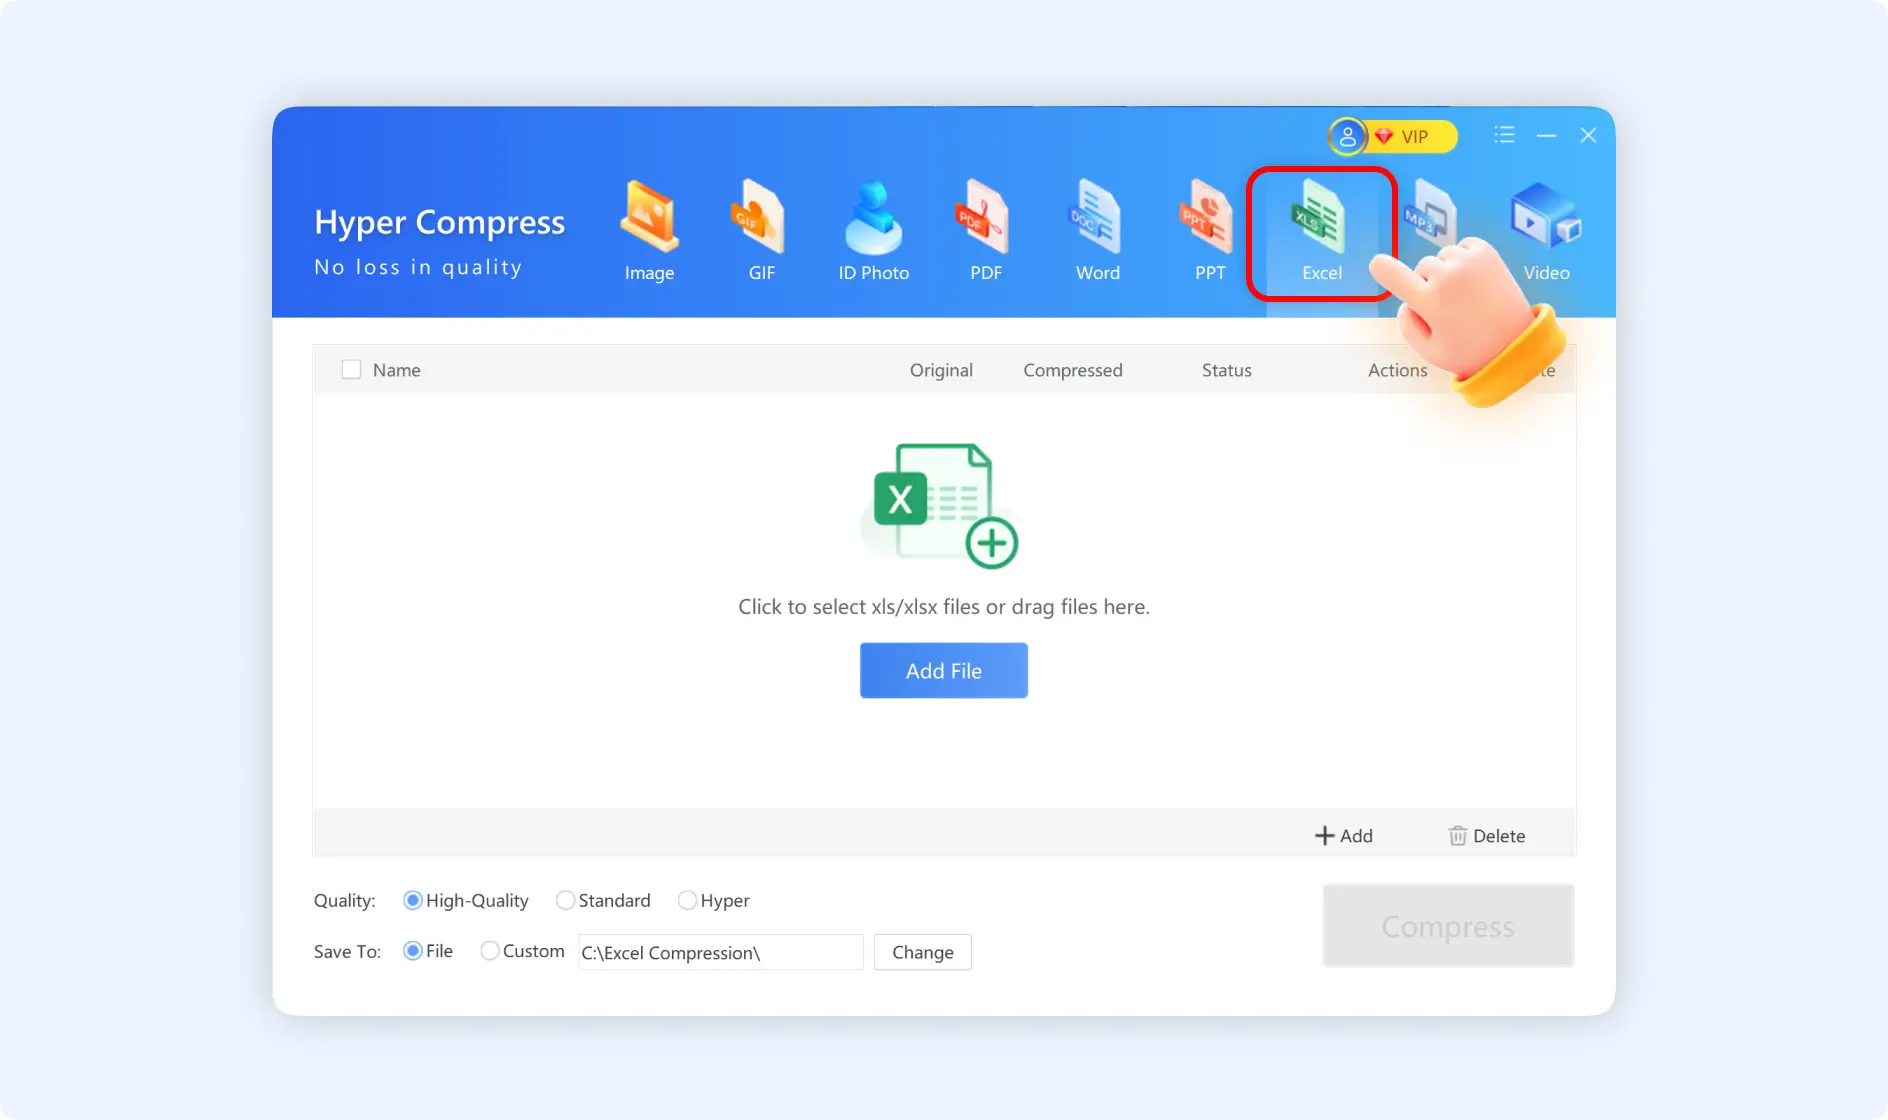
Step 1: Launch ZipKing on your computer, and find the“Hyper Compress→Excel” interface by entering into one of the three panels “Video, Image, or PDF”.
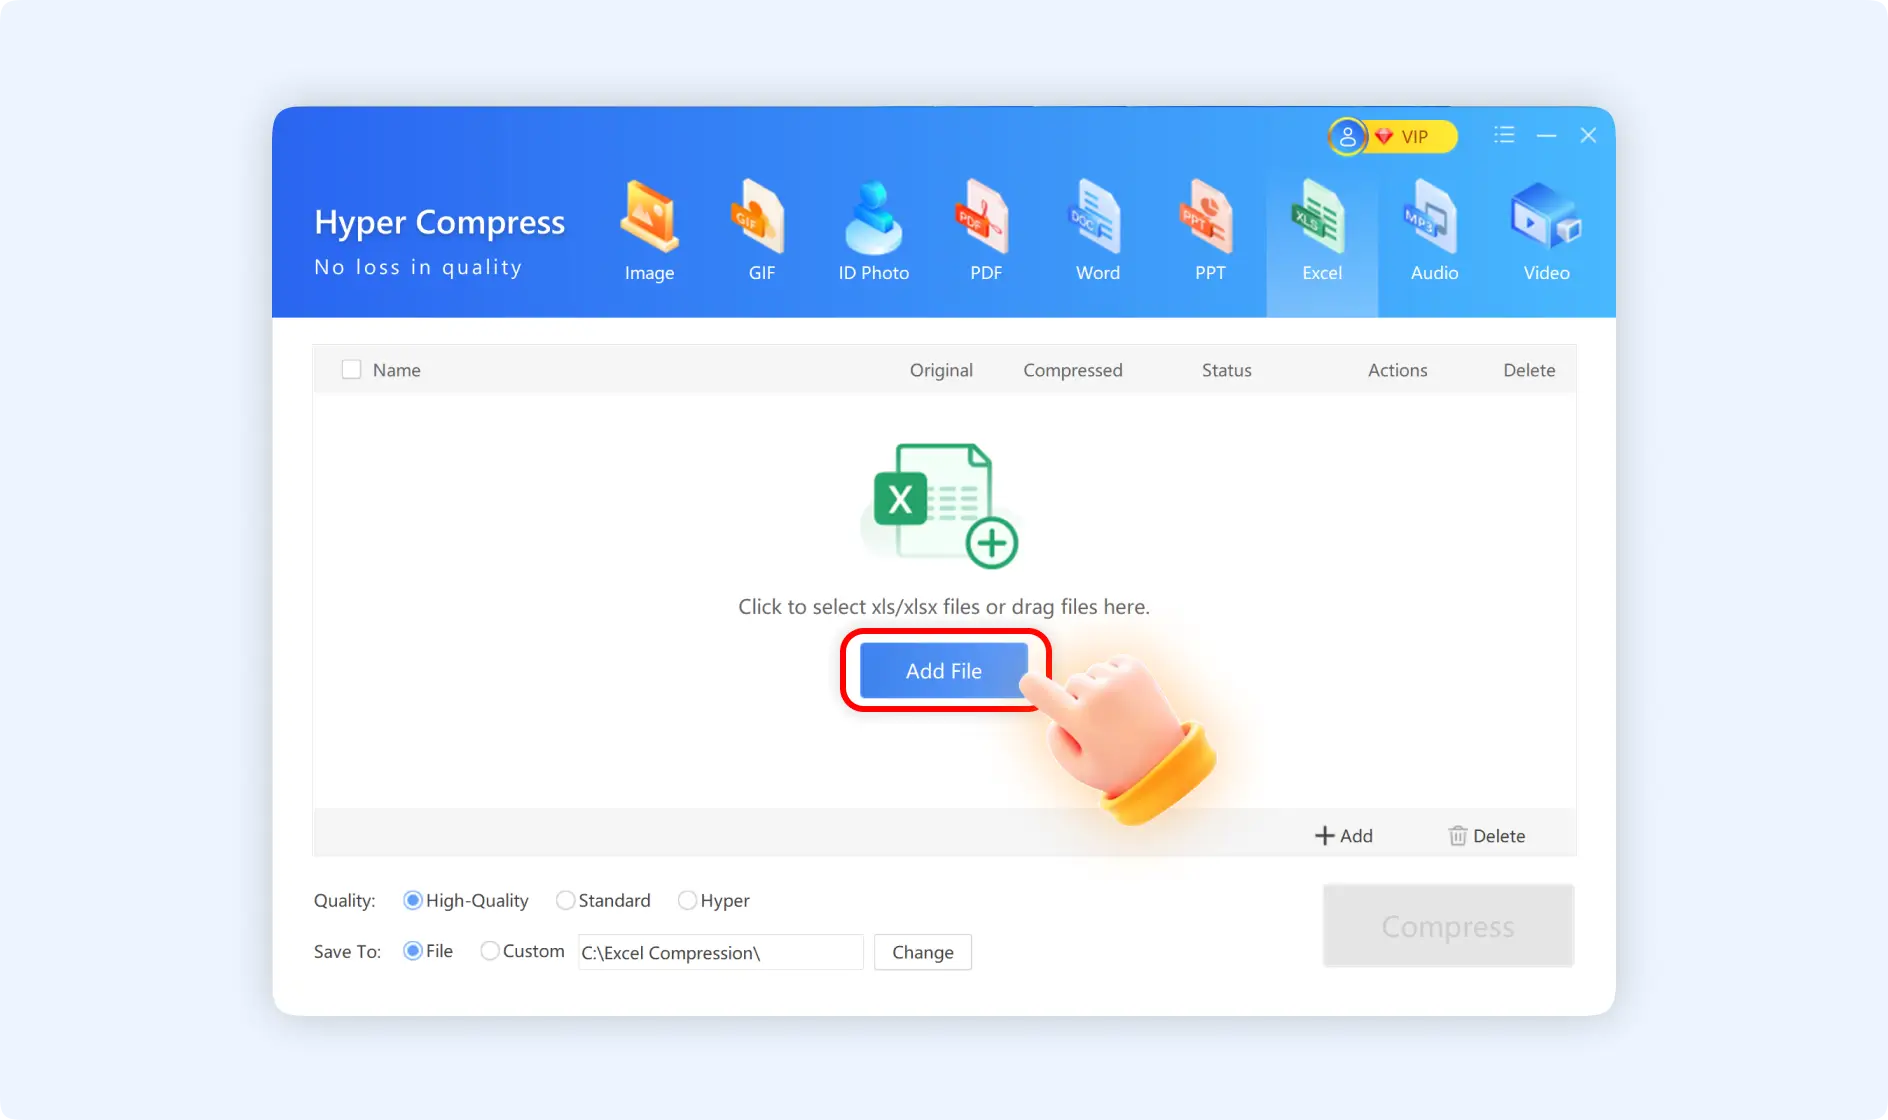
Step 2: Click“Add File” to upload your Excel files or drag and drop them to the panel. ZipKing supports .xls and .xlsx file formats.
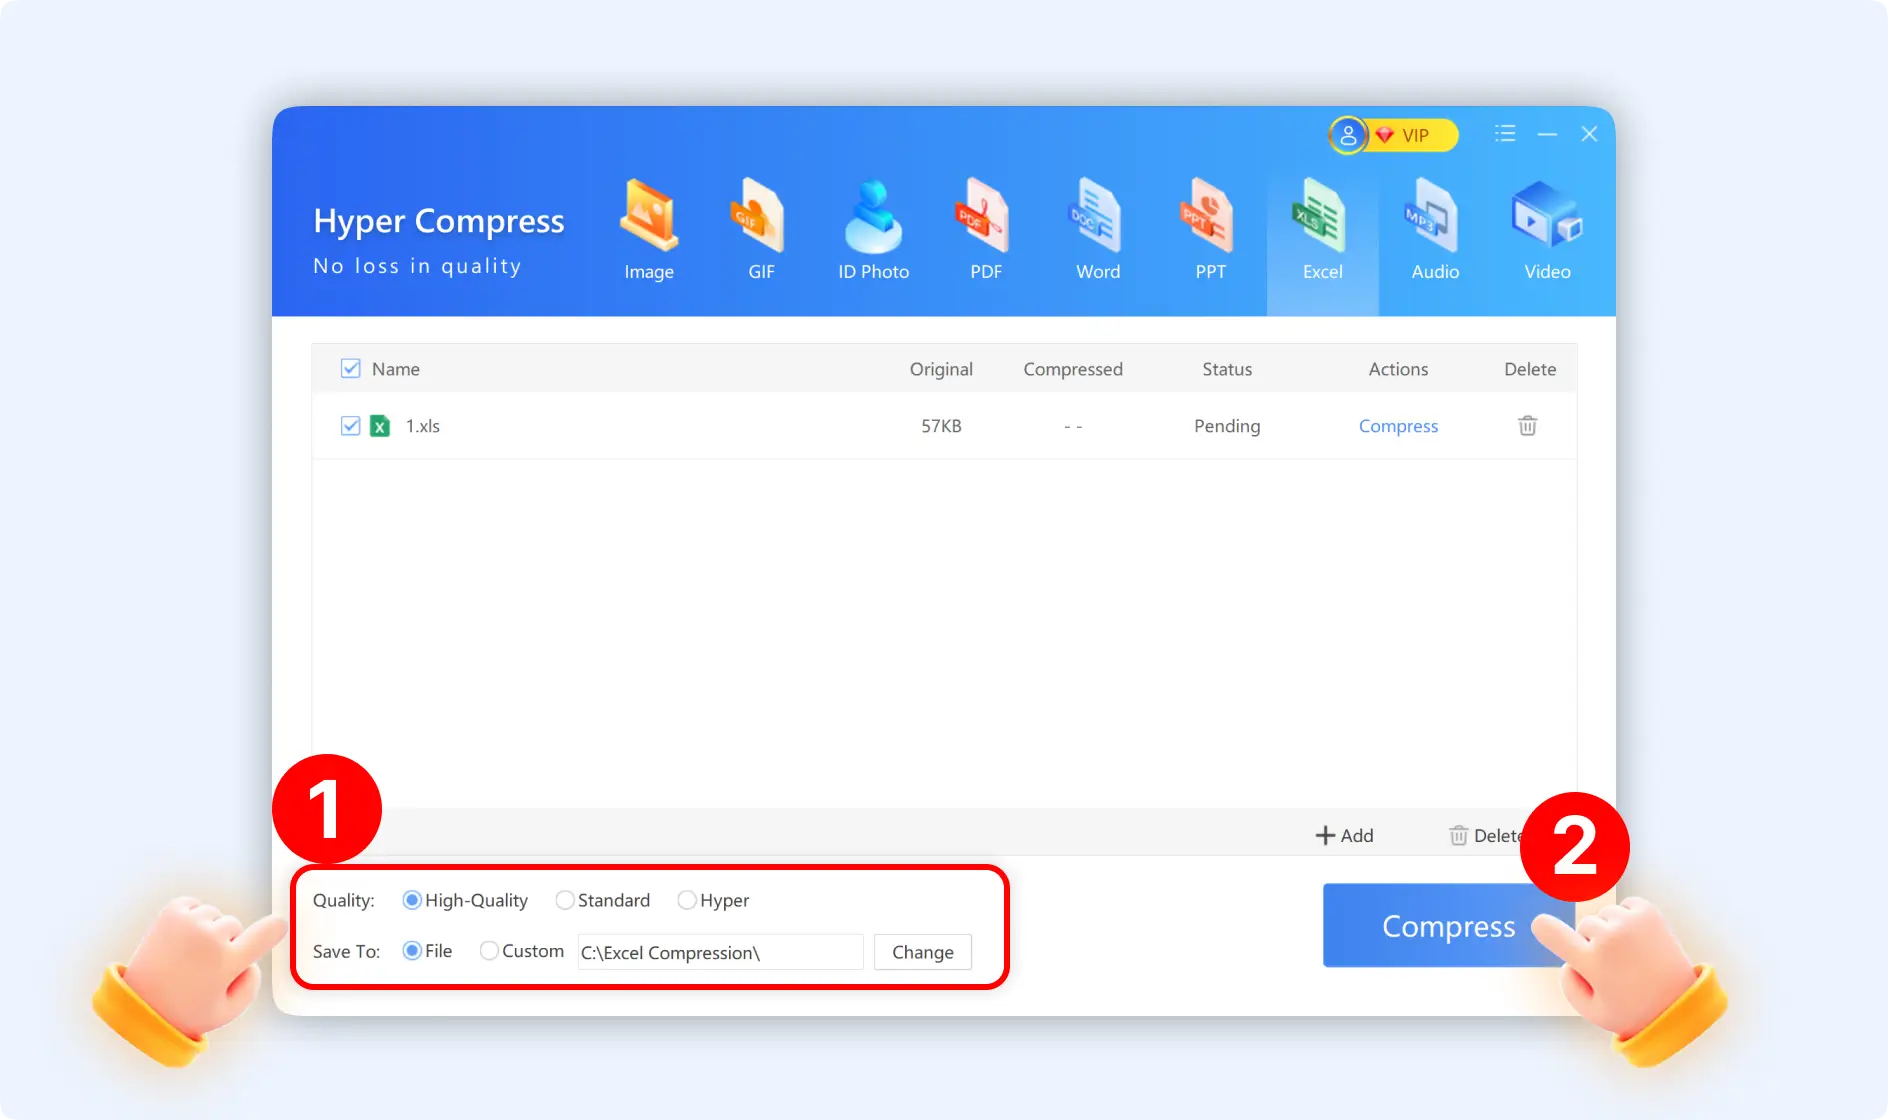
Step 3: Finally you can keep the default setting and click“Compress” to start the Excel file compression format.
Method 2: Guide to Compress Excel Files With ZipKing Right-click Windows
There are 3 choices for the righ-click operation.
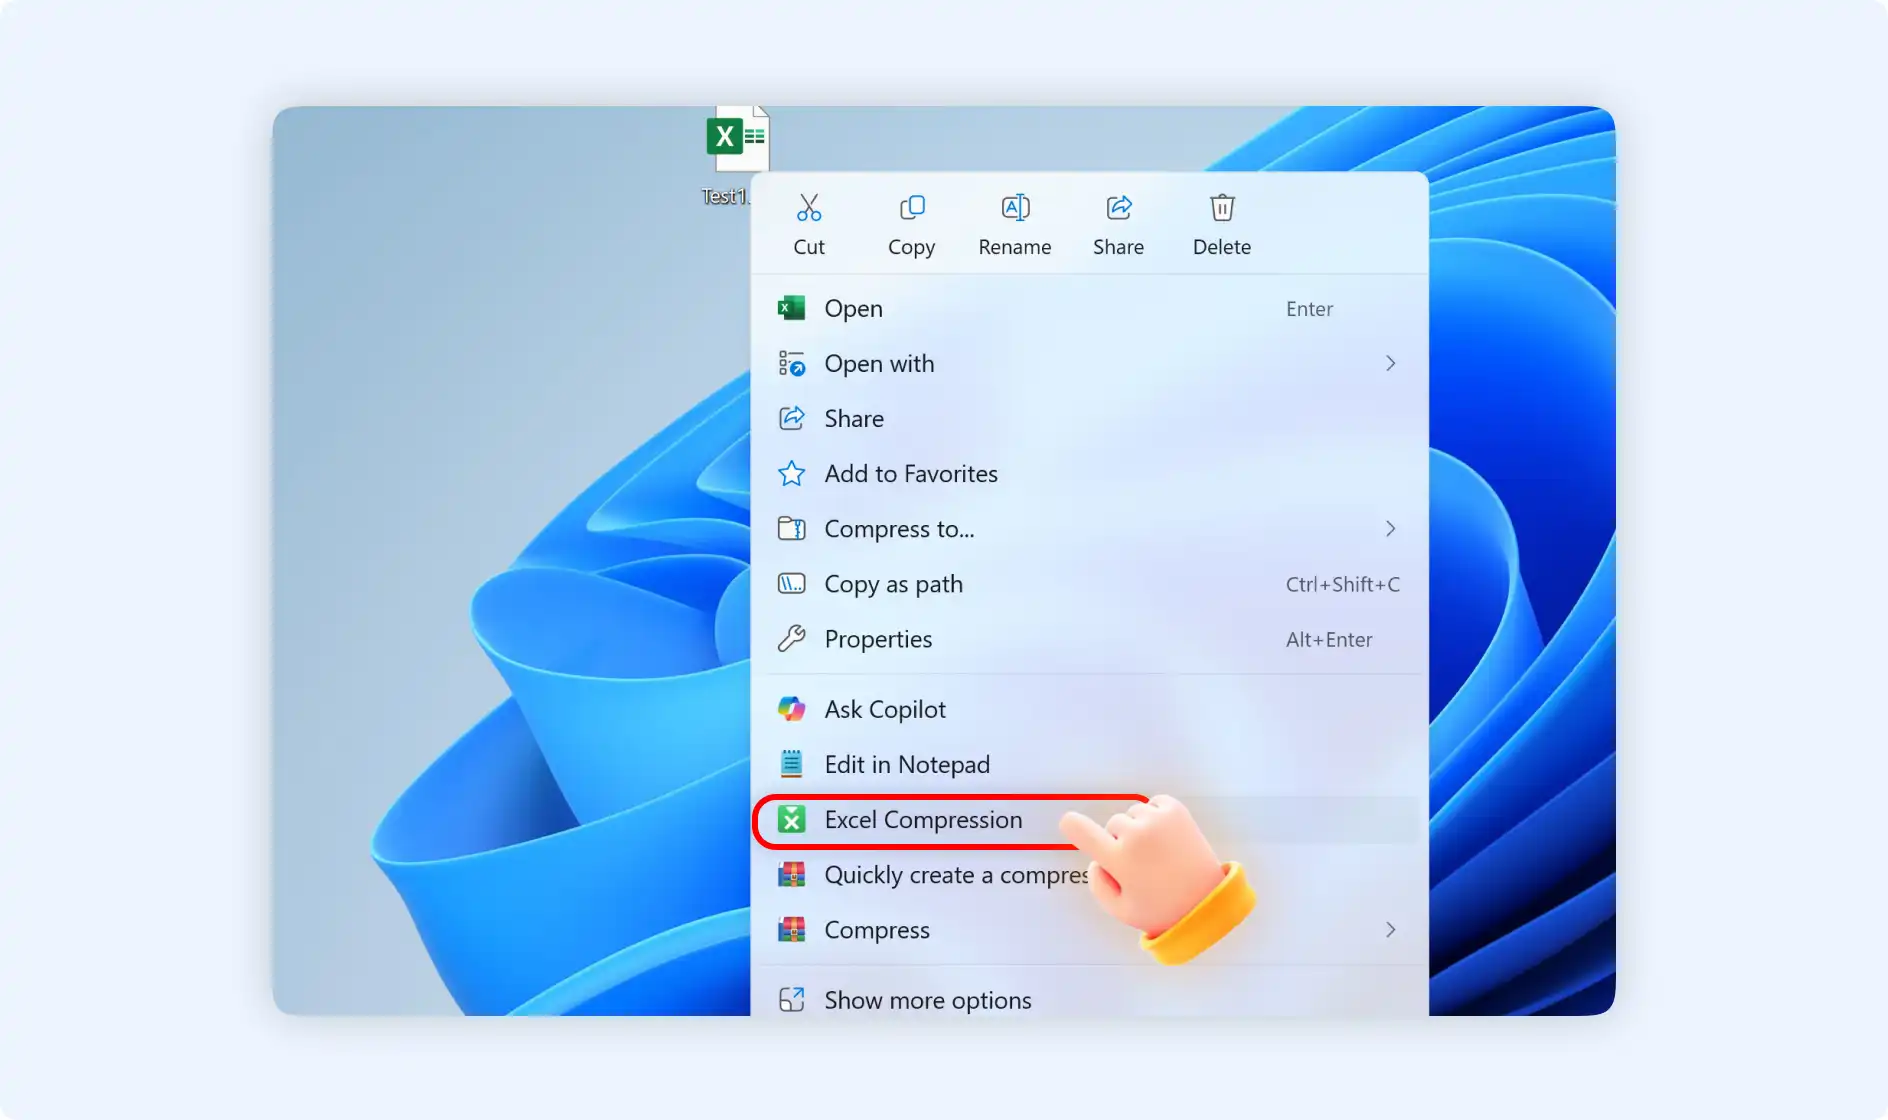
Situation 1: Right-click to choose "Excel Compression"
Step 1: Navigate to the Excel files that you want to compress, and right-click to find "Excel Compression".
Step 2:Then you will directly enter into the "Hyper Compress-Excel" interface. Here you can set the output quality and choose the storage path. Finally, click "Compress"

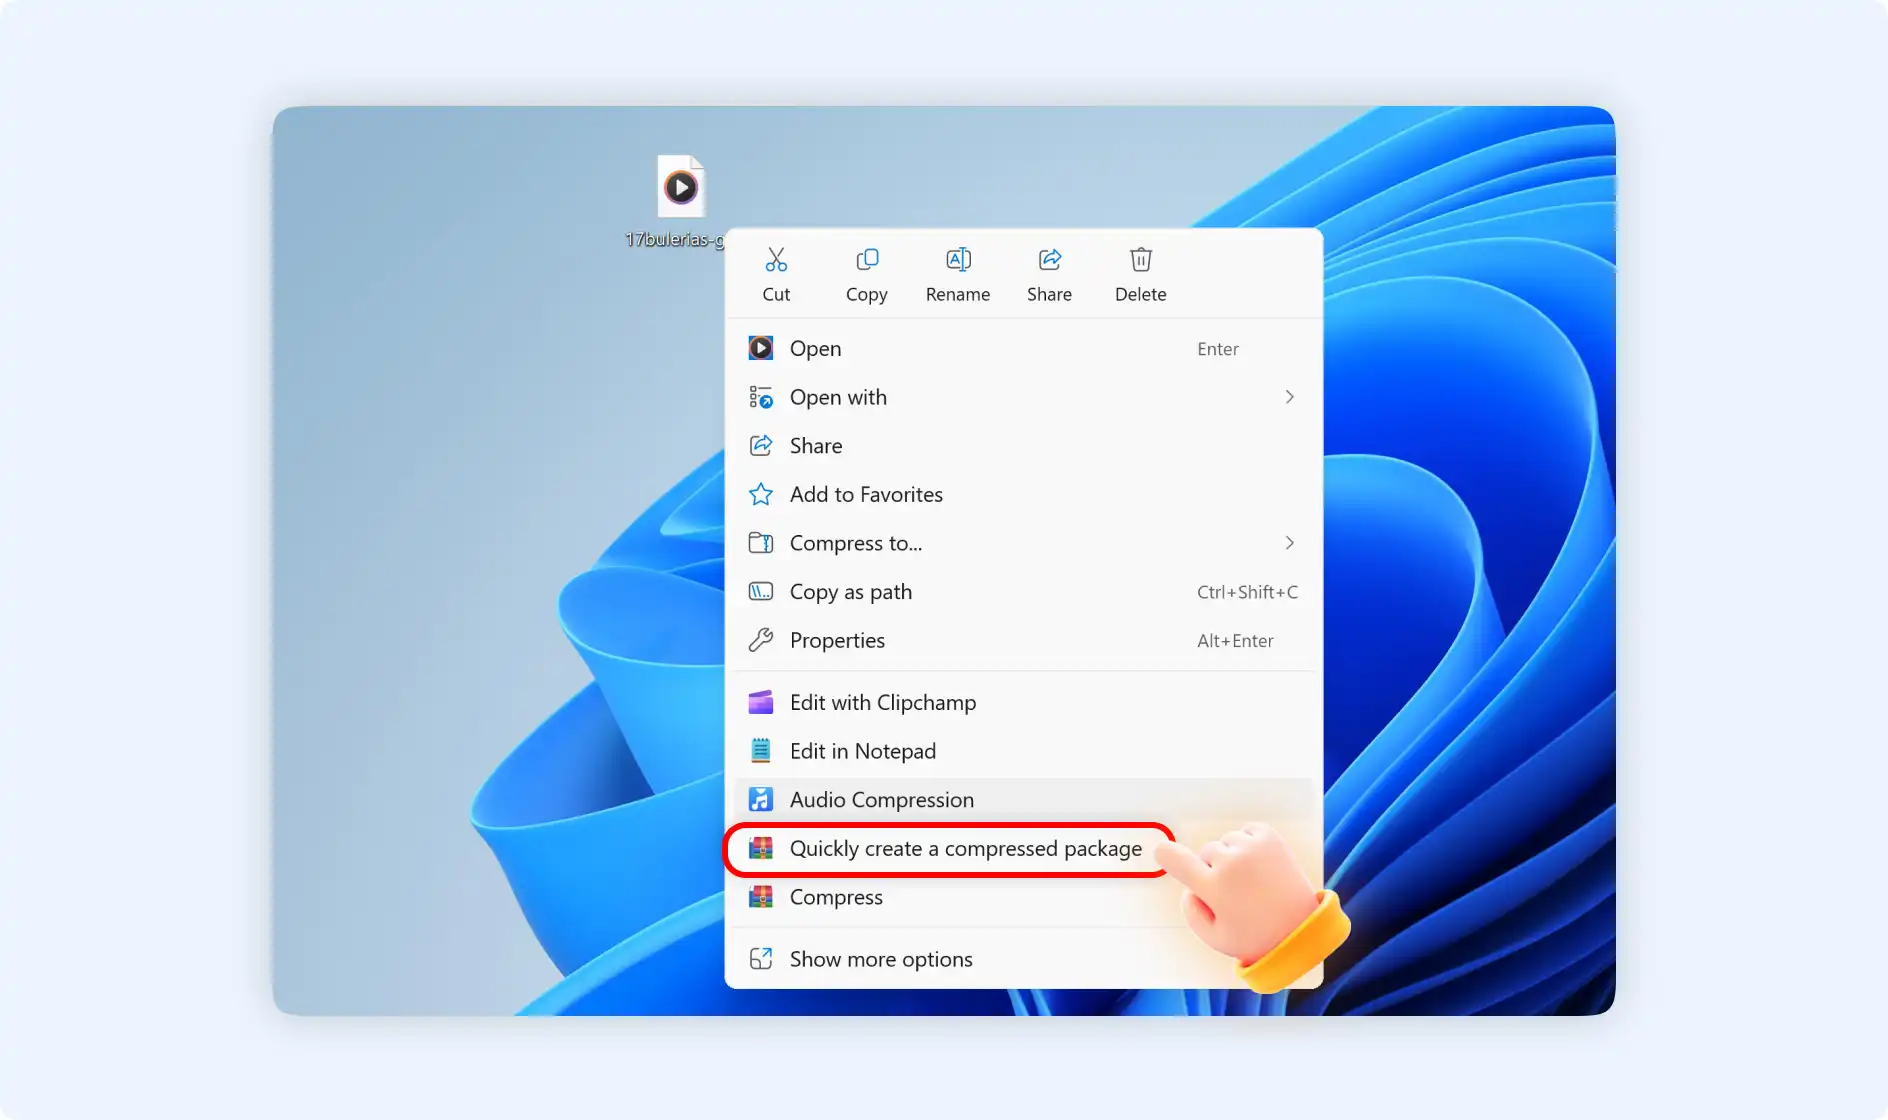
Situation 2: Right-click to choose"Quickly create a compressed package"
Step 1: Find the Excel files that you want to compress, right-click to find "Quickly create a compressed package".
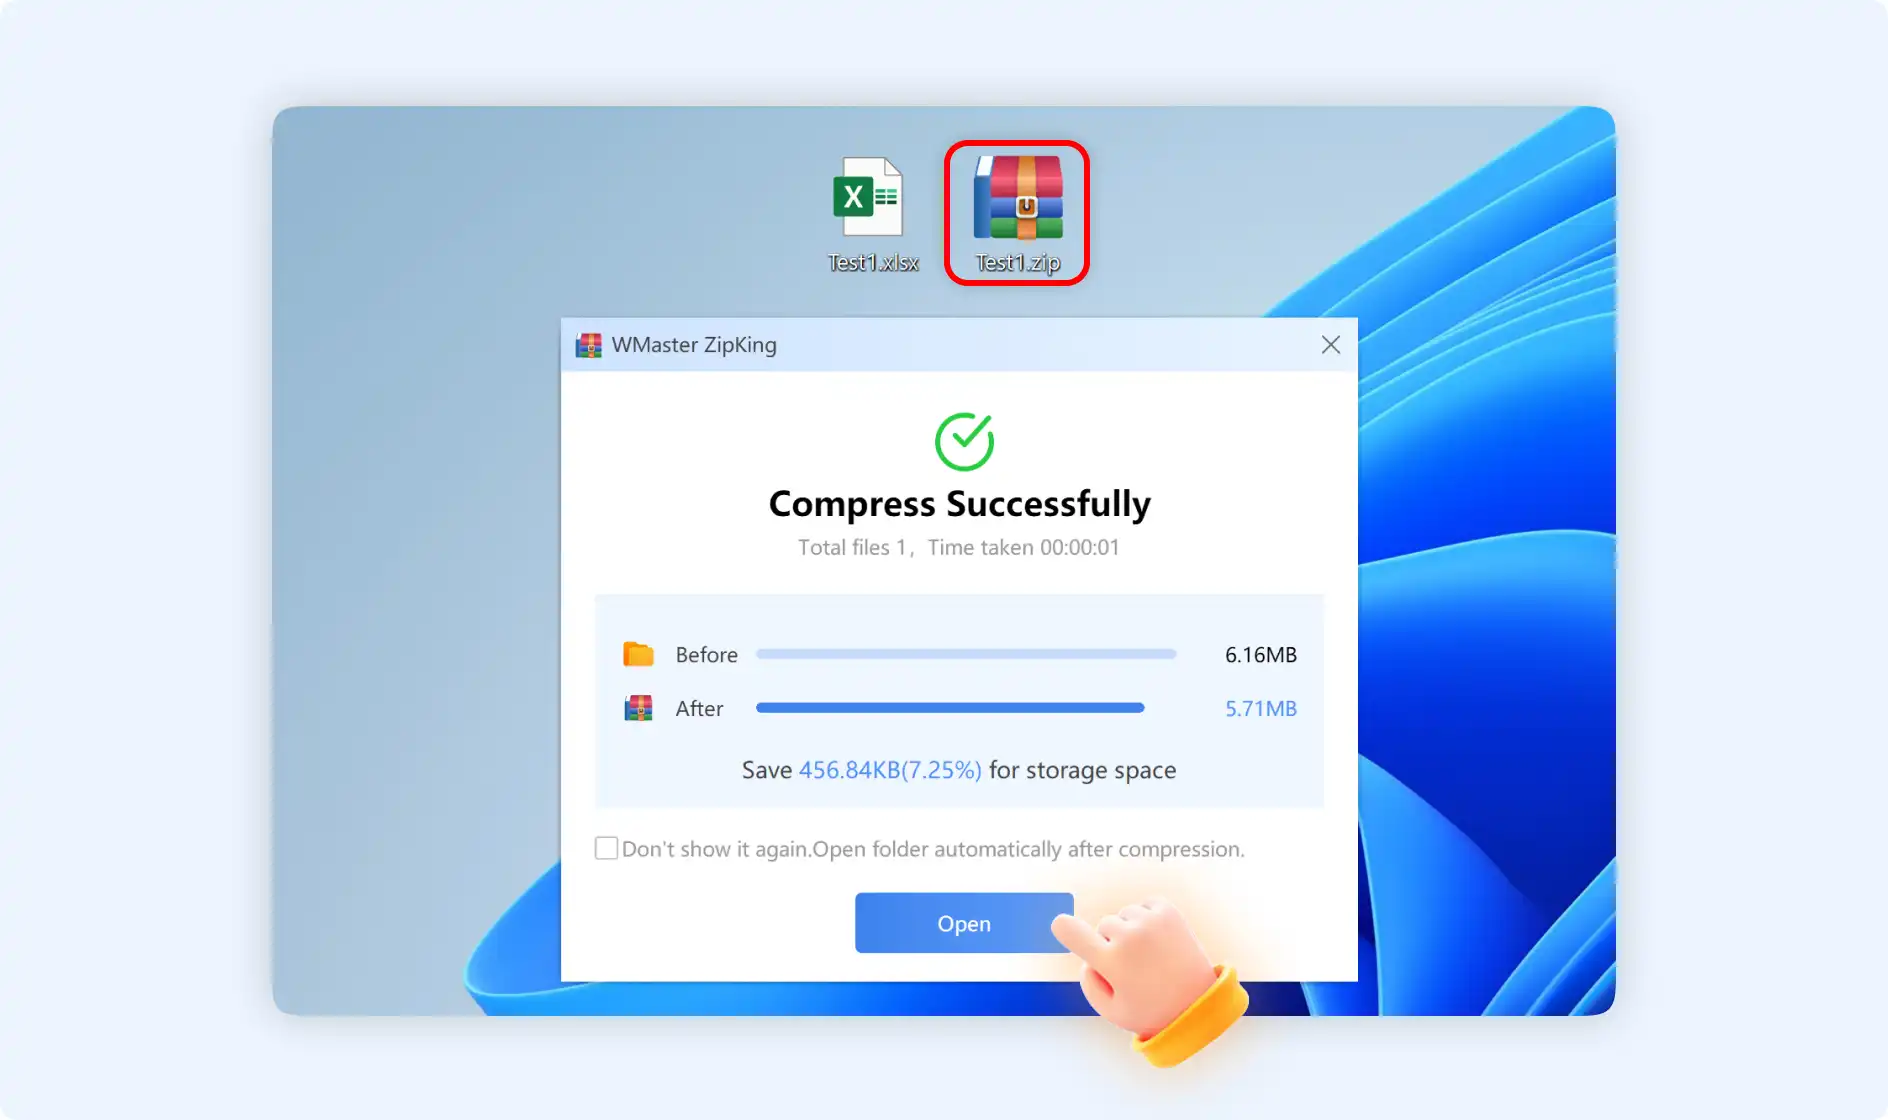
Step 2: Then you will create a . zip archive for the compressed Excel files. ZipKing will show you the success state interface after the compression. And you can review the "Before" and "After" contrast for the size.
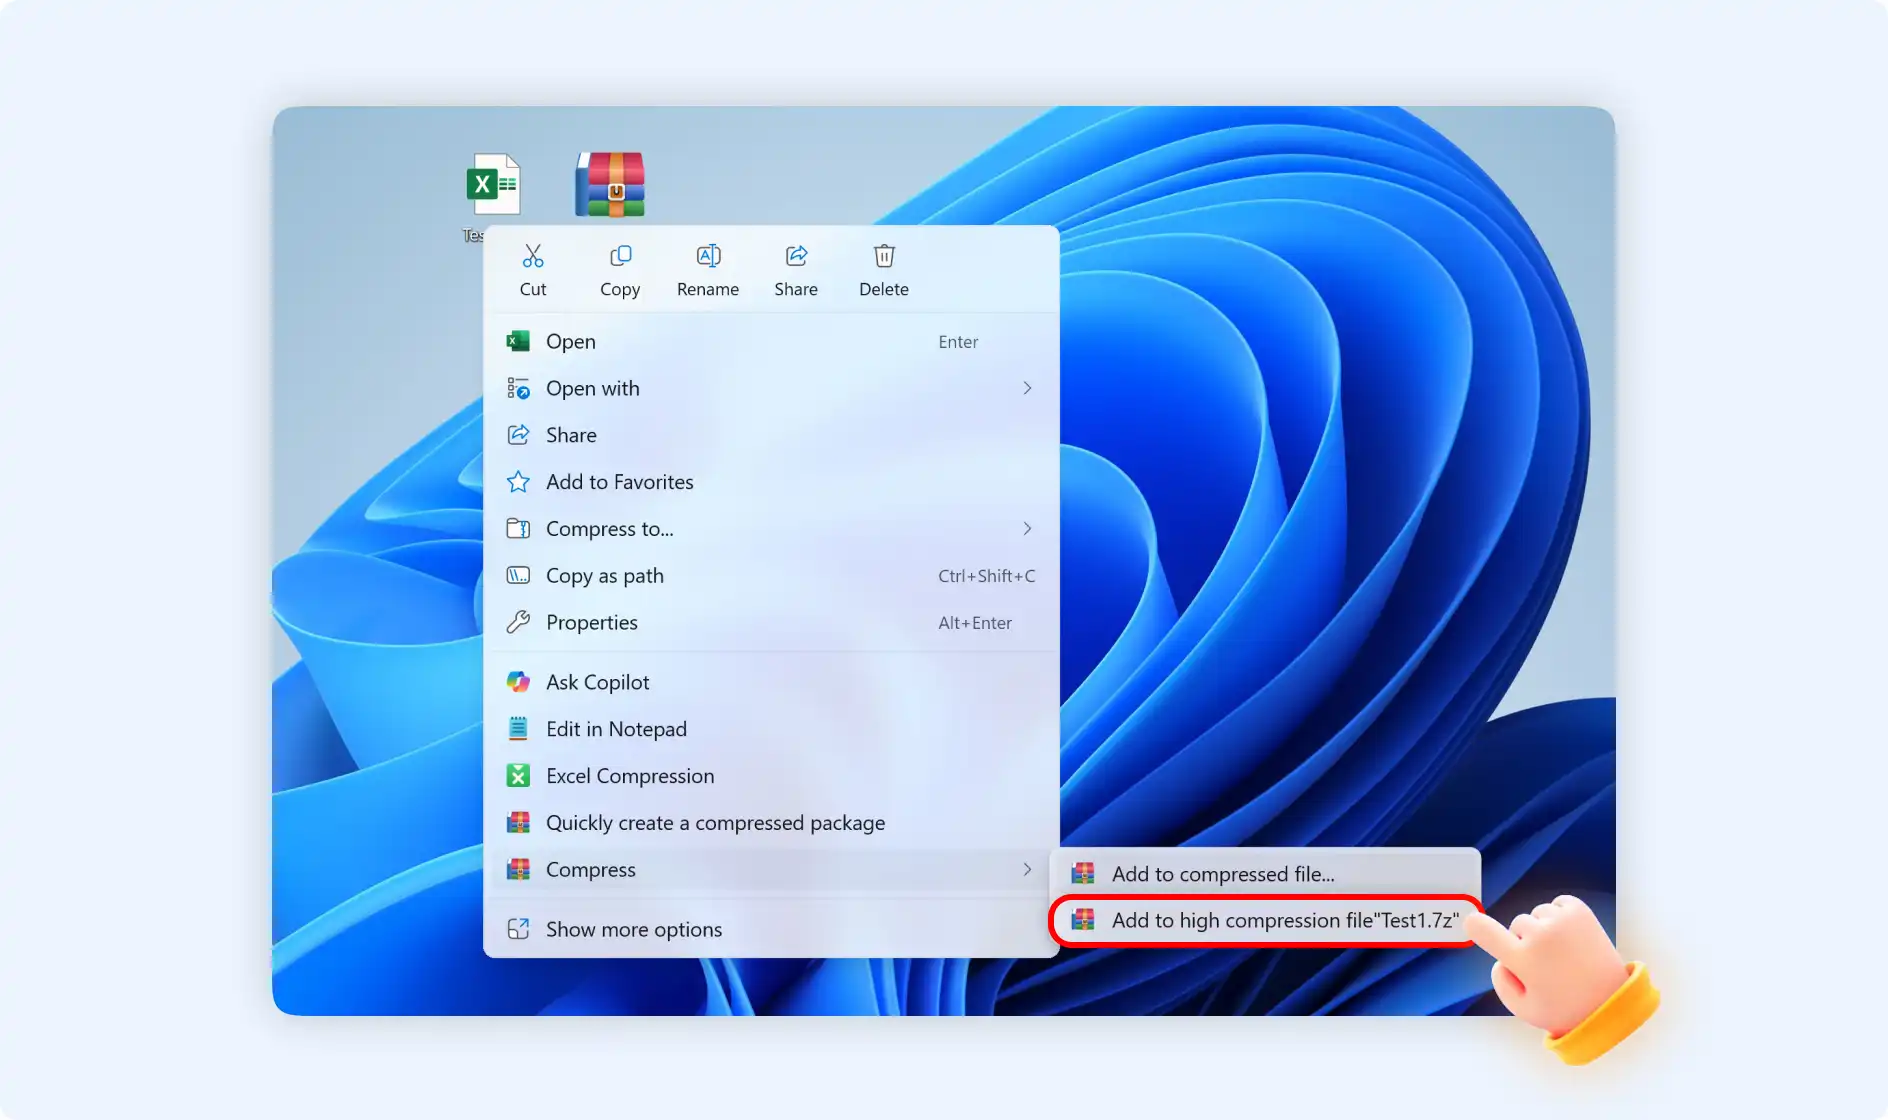
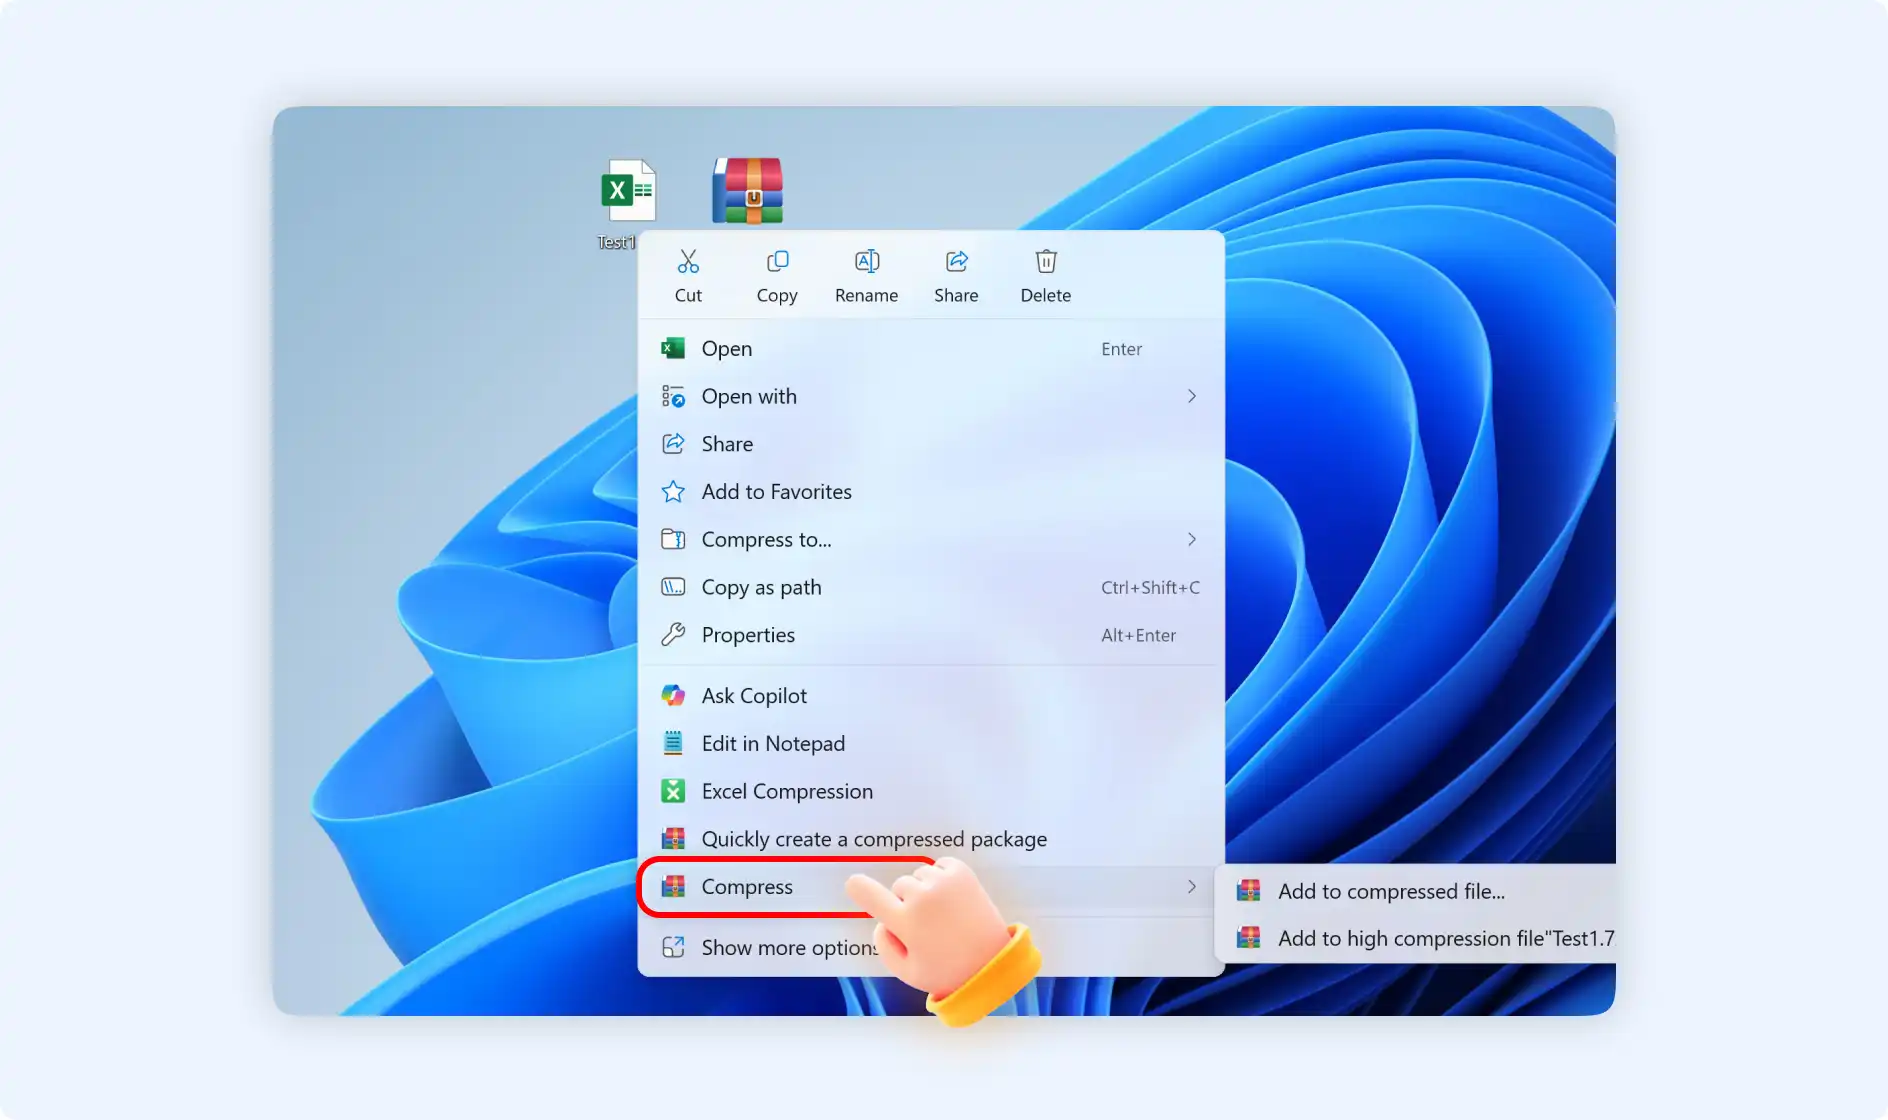
Situation 3: Right-click to choose"Compress"
For this mode, you will see 2 options, choose one of them to compress Excel files according to your needs.
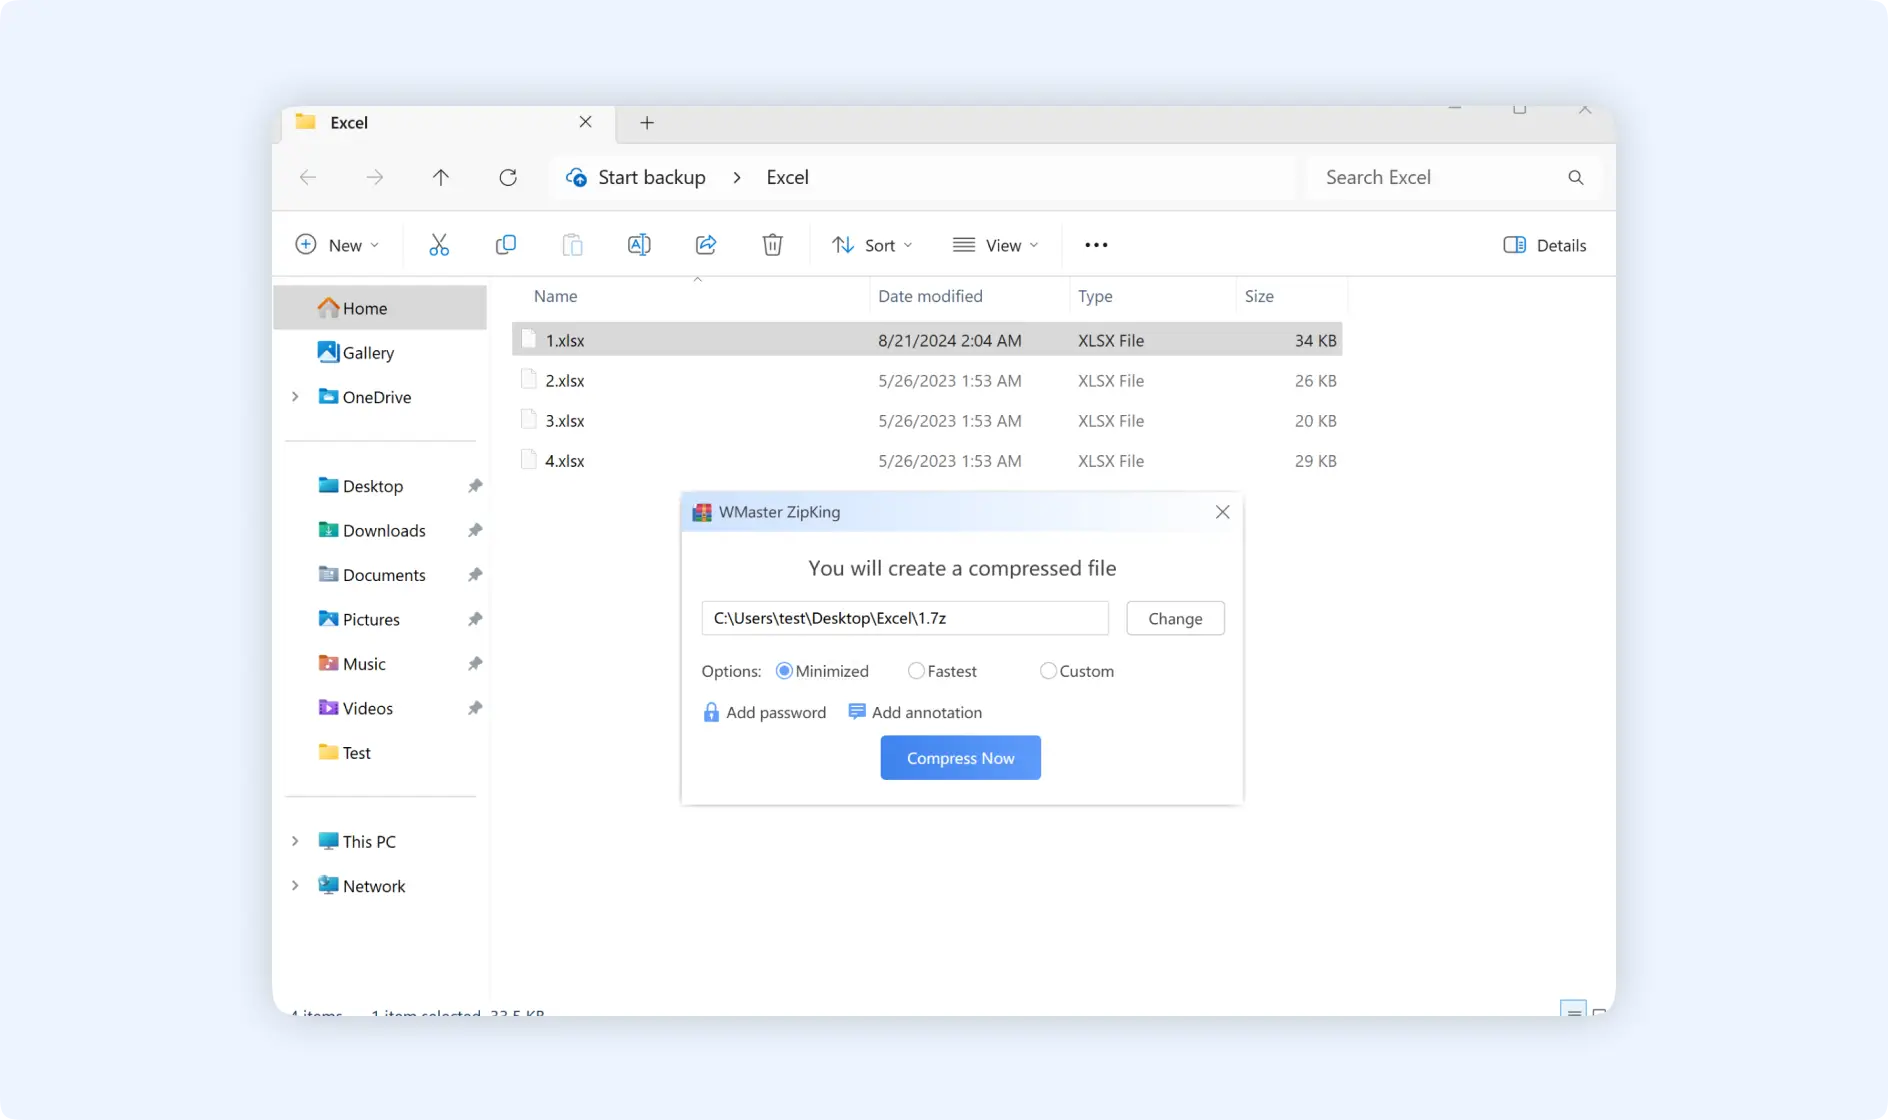
Option 1: Choosing "Add to compressed file". There will be a pop-up window showing that you will create a compressed file for the compressed Excel file. You can select the setting according to your needs.
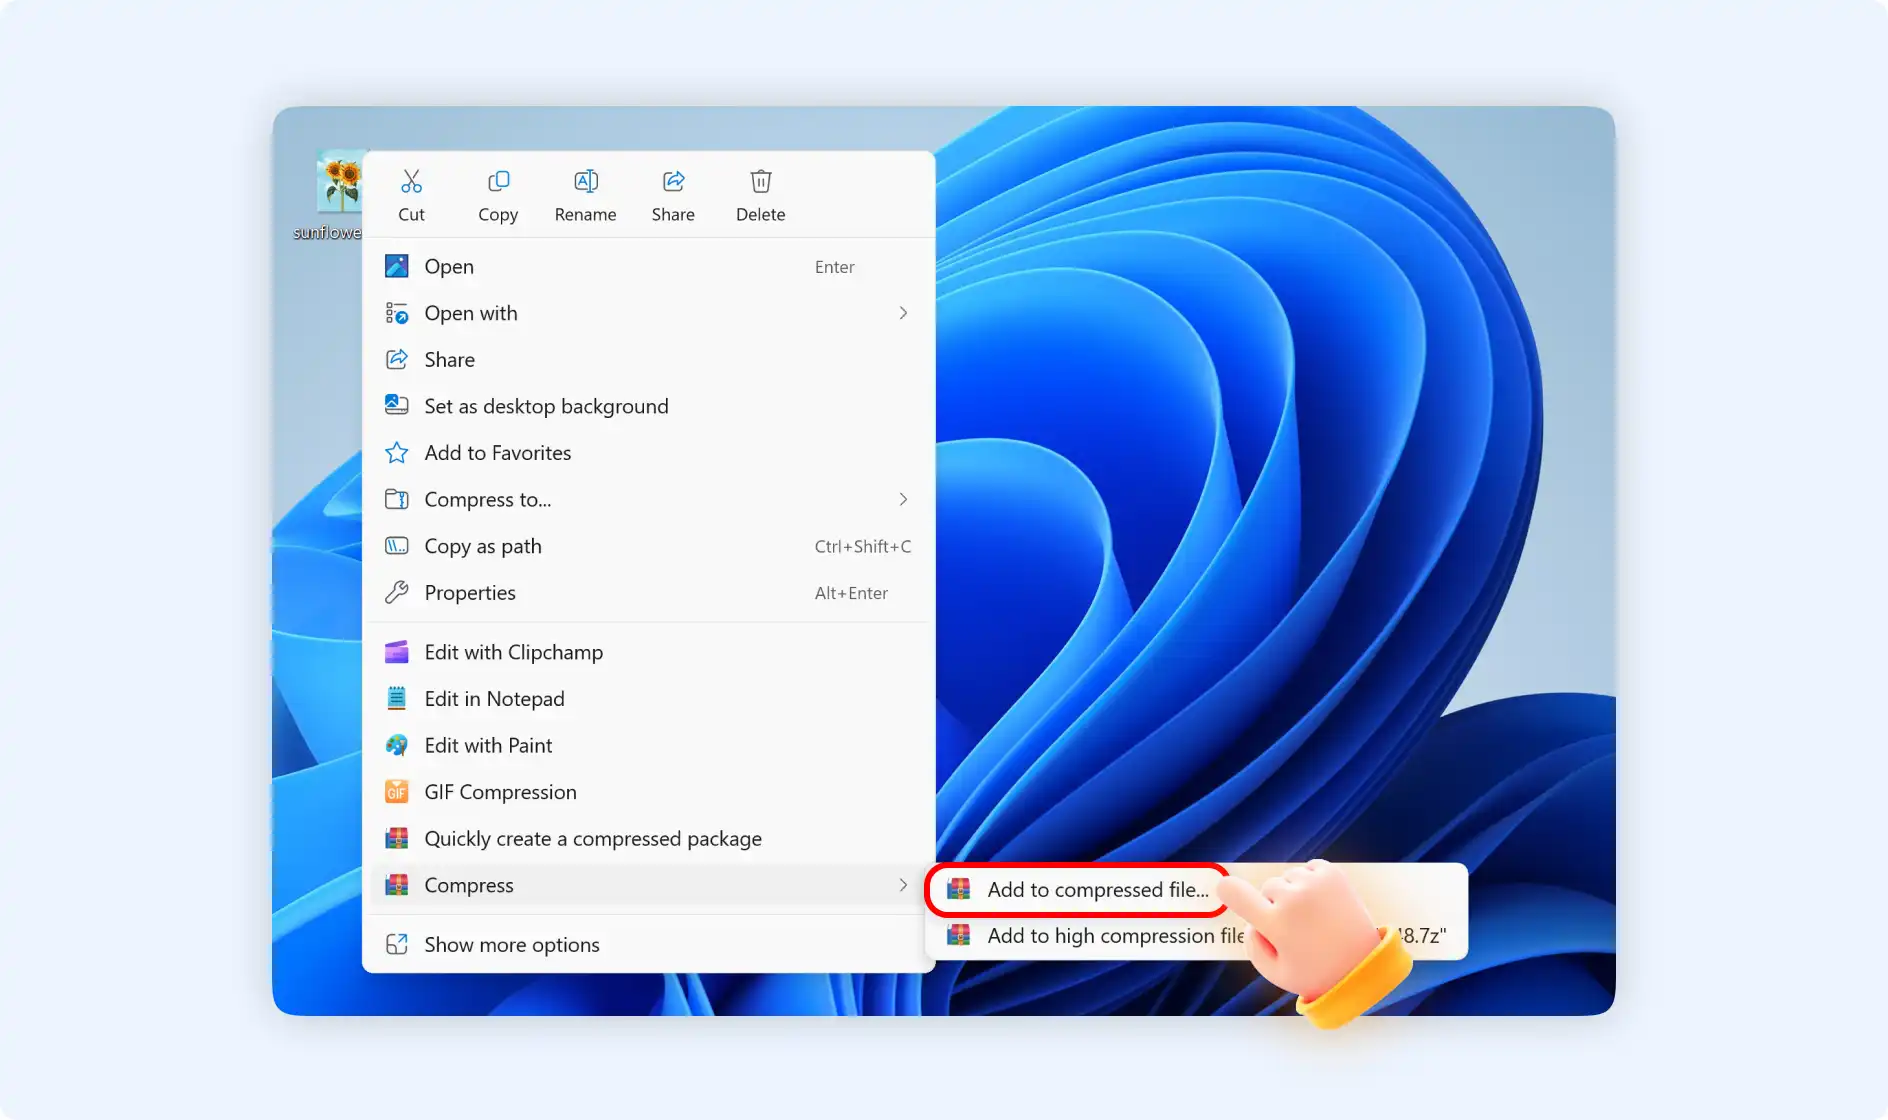
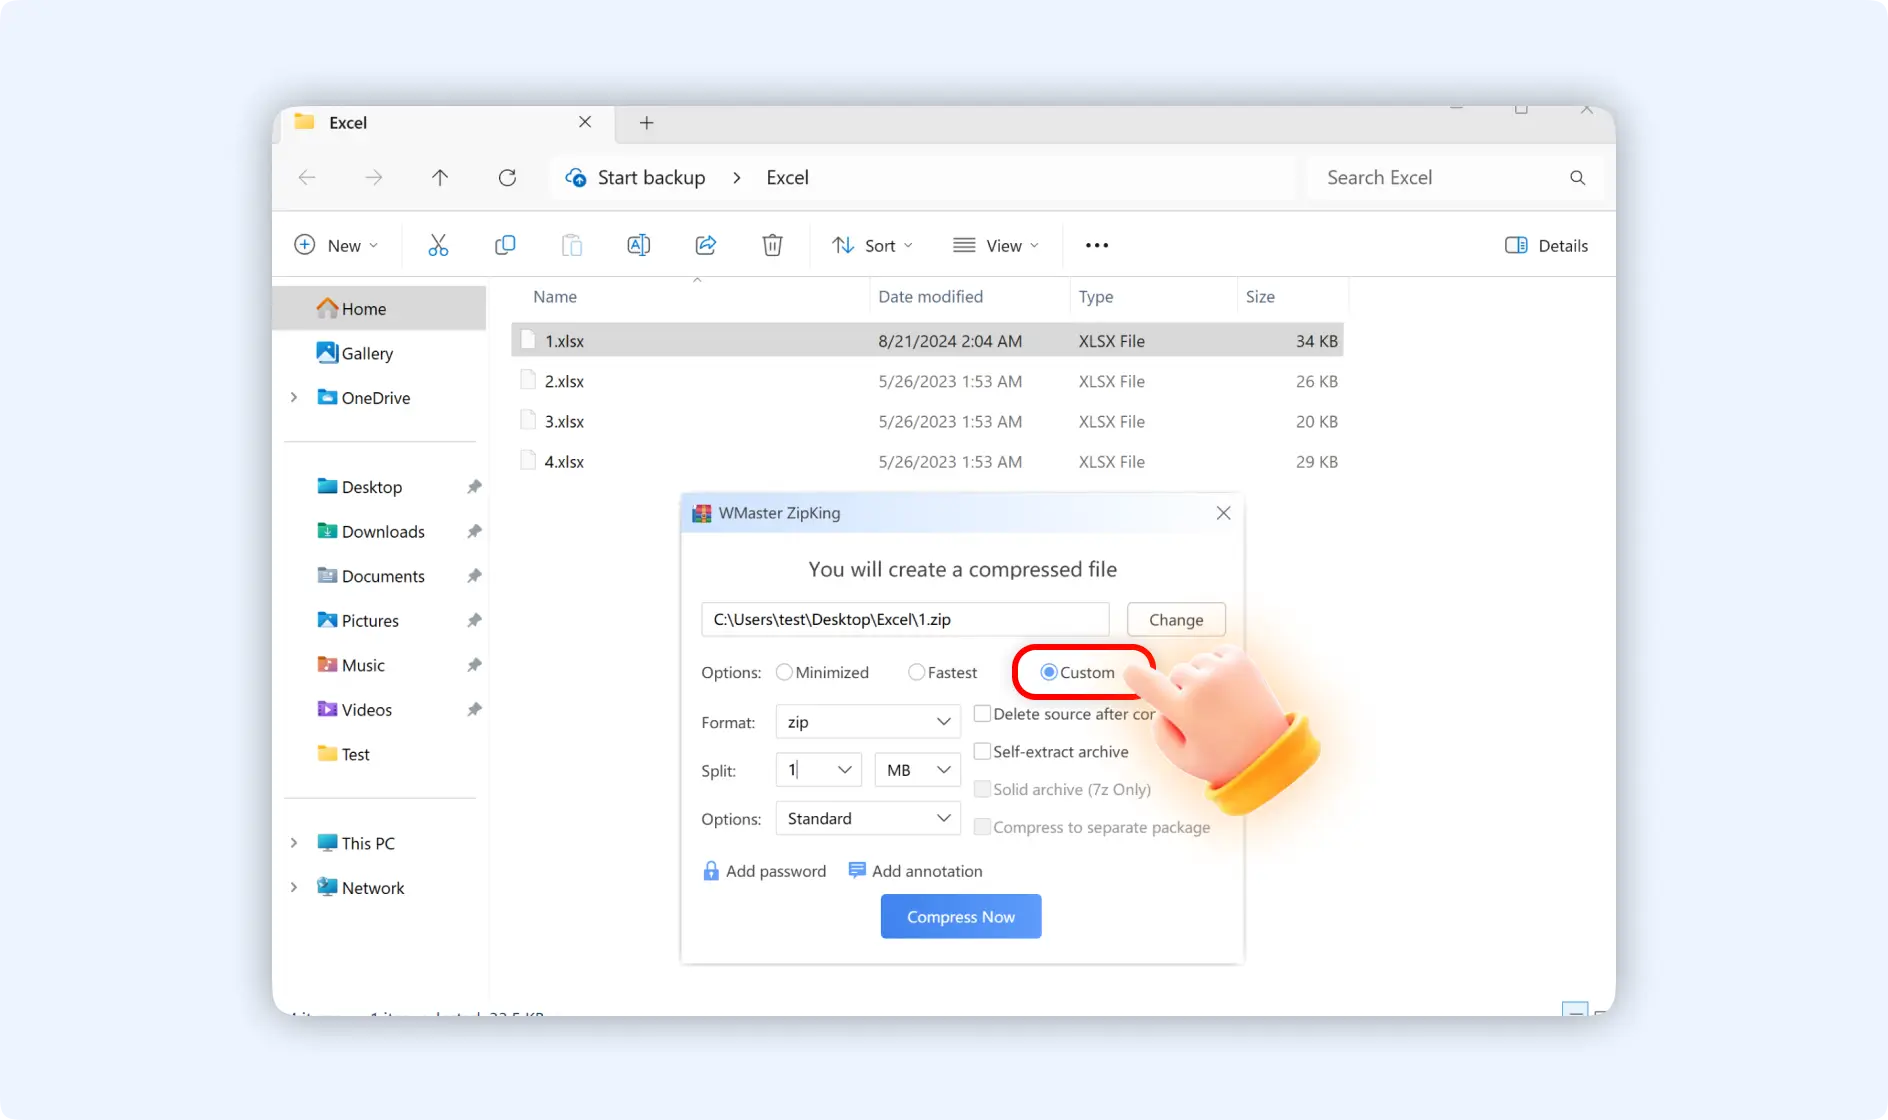
💡Tips: Here if you choose the "Custom" option, you can customize the file format, split file size, and choose compressed Excel file quality.
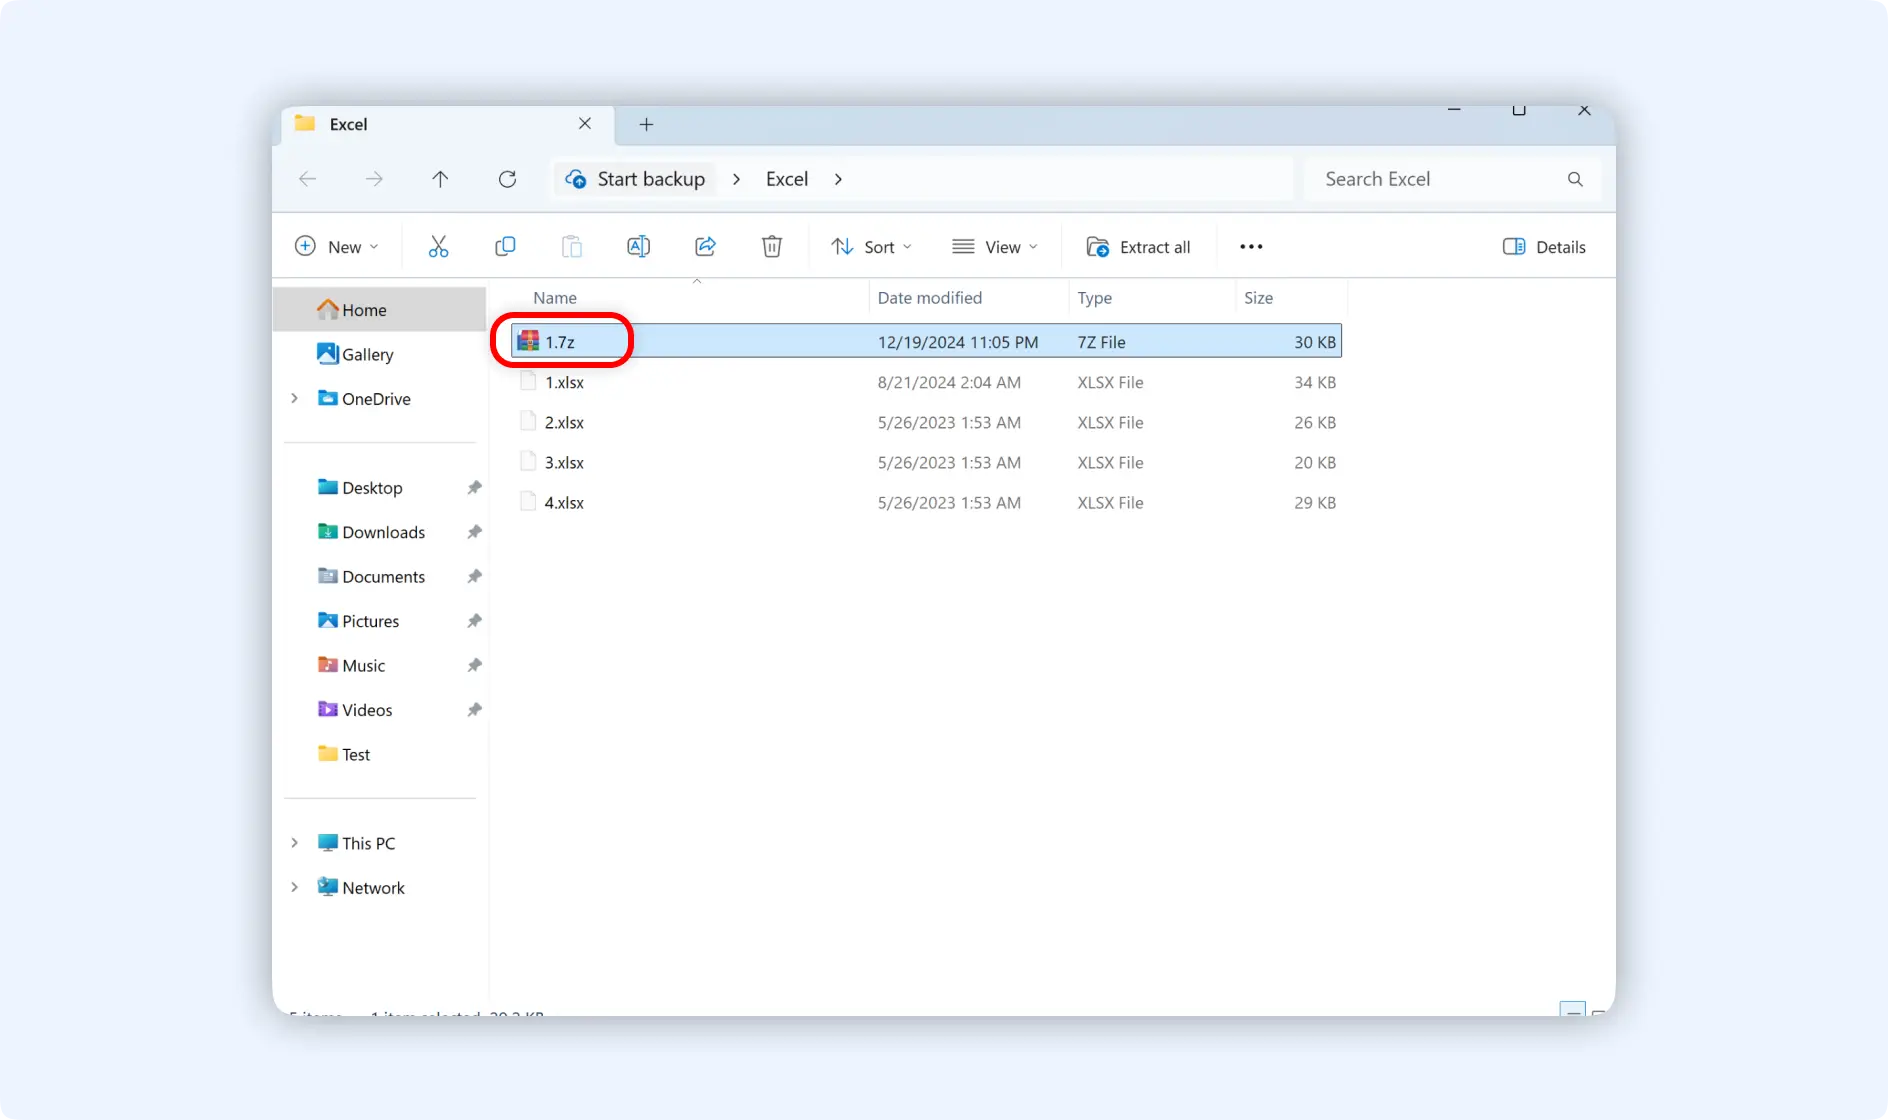
Option 2: Choosing "Add to high compression ratio [file name].7z", you will create a .7z archive of the compressed Excel files. You can open the compressed file by clicking“Open” in the success notification pop-up.