Nowadays, Many people are constantly challenged by unwieldy PPT files when they share them by email or transmit them through different platforms. The hefty PowerPoint files always take up too much storage space and make the transmission difficult to process. WMaster ZipKing can compress PPT with one click, significantly reducing PPT files and making the transmitting speed faster to the next level.
How to Compress PPT File with ZipKing
There are 2 ways to compress PPT files by ZipKing, make sure you have downloaded and installed ZipKing on your PC.
Method 1: Guide to Compress PPT File by ZipKing Tool
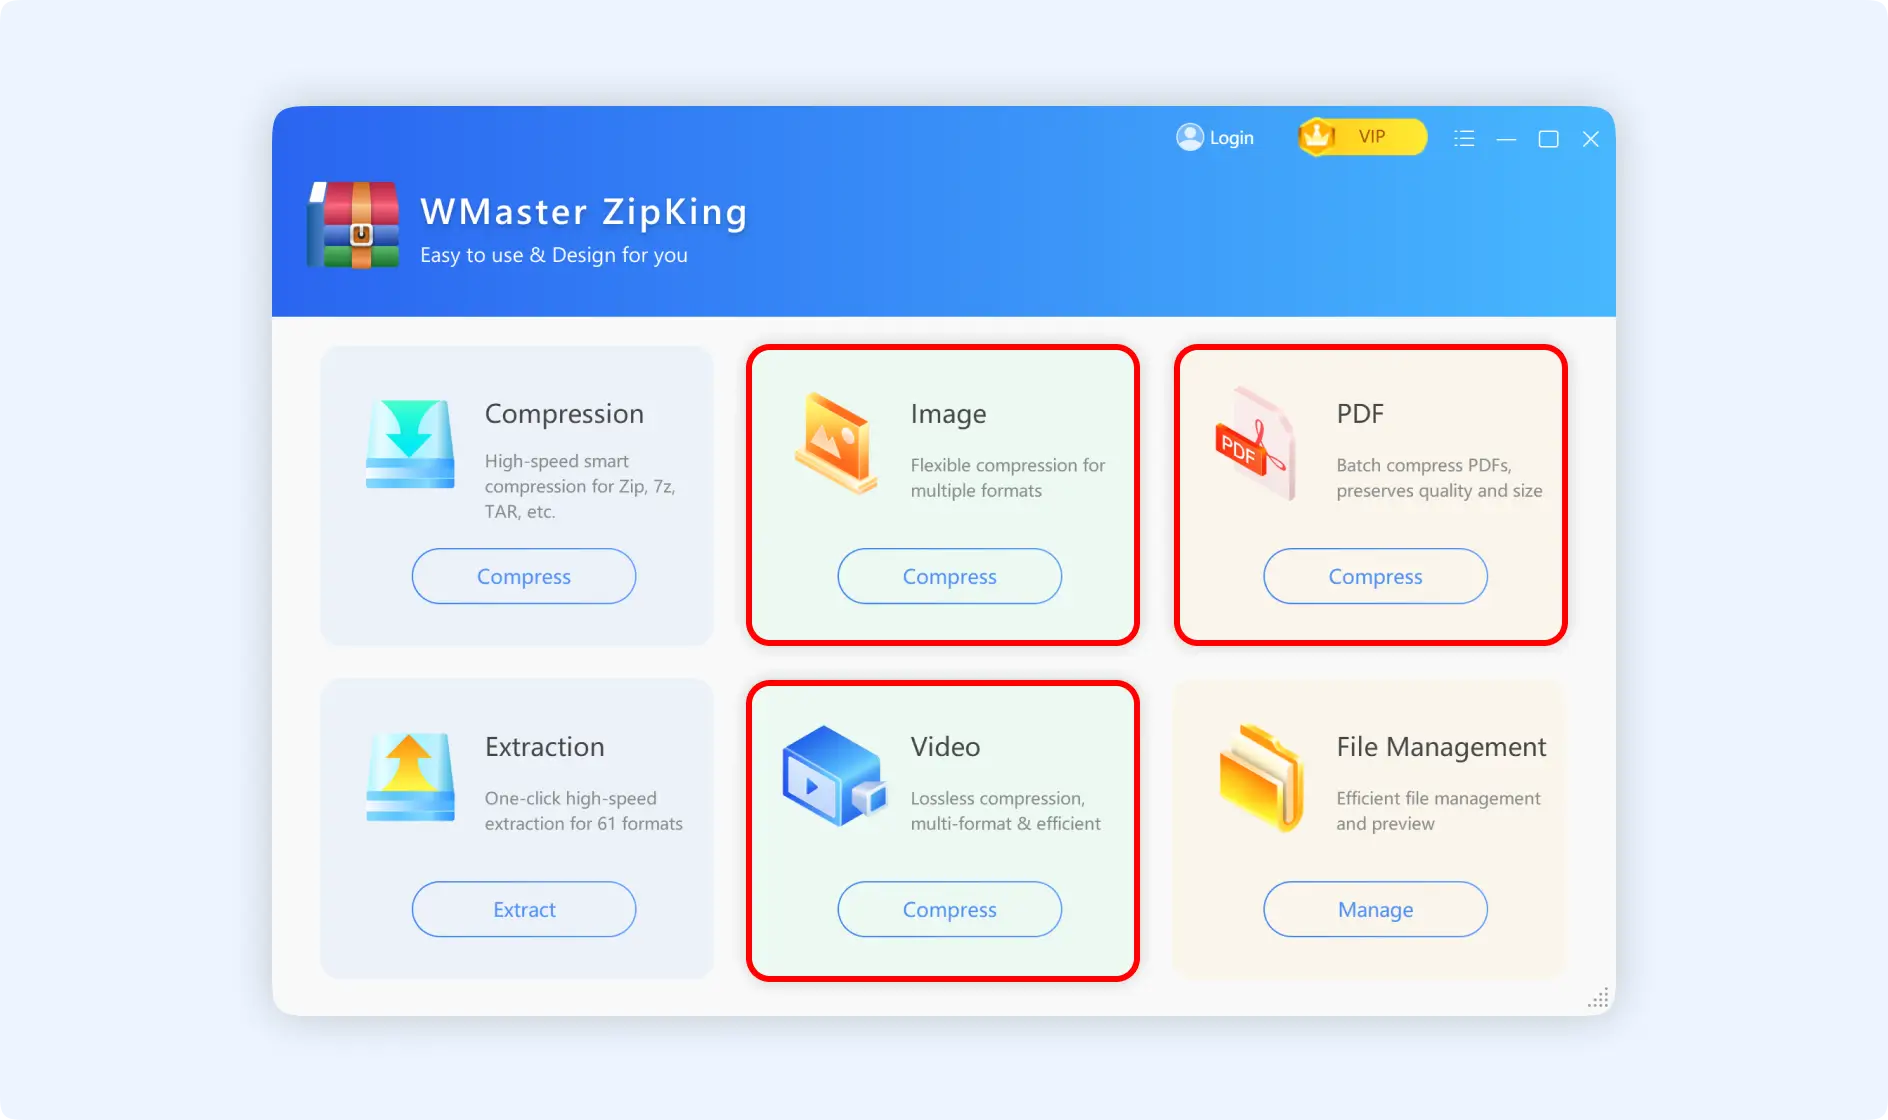
Step 1: Double-click to open ZipKing on your computer, Find Hyper-compress mode for PPT through one of the “Image”, “PDF”, or “Video” Compress windows.
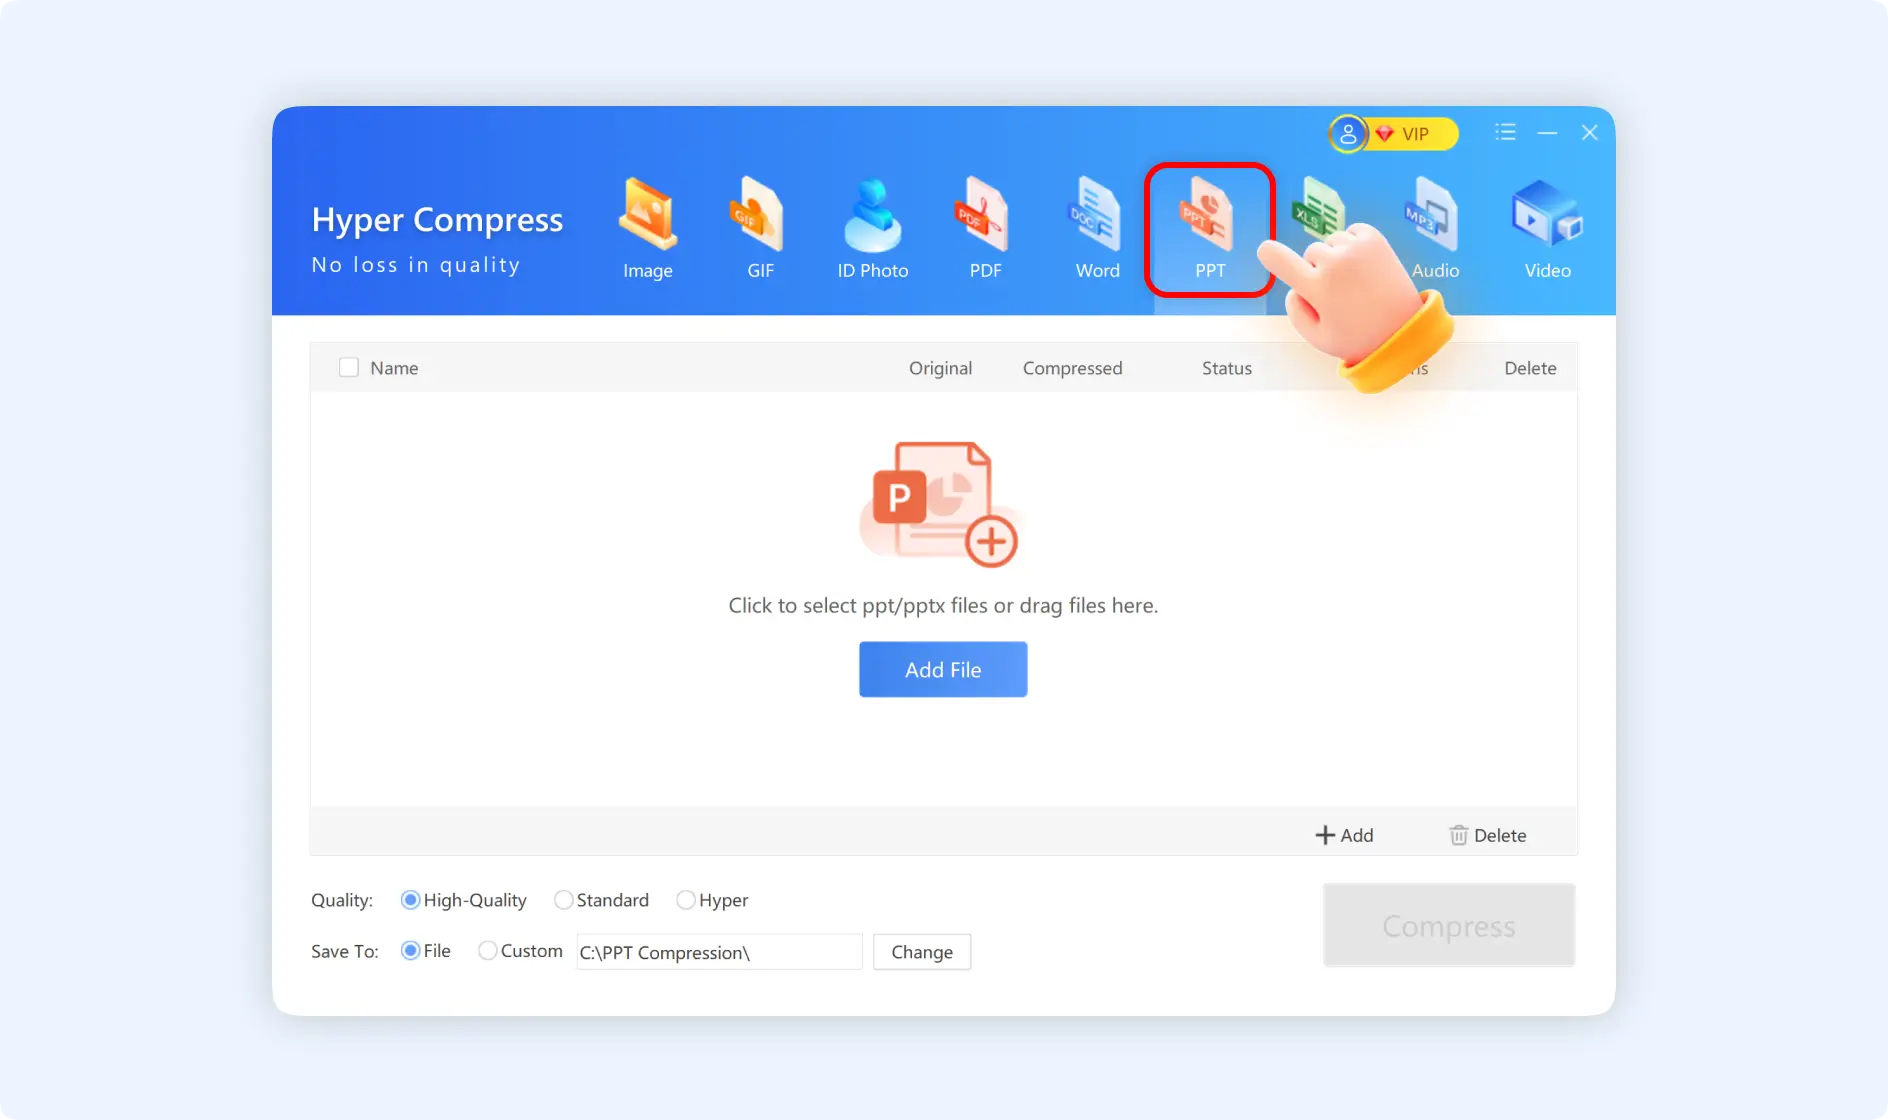
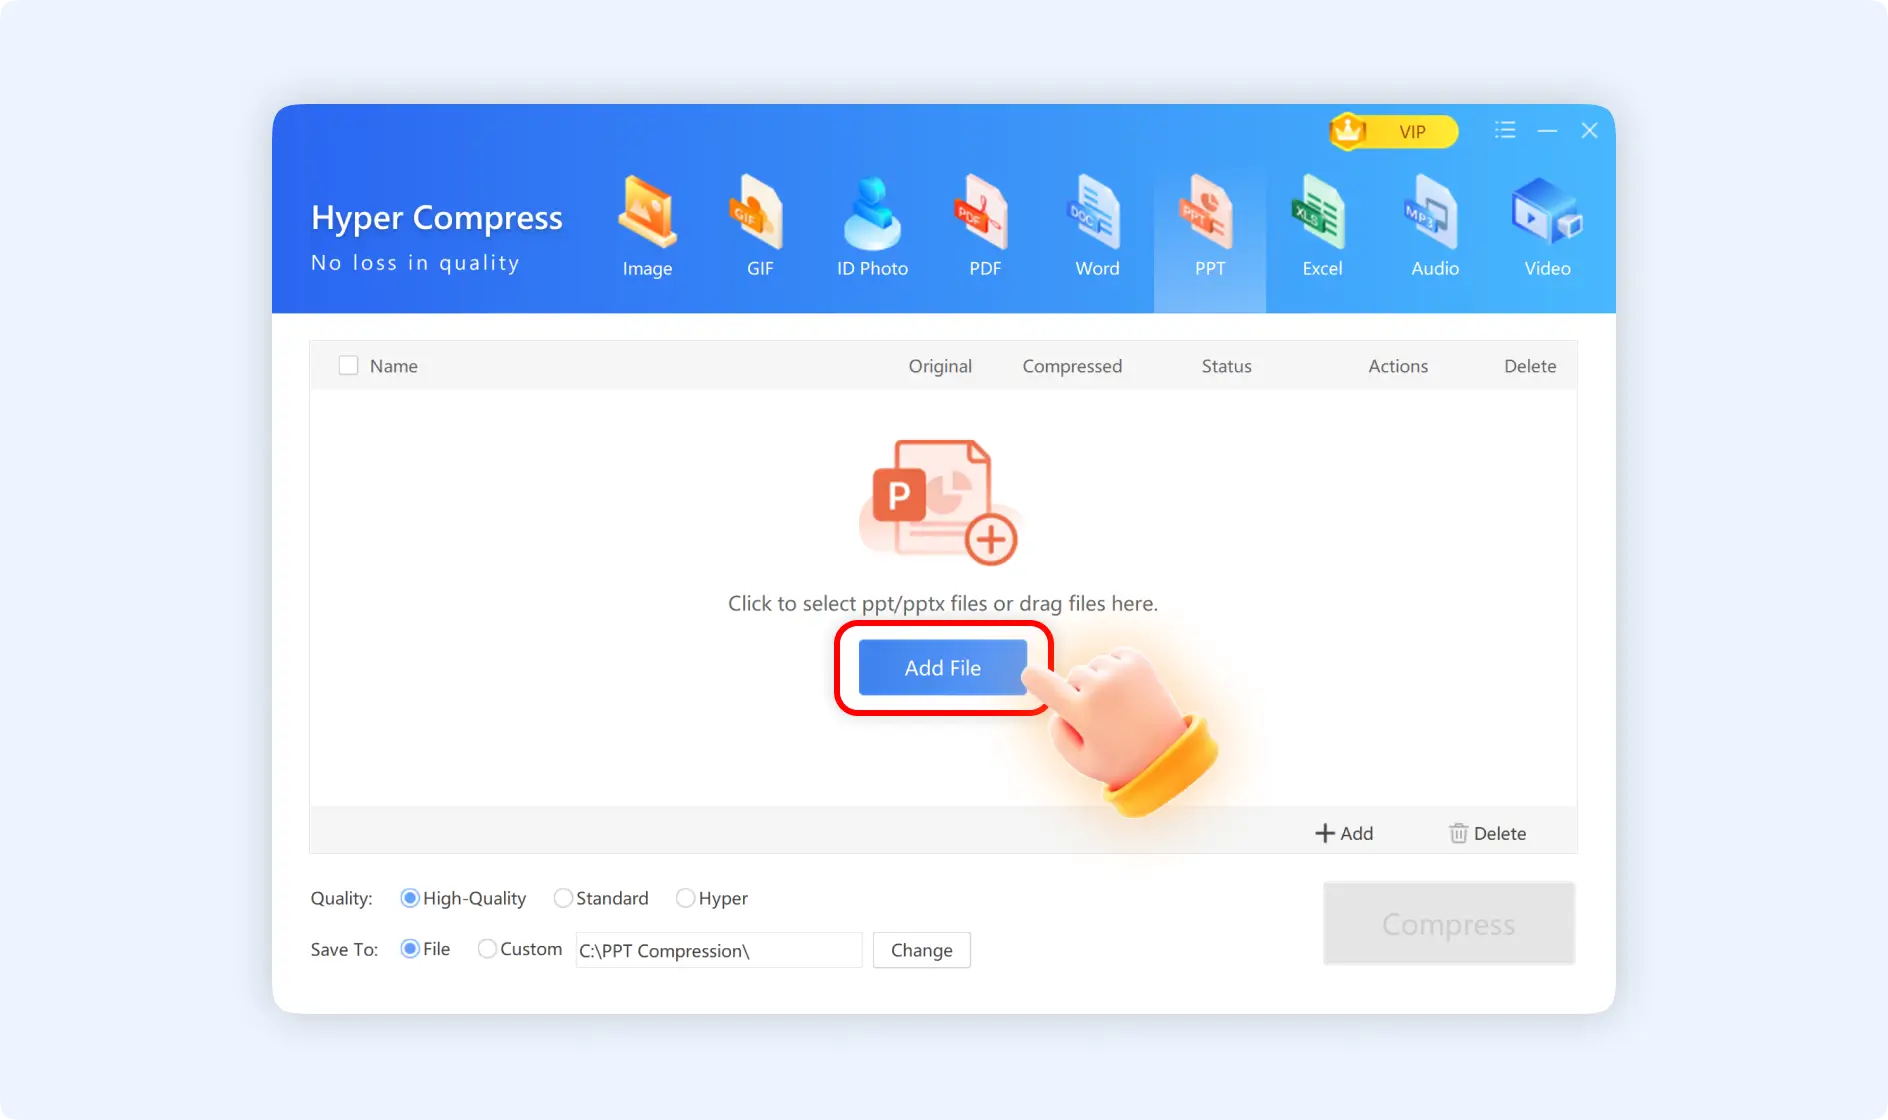
Step 2: Click“Add File” to select PPT files or directly drag and drop PPT to the panel. The supported file formats are .ppt and .pptx.
Step 3: Click “Compress” to reduce PPT file size. PS: If you want, choose your compressing quality and storage path and click “Compress ”.

Method 2: Guide to Compress PPT Files by ZipKing Right-click Windows
There are 3 choice for the right-click operation.
Situation 1: Choose "Compress".
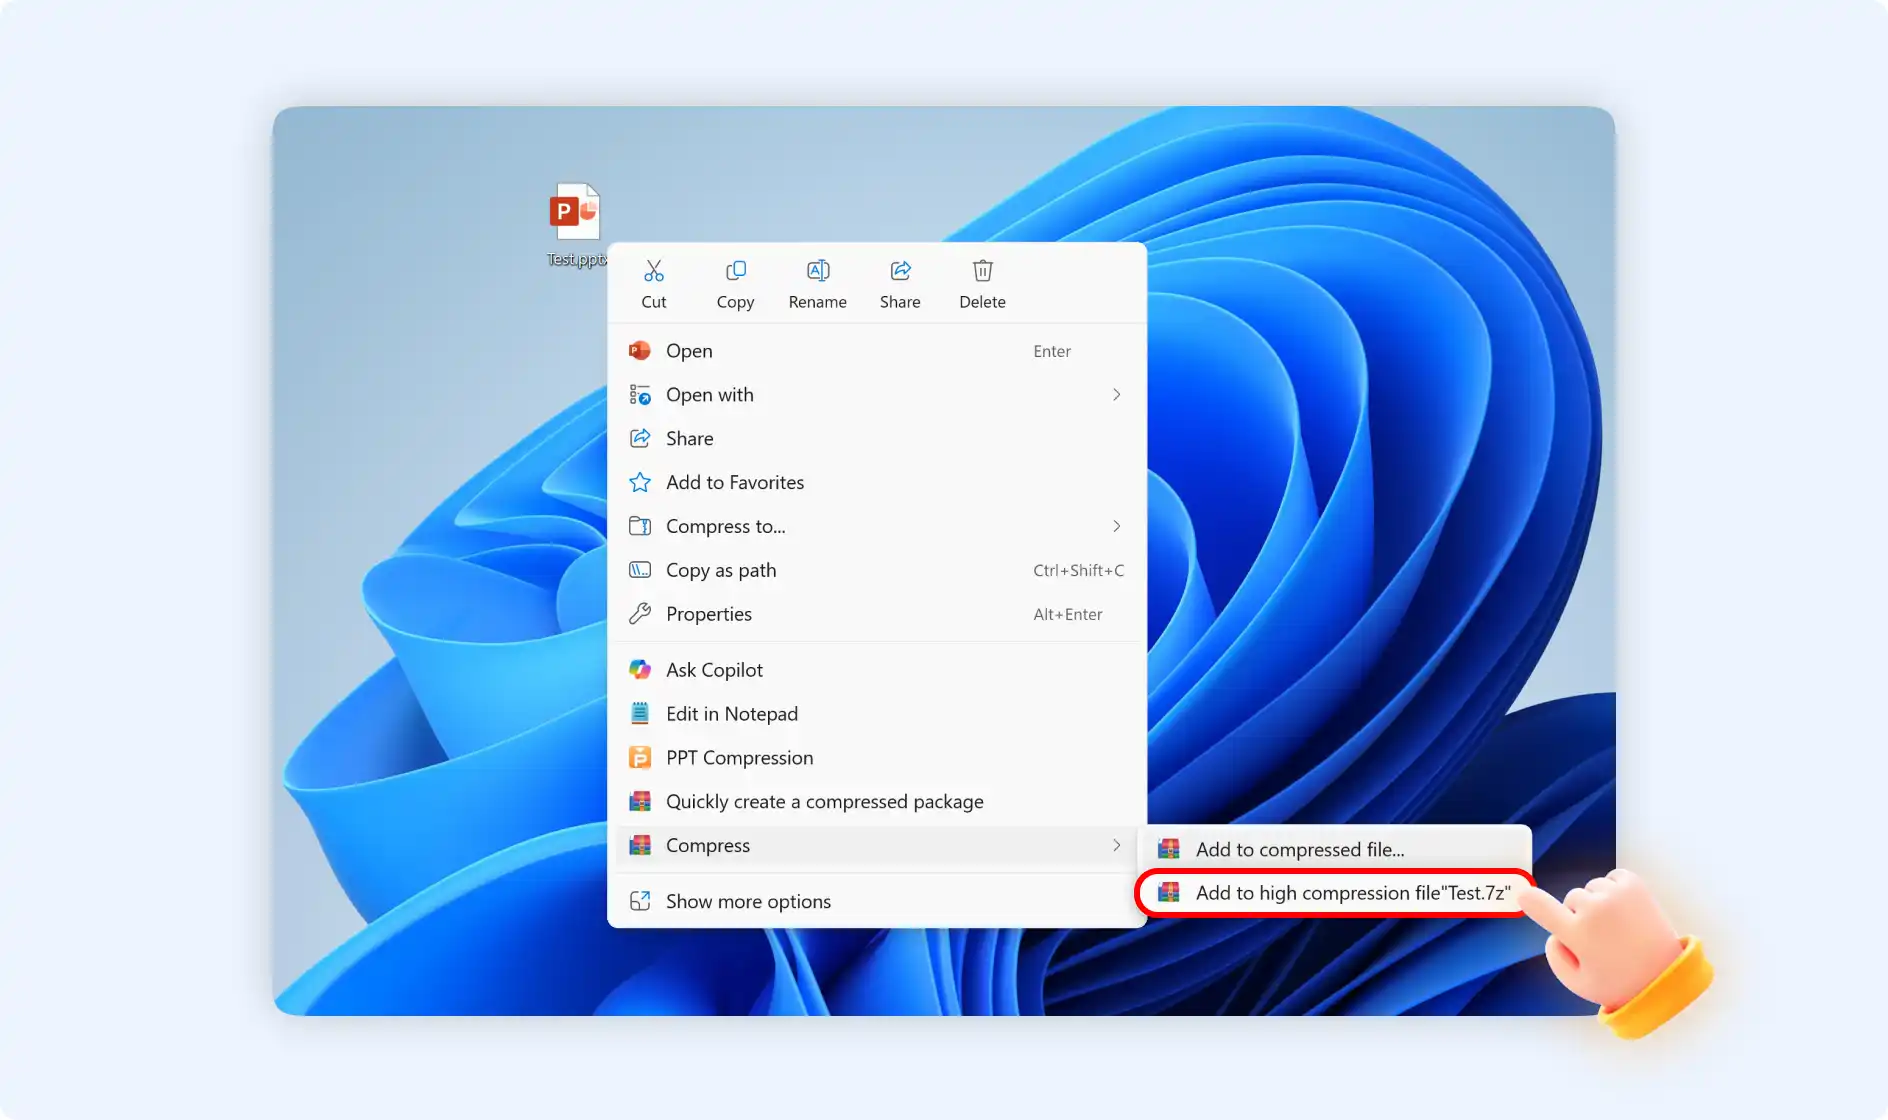
Step 1: Find the PowerPoint documents that you want to compress, and right-click them to locate “Compress”.
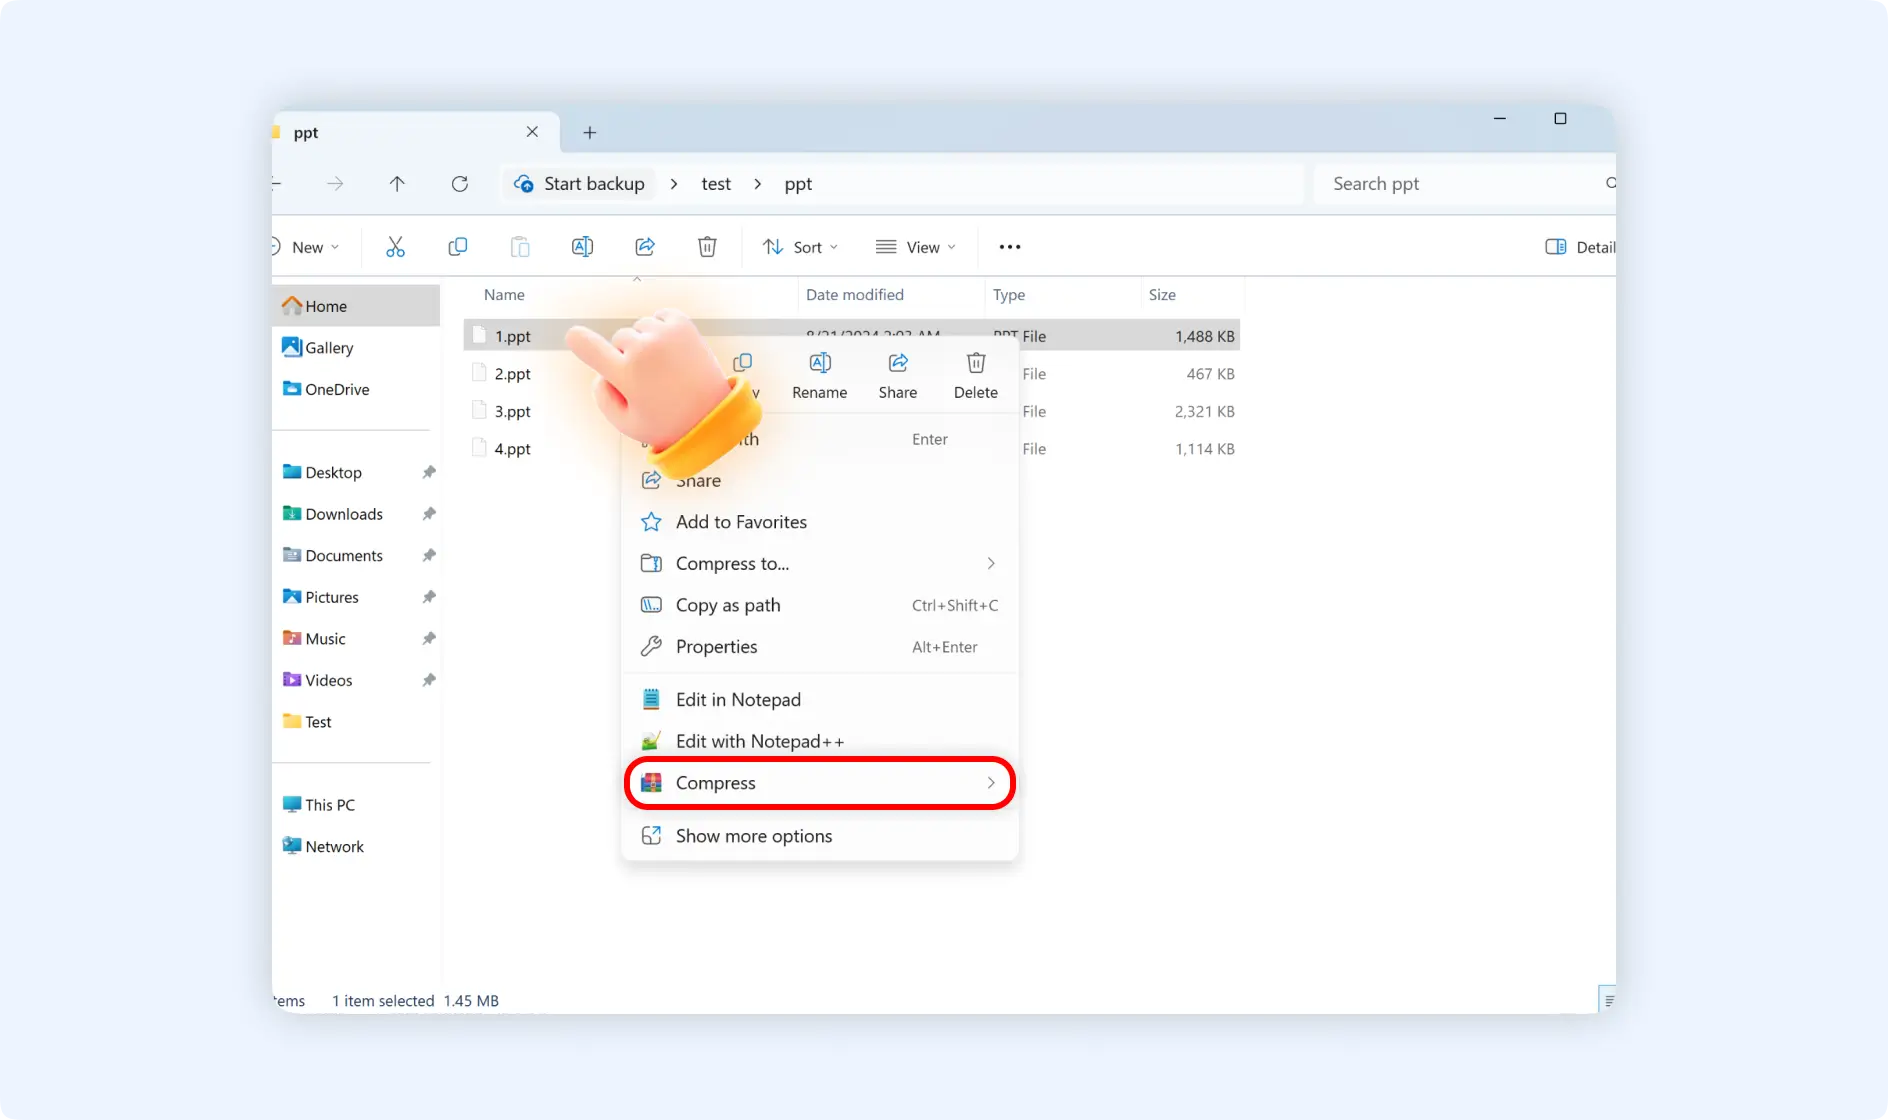
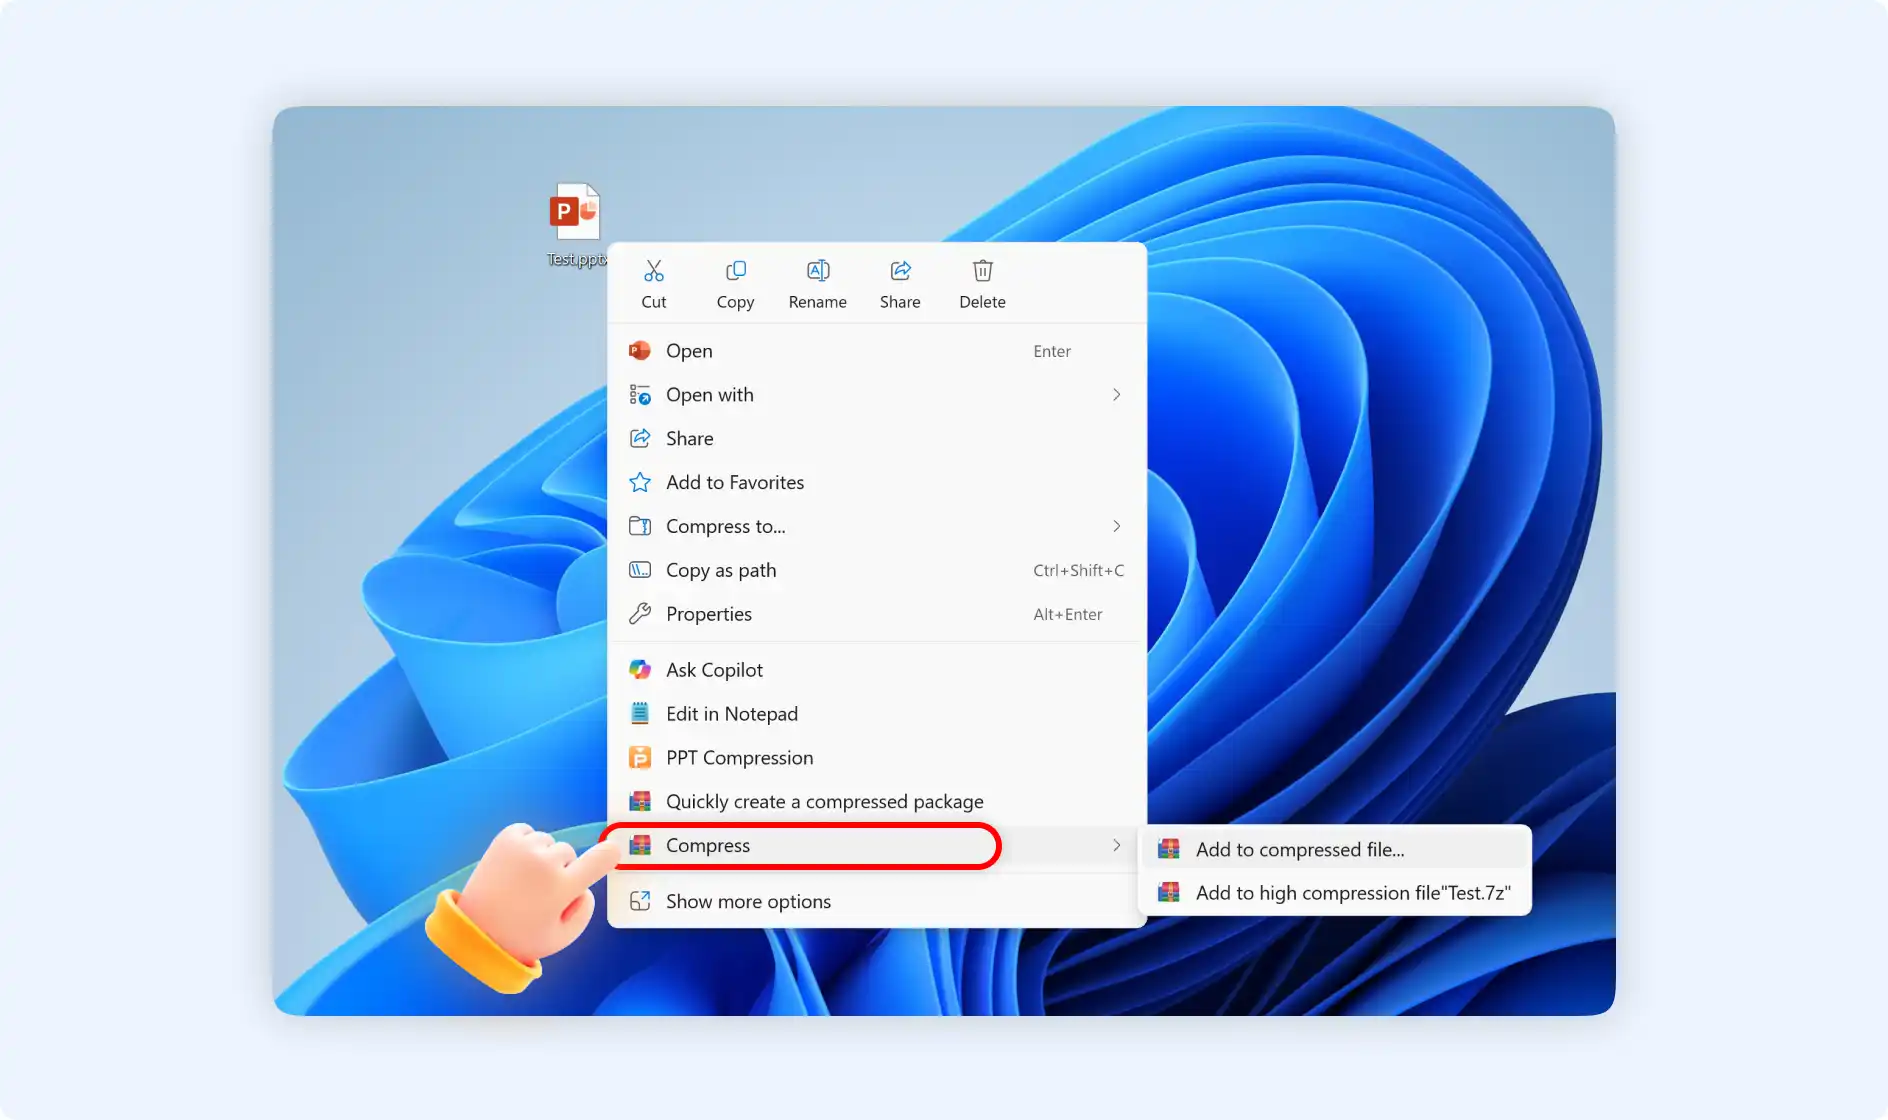
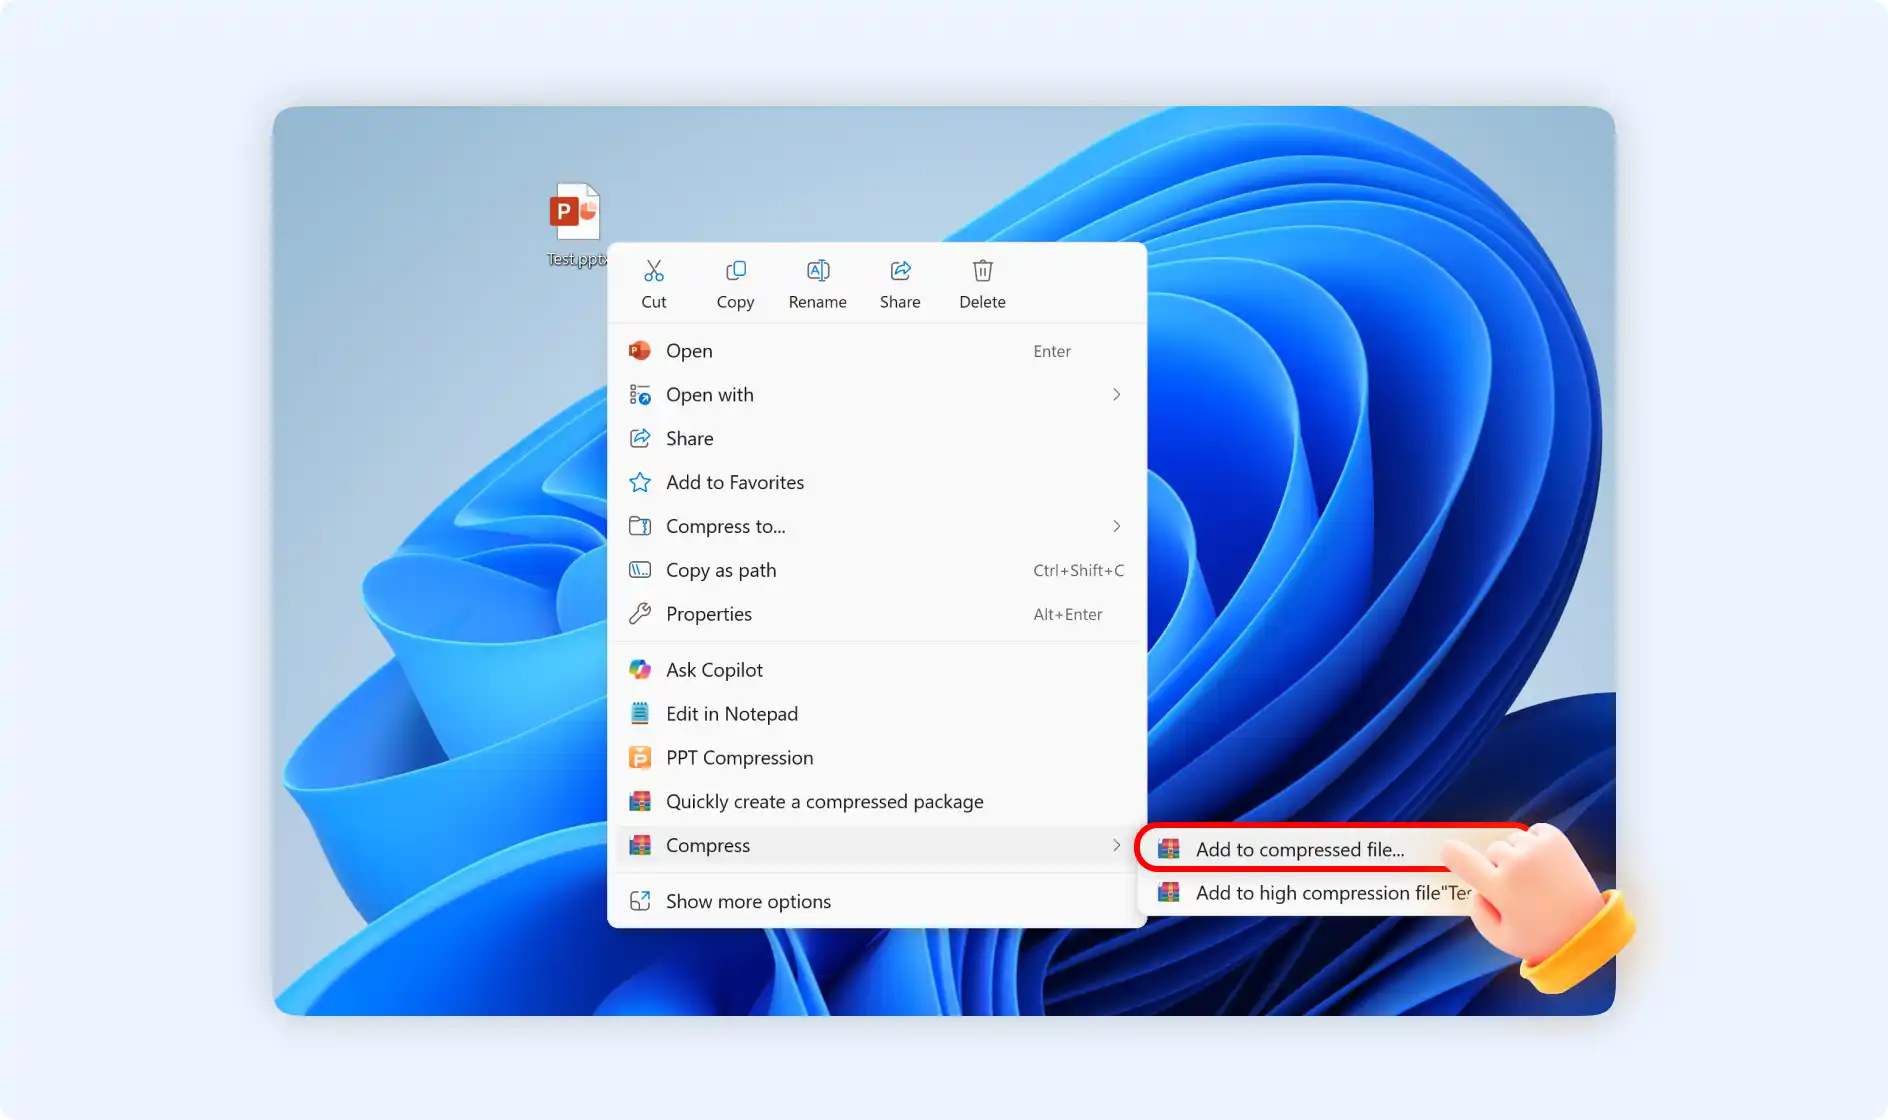
Step 2: Then you will find 2 sub-windows showing 2 options. Choose one of your wanted ones to start compressing PPT files.
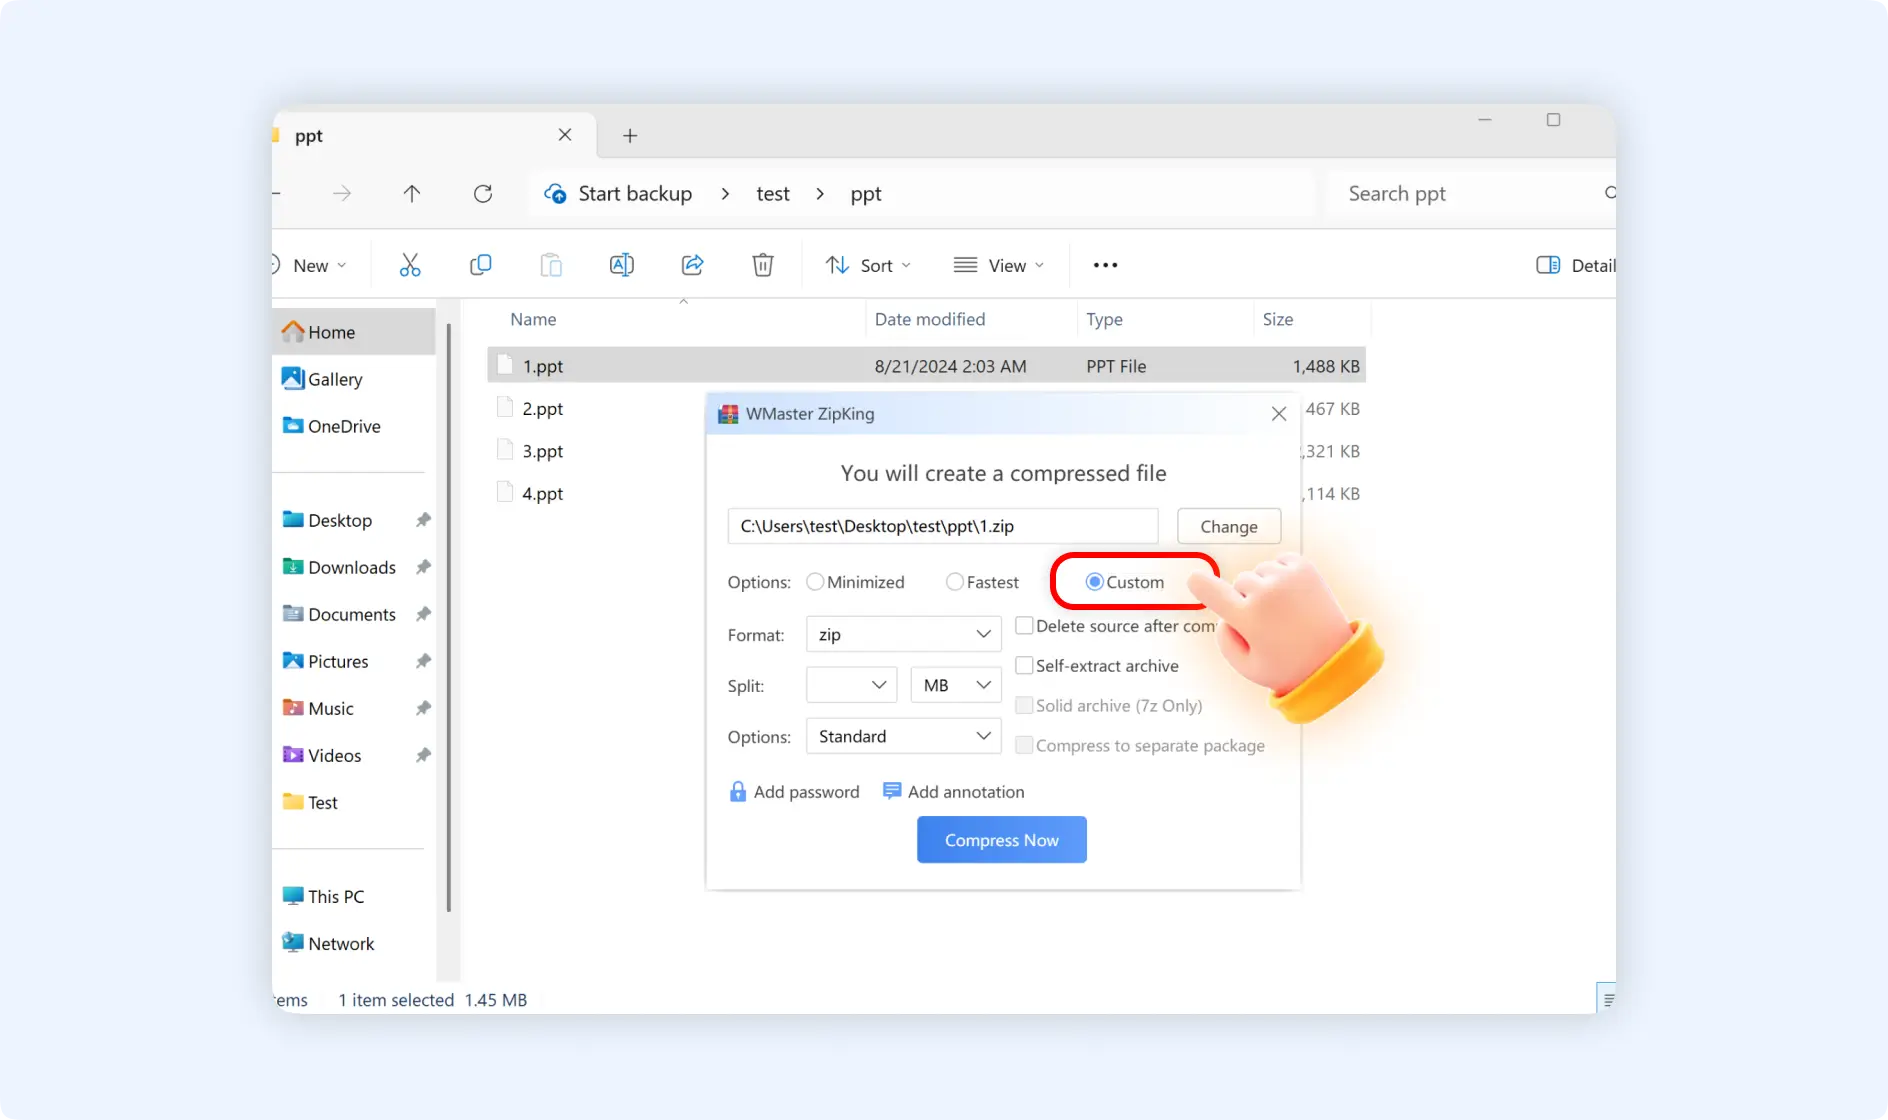
Option 1: If you choose "Add to compressed file" There will be a pop-up window notifying you that you are going to create a compressed file, you can keep the default setting and then click "Compress Now" if you like.
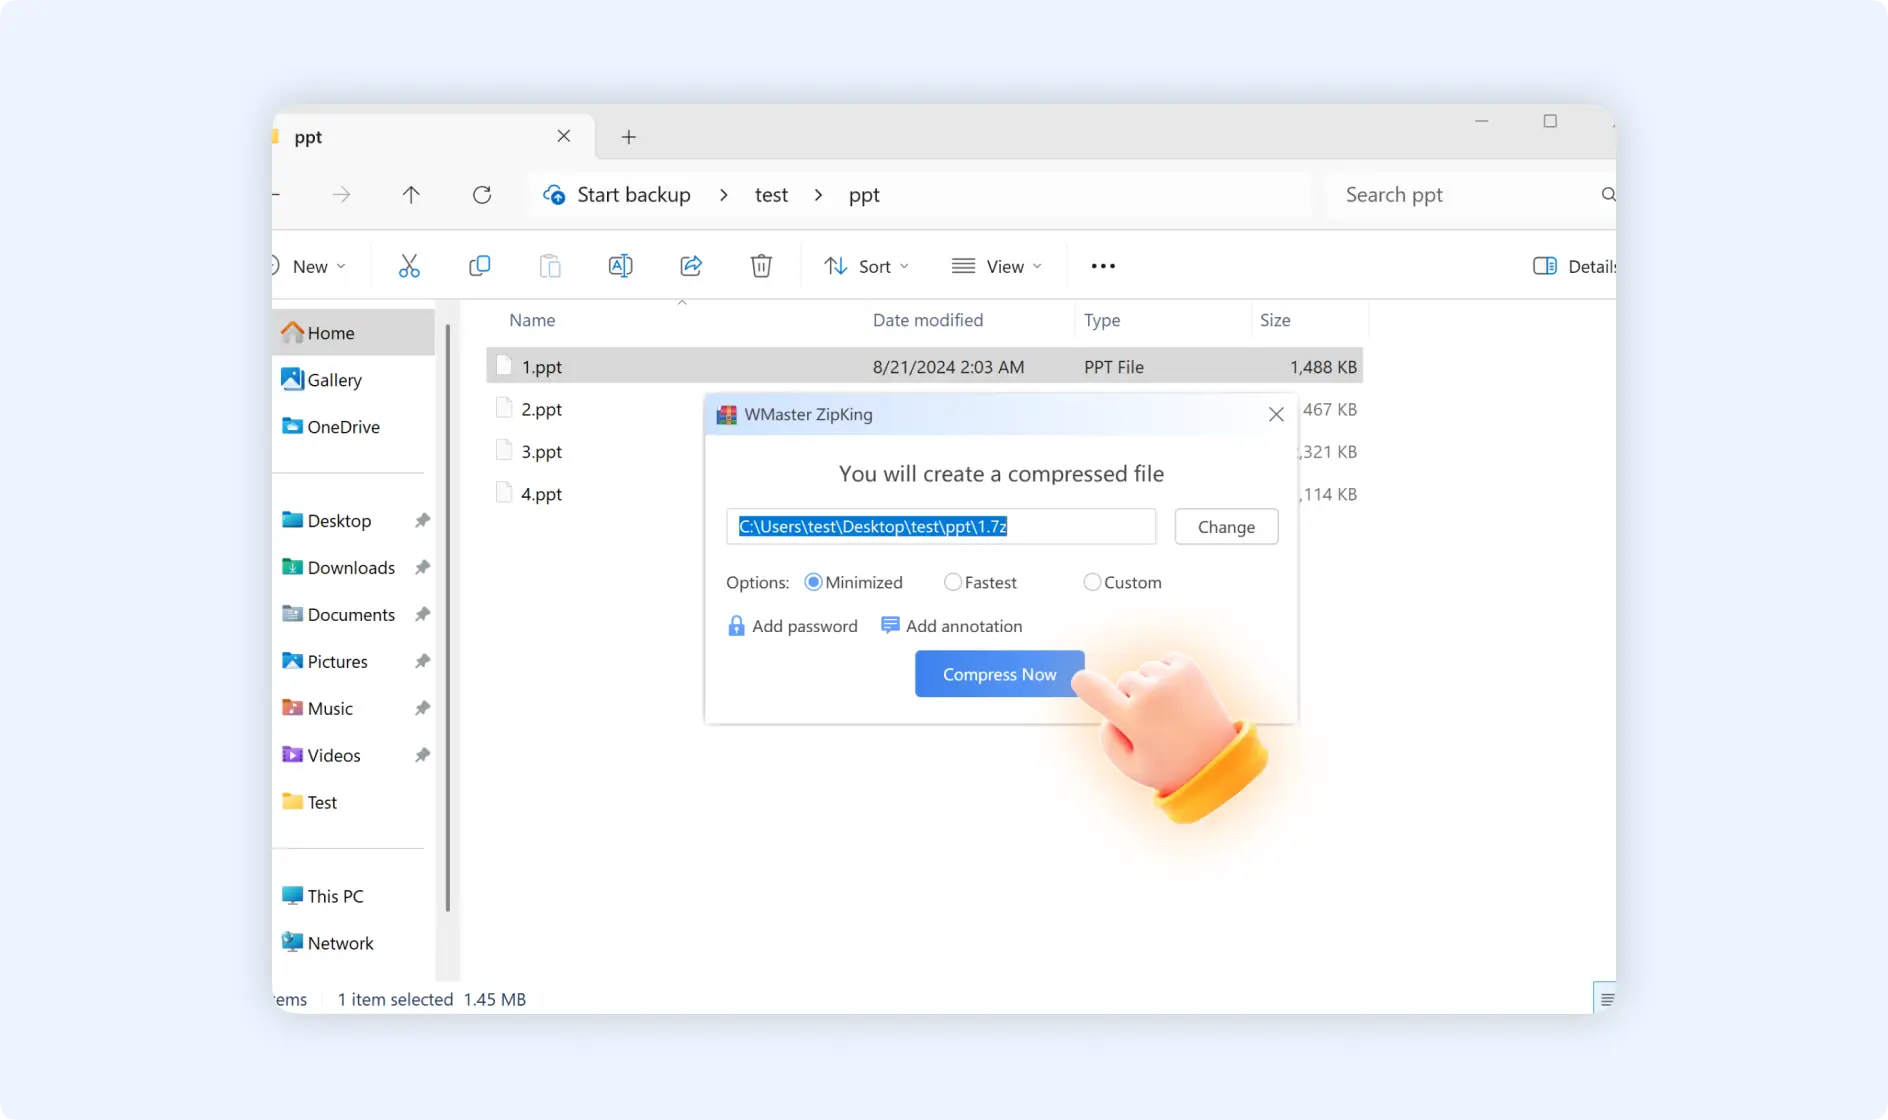
💡Tips: There are 3 different compression qualities for your choice. If you want to customize it, you can select“Custom”, then you can choose the compression format, split big files into separate ones, add password protection, or annotations.
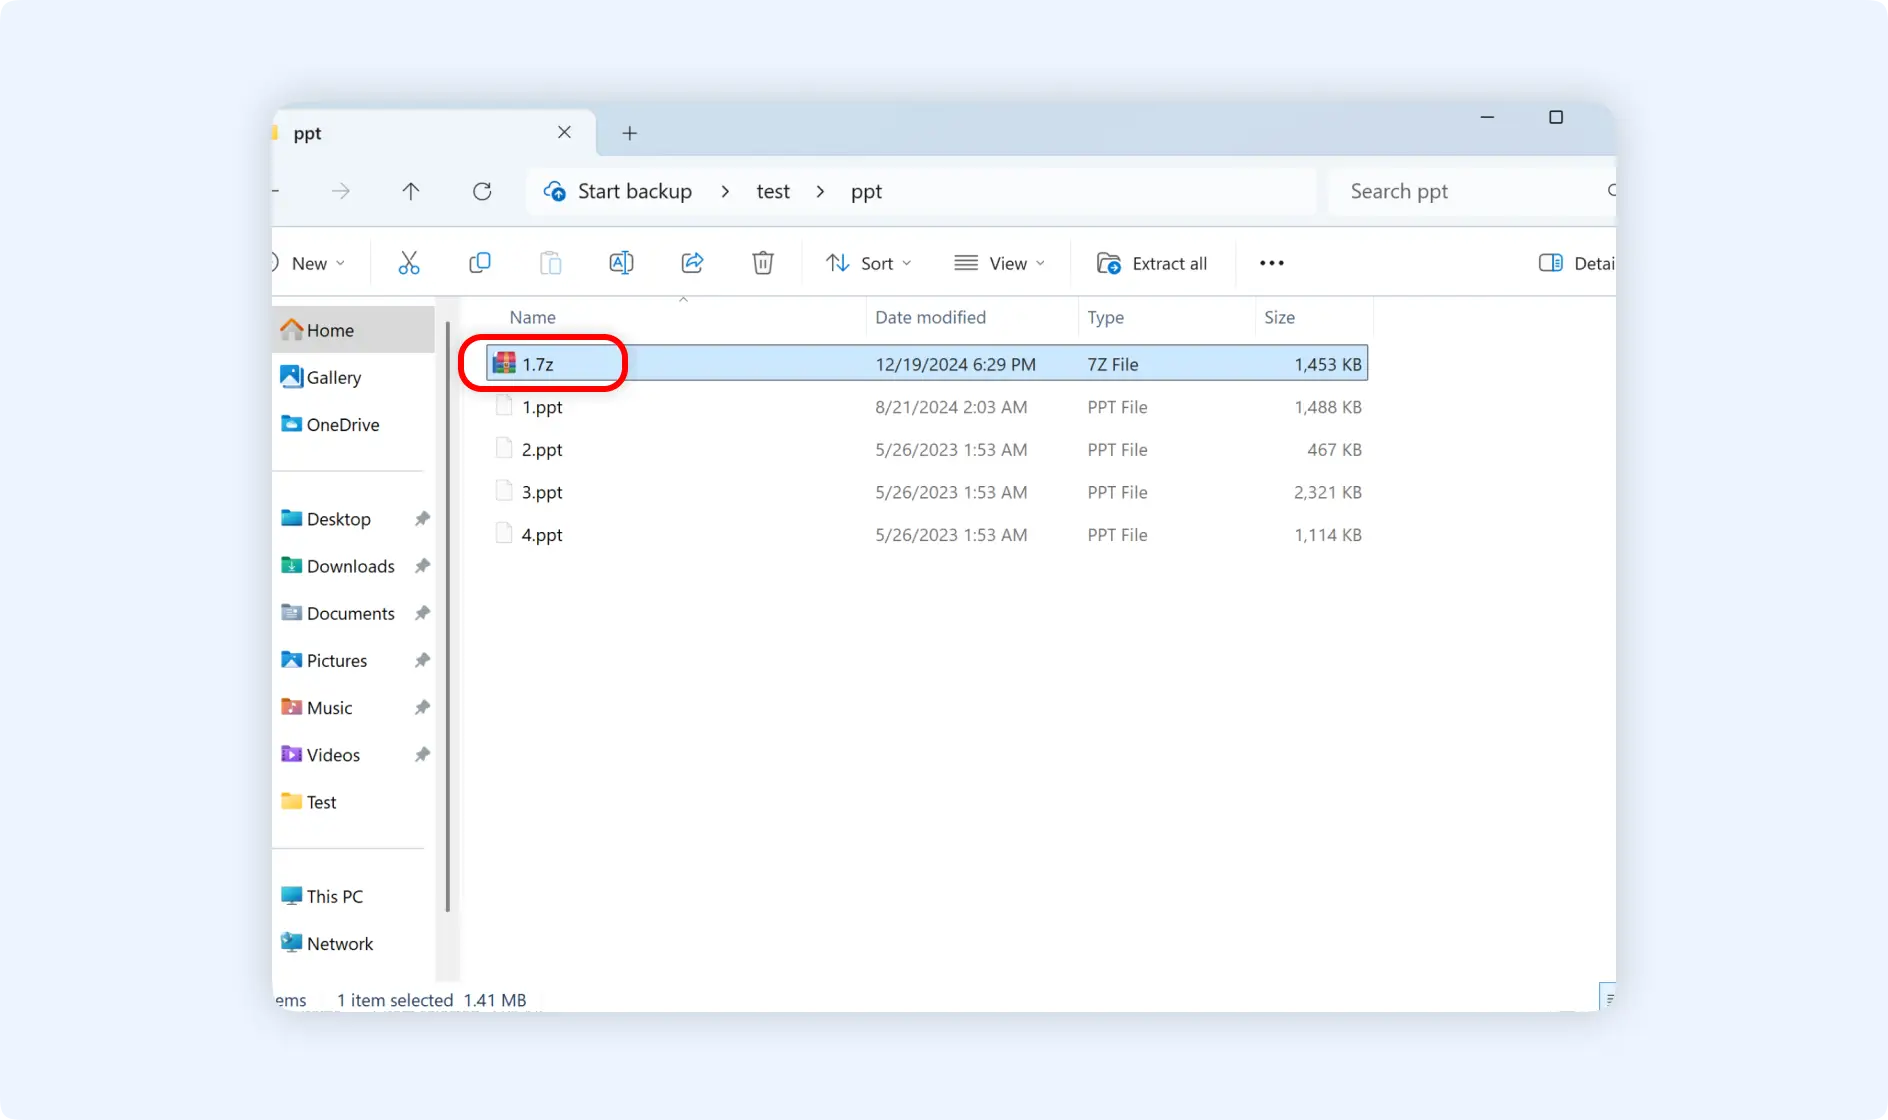
Option 2: If you choose "Add to high compression file [file name].7z", you will create a .7z archive for these compressed PPT documents. Within seconds, ZipKing will open the compressed PPT file location automatically.
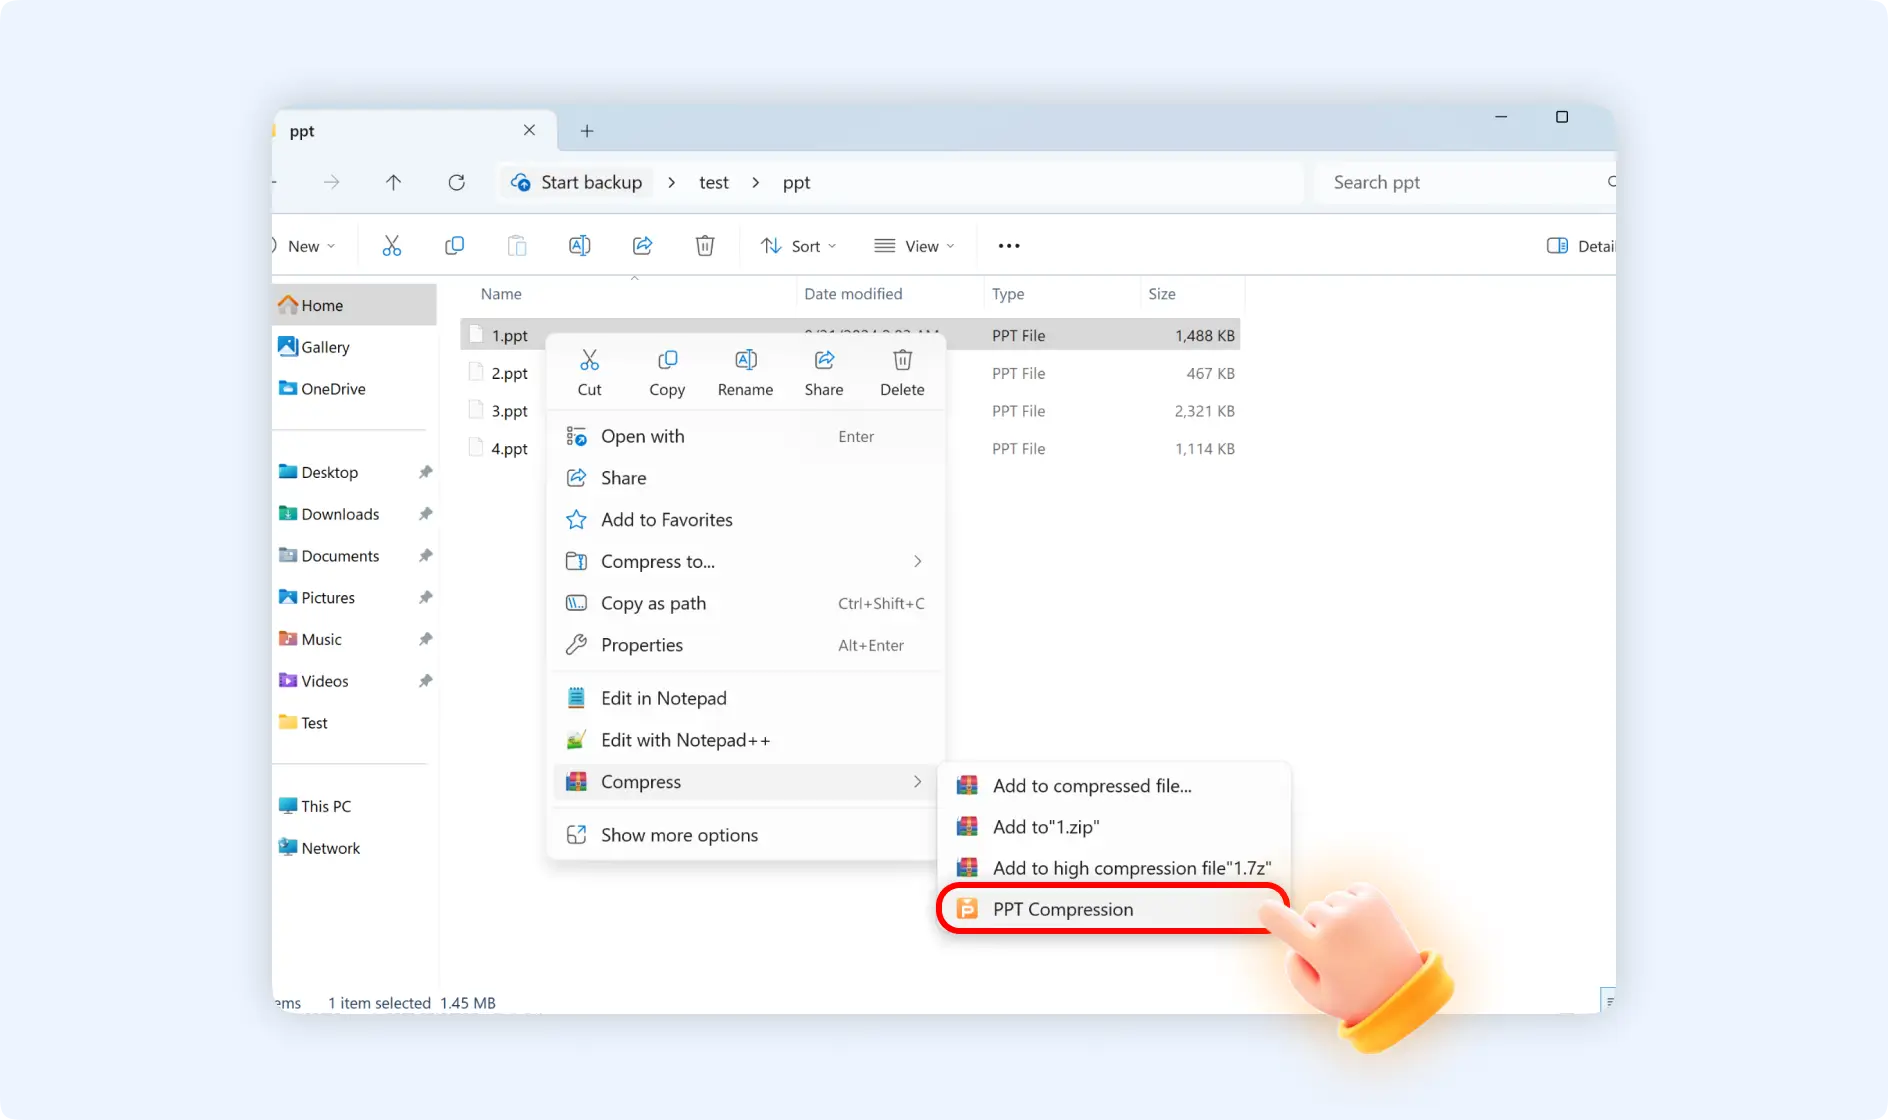
Situation 2: Choose"PPT Compression"
Step 1:Locate the PPT files, right-click to navigate to "PPT Compression"
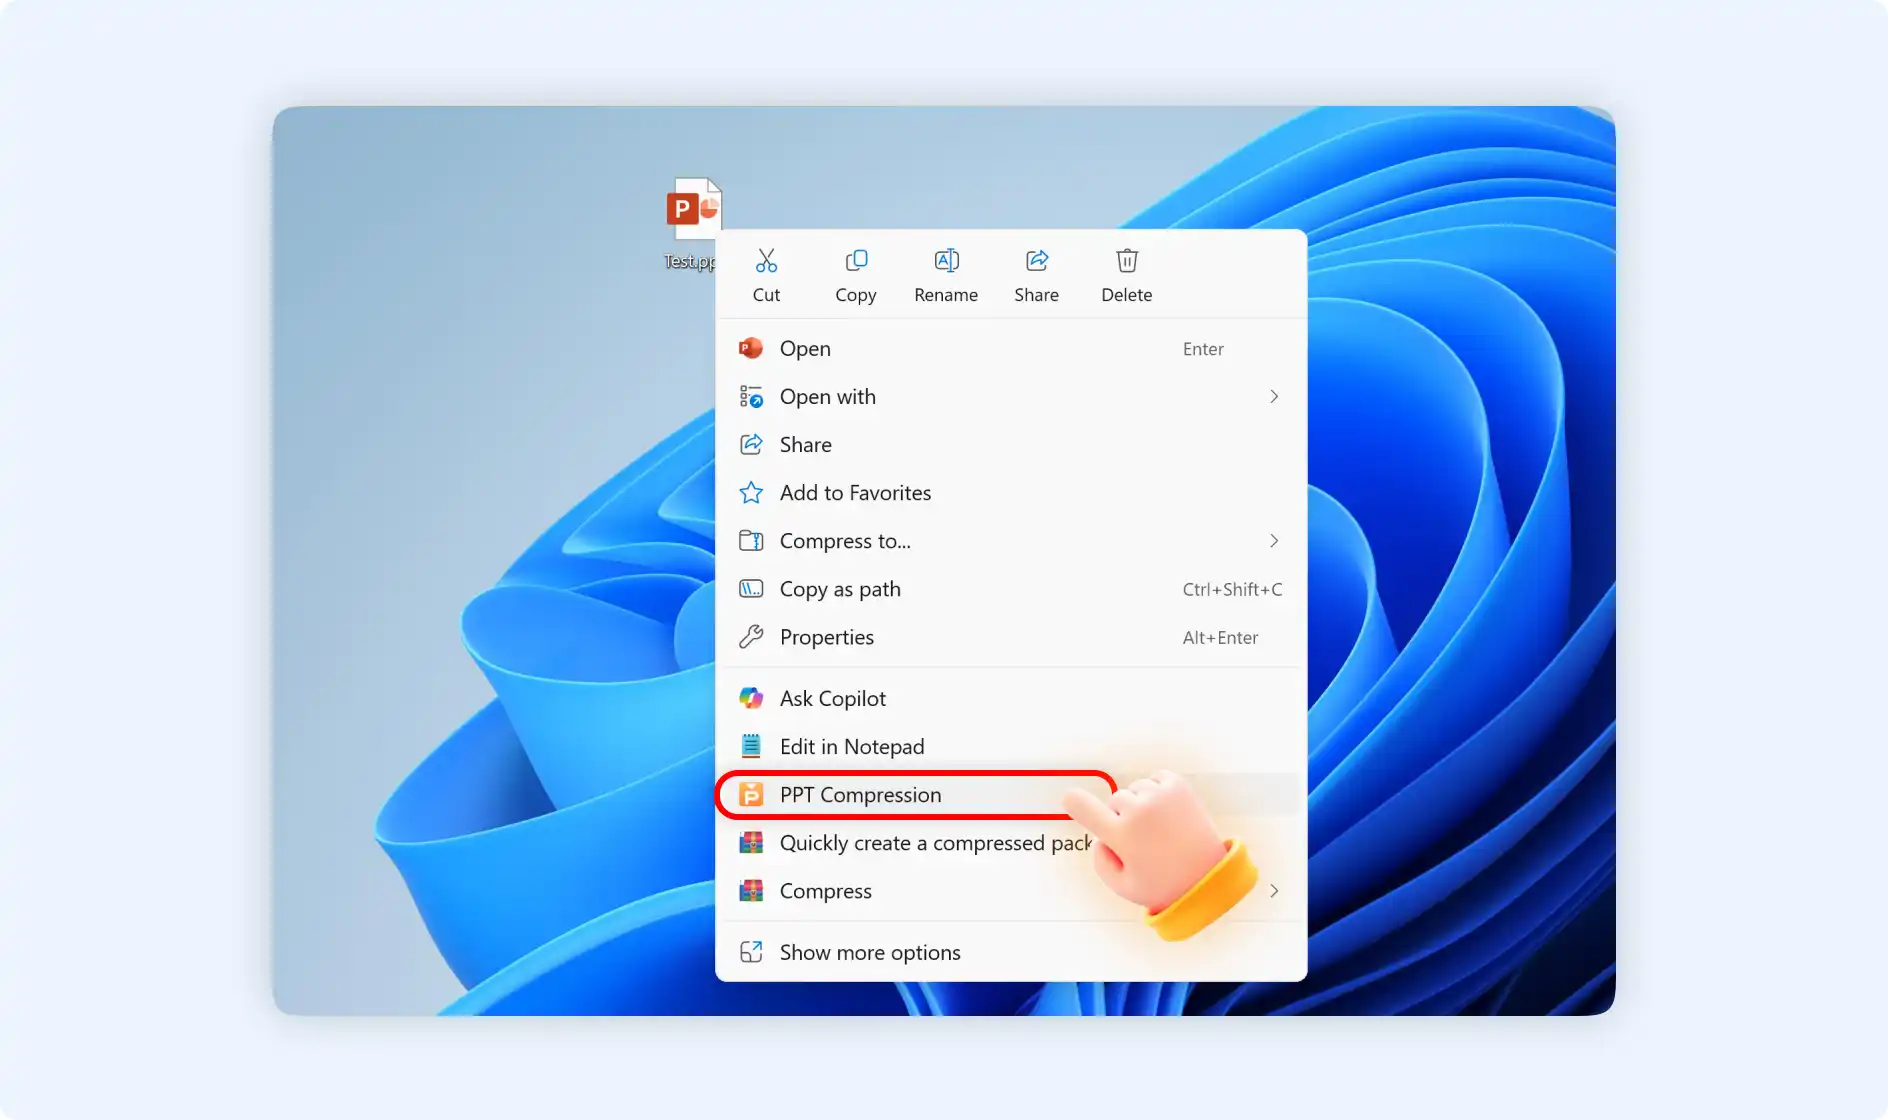
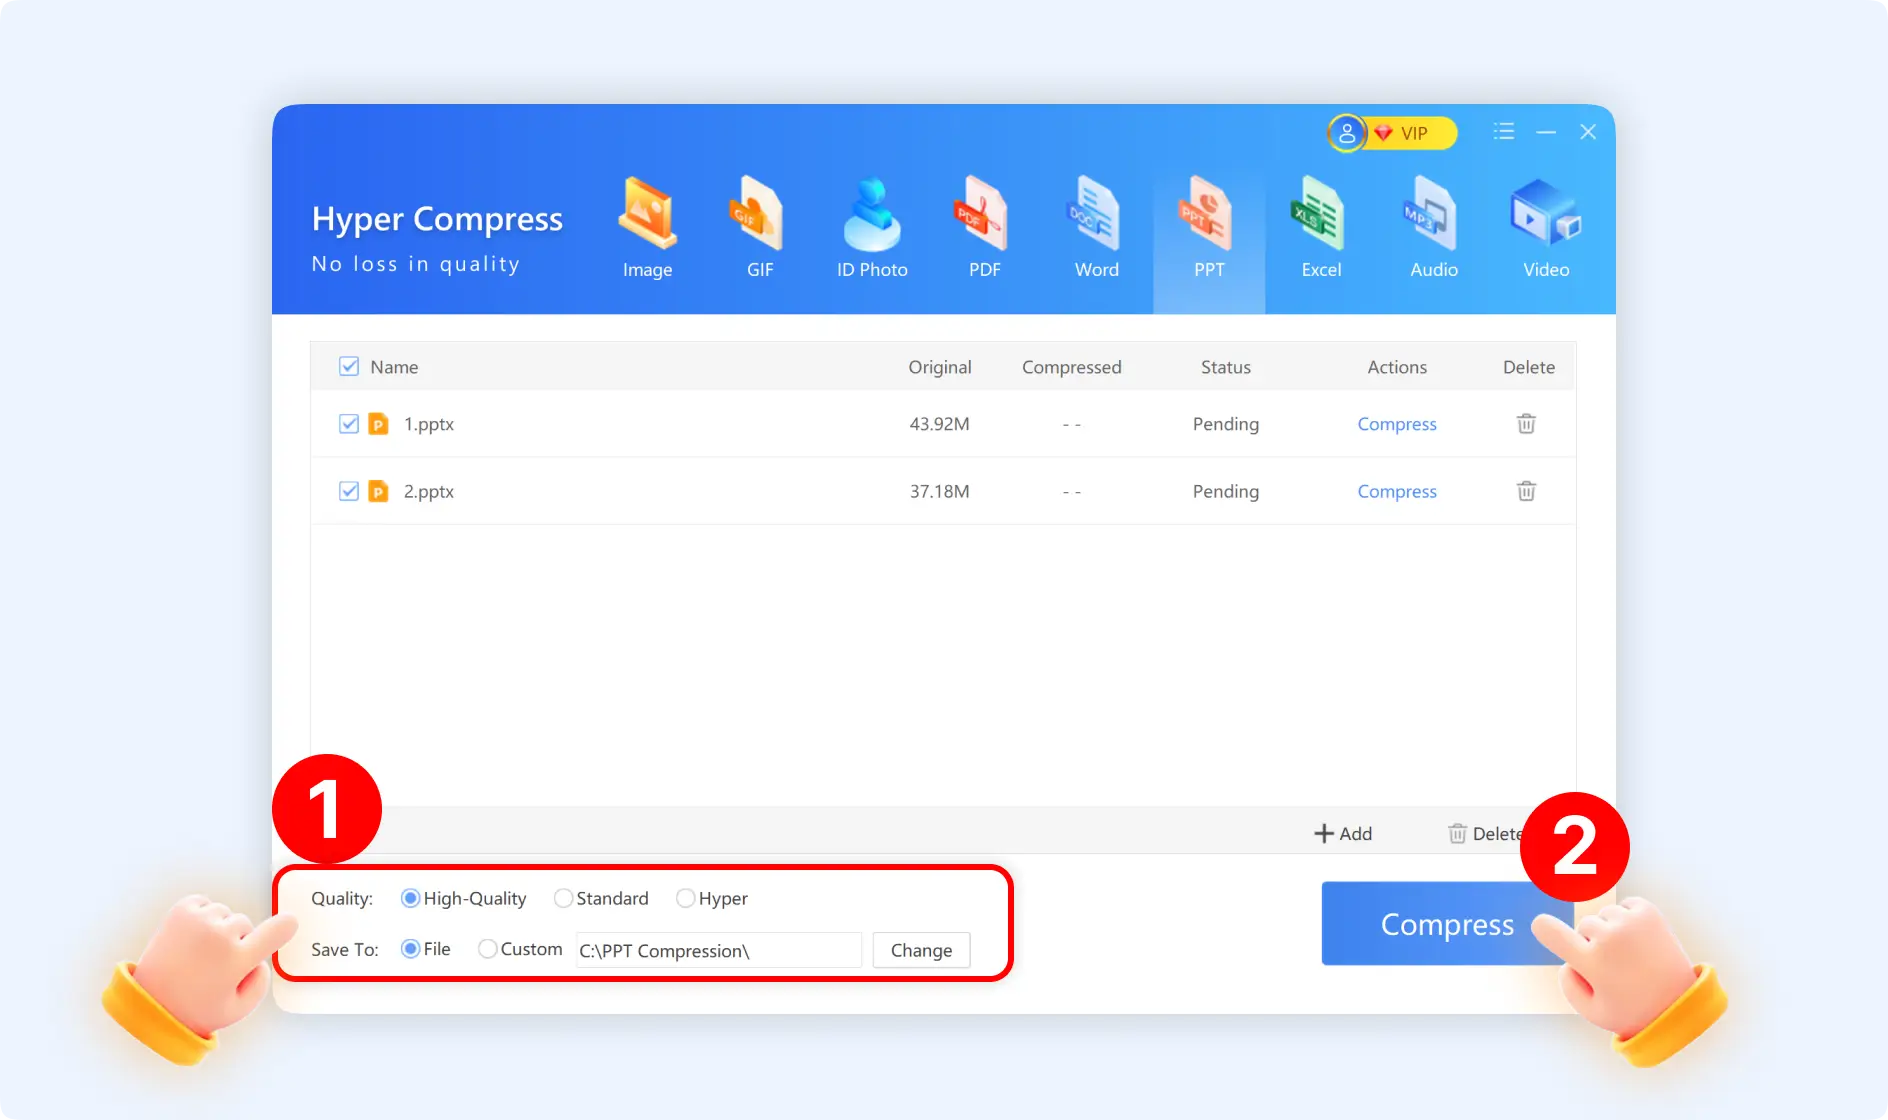
Step 2:Click "PPT Compression", then you will enter into the"Hyper Compress-PPT" interface, here you can choose to "Add" more PPT files or delete PPT files, and choose the compression quality and storage path. Finally, click "Compress" to start compressing PPT files.
Situation 3: Choose"Quickly create a compressed package"
Step 1: Locate the PPT files, right-click to navigate to "Quickly create a compressed package".

Step 2:Click"Quickly create a compressed package", you will enter into smart compression mode, your PPT files will be compressed automatically and create a zip package for this compressed PPT files.