WMaster ZipKing is an easy yet powerful desktop file compressor for Windows7/8/10/11 users. It allows you to zip files, unzip files, encrypt files, and manage files with one click.
How to Download & Install
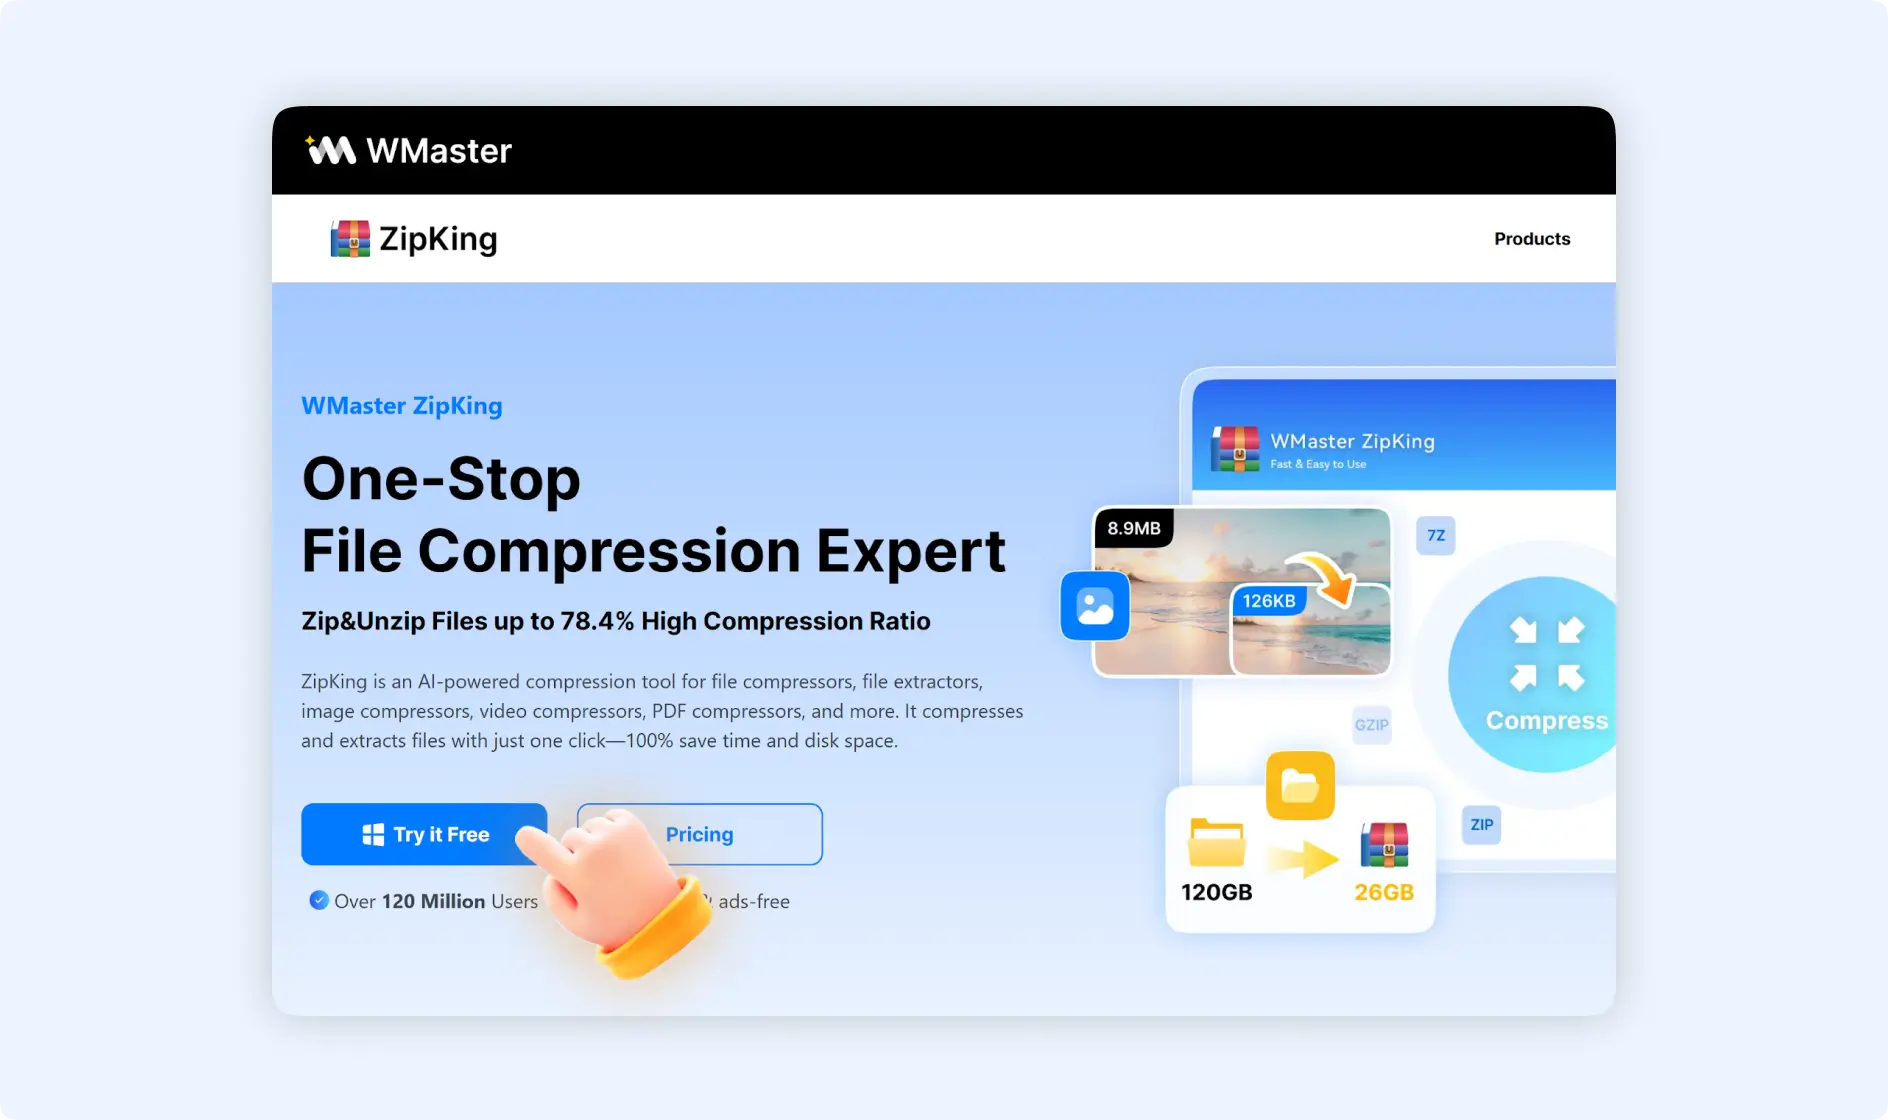
Step 1: Go to the Official WMaster ZipKing Website
Choose your favorite web browser to visit the official site of WMaster ZipKing, and choose the “Try it free” button to download WMaster ZipKing.
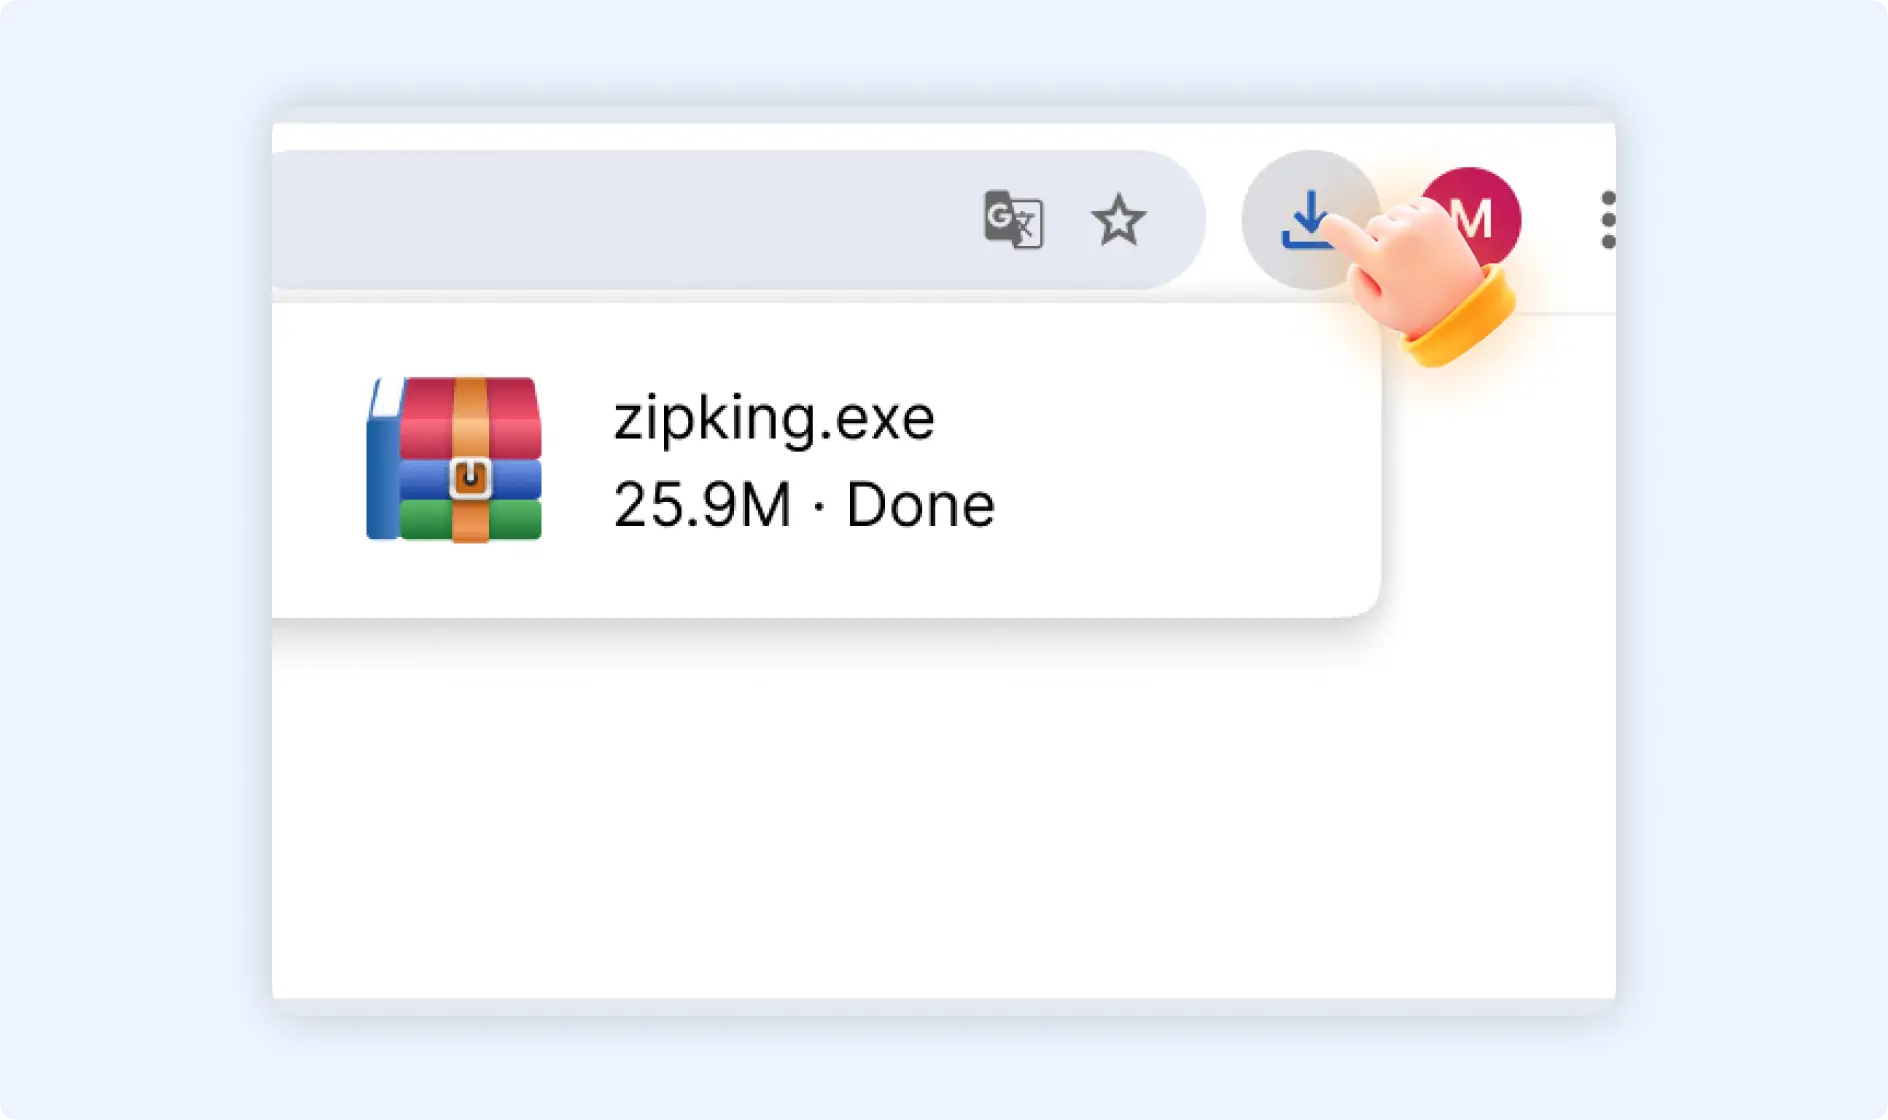
💡Tips: The zipking.exe program will be saved to your default folder. Or you can use the shortcut key“Ctrl+J” to open the download records.
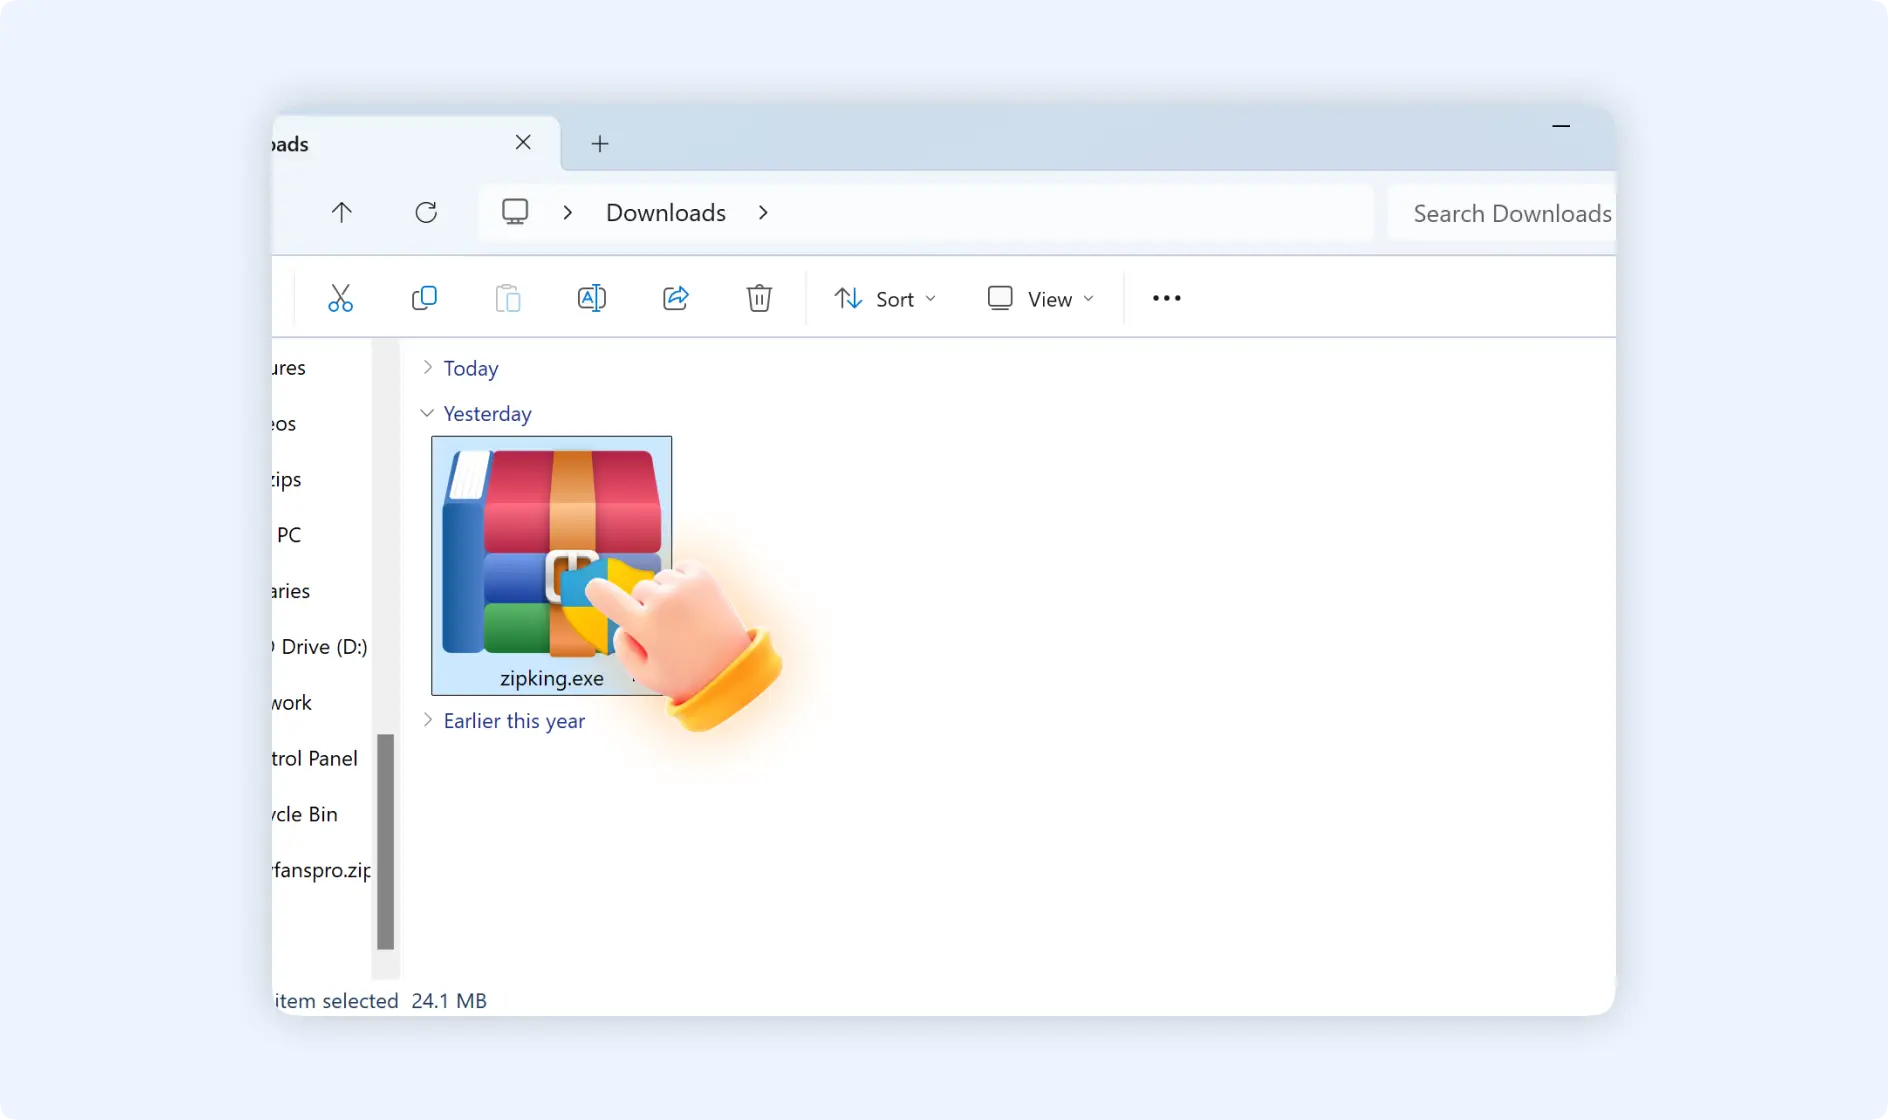
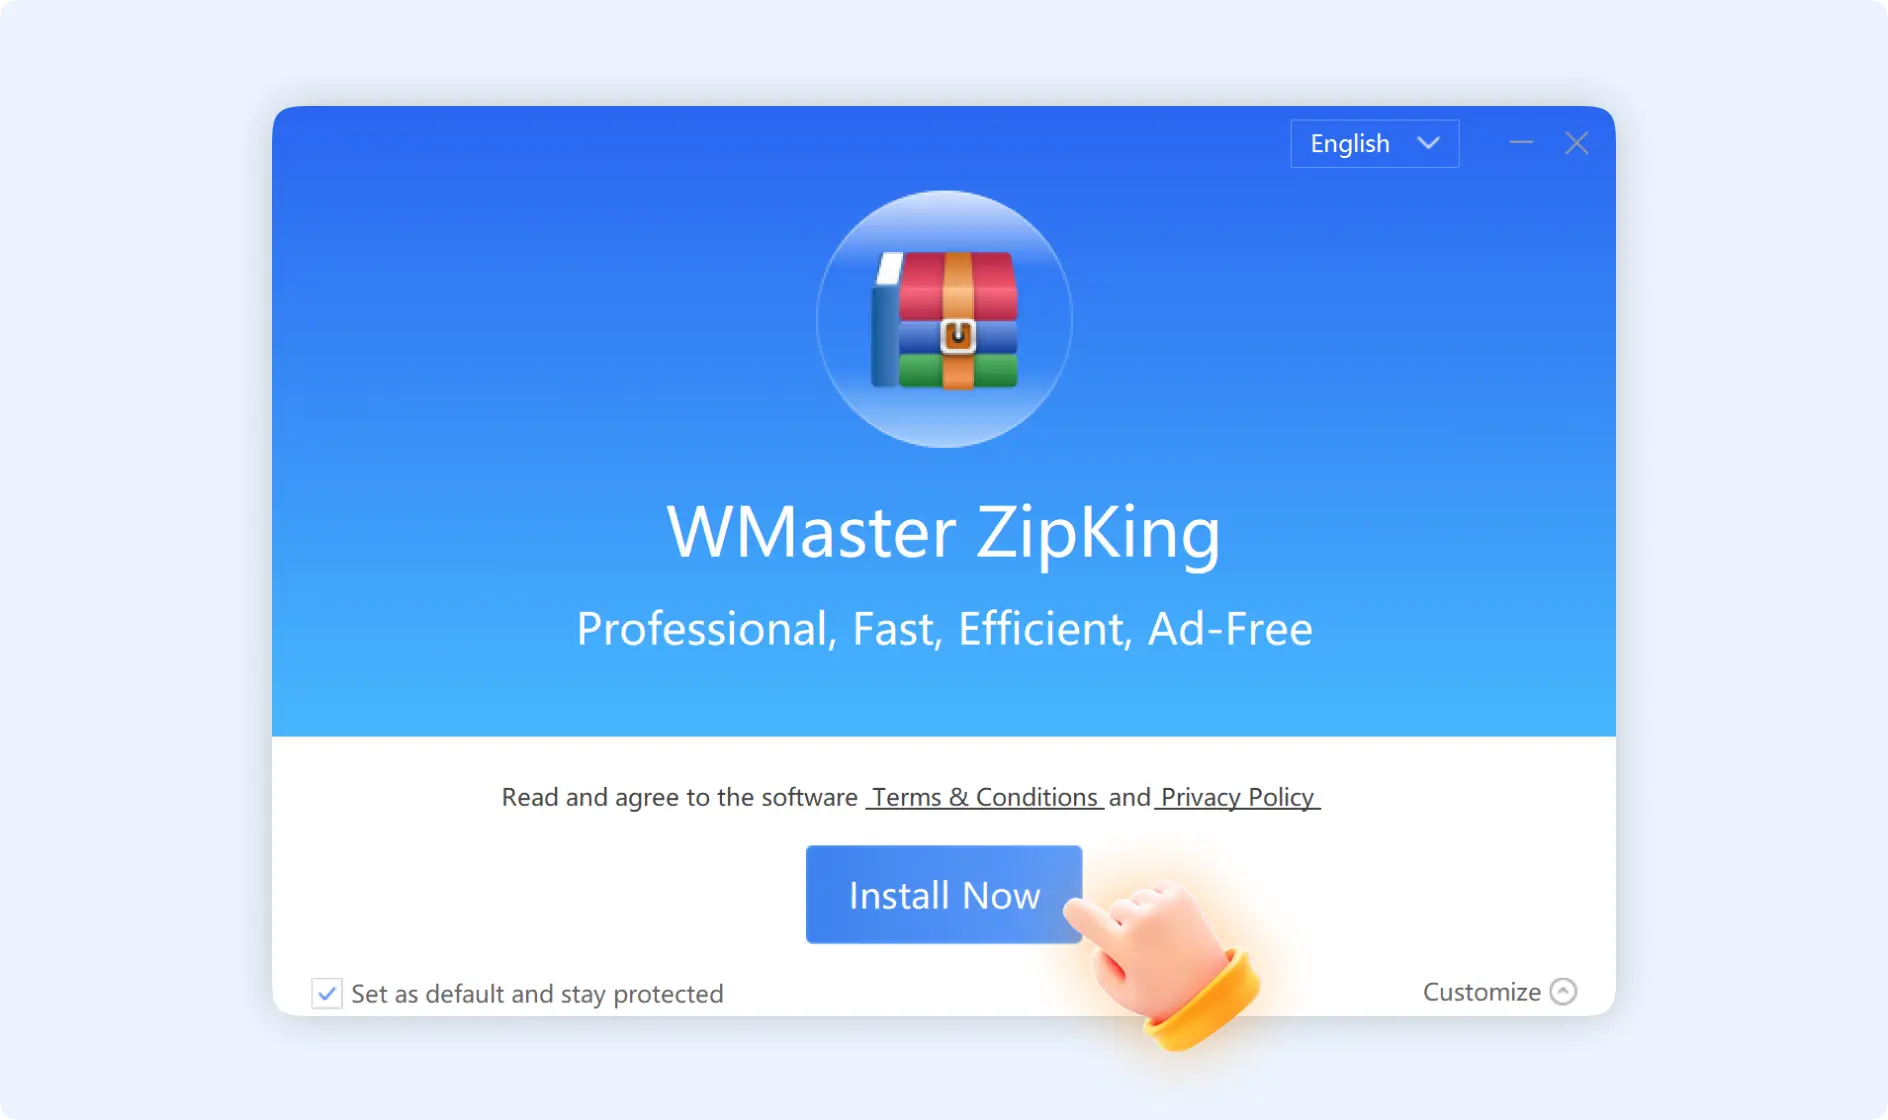
Step 2: Install WMaster ZipKing Windows
Double-click the WMaster ZipKing installer to run it, and you will see the ZipKing installation wizard will be opened. Follow the on-screen instructions to proceed with the installation.
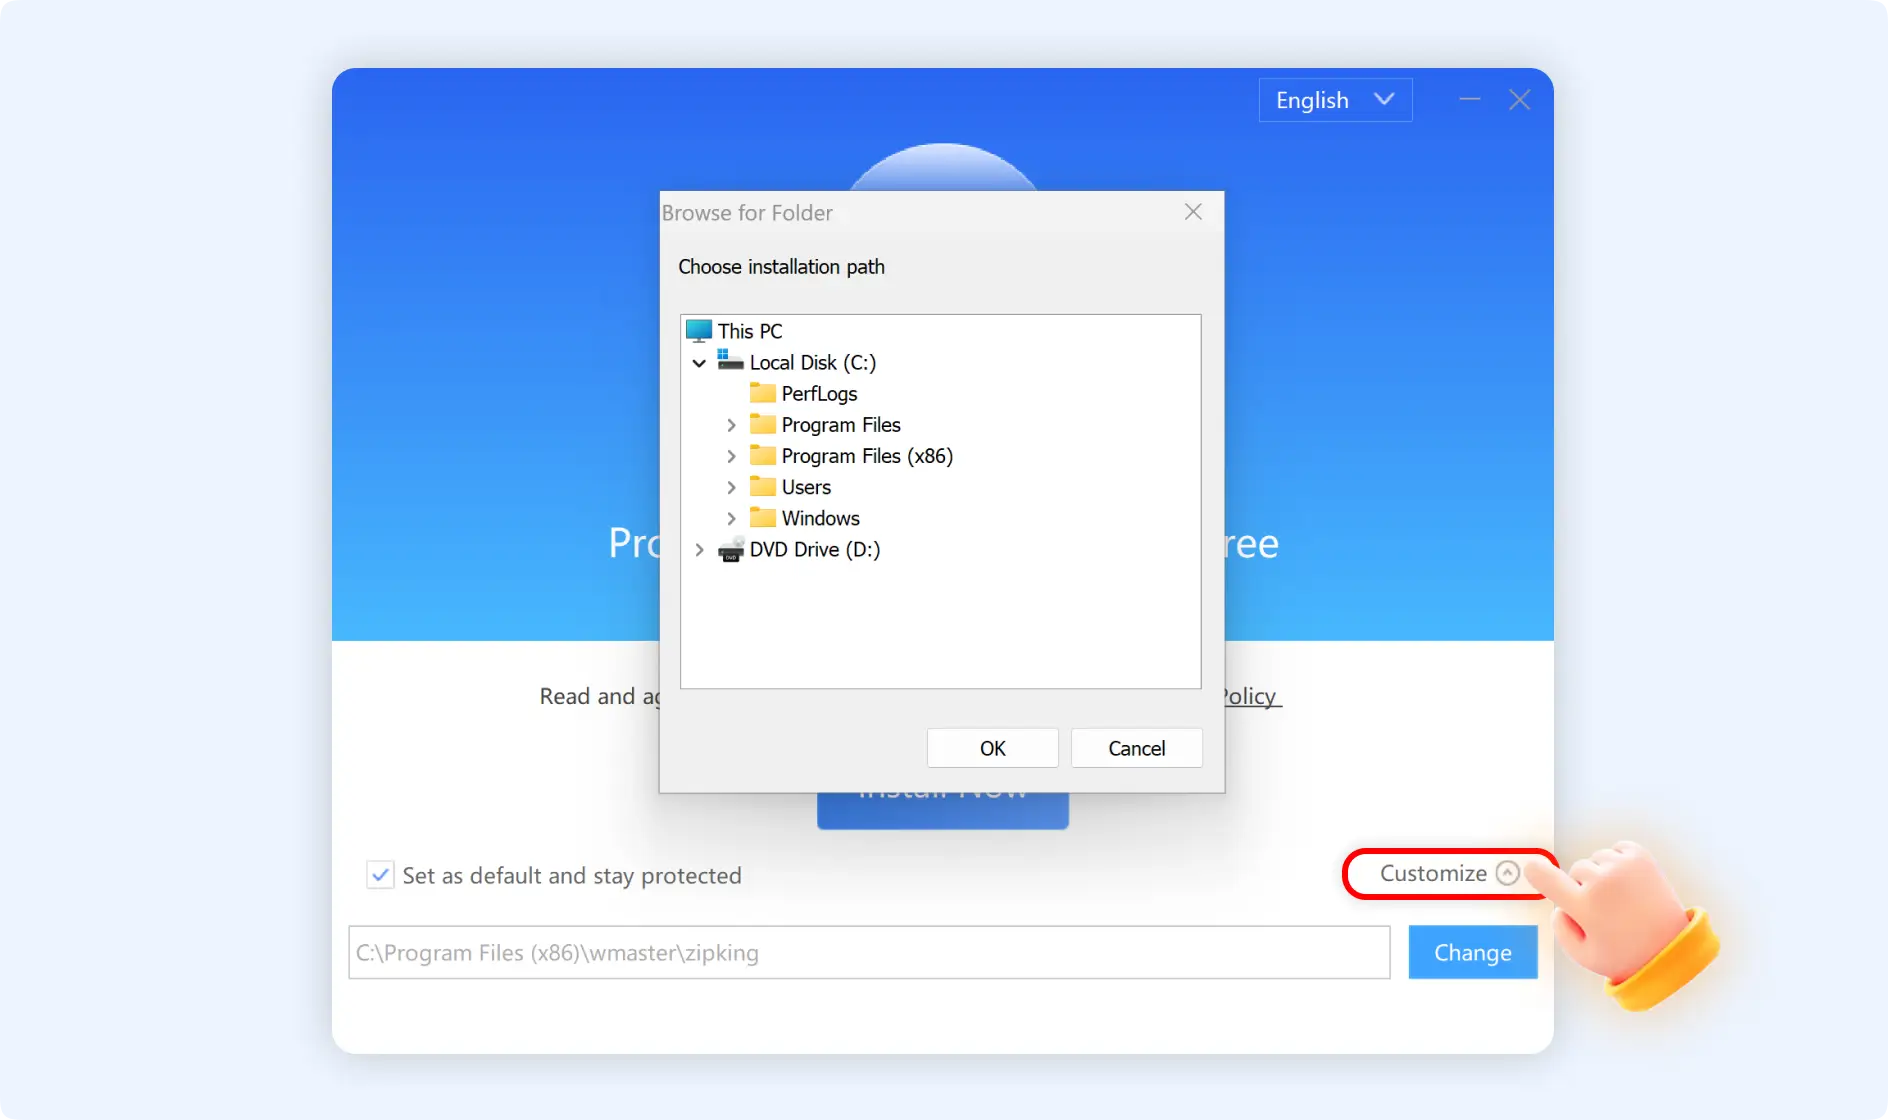
💡Tip 1: You can change your ZipKing installer storage path by clicking “Customize”, browsing your wanted destination folder, then clicking “Ok”.
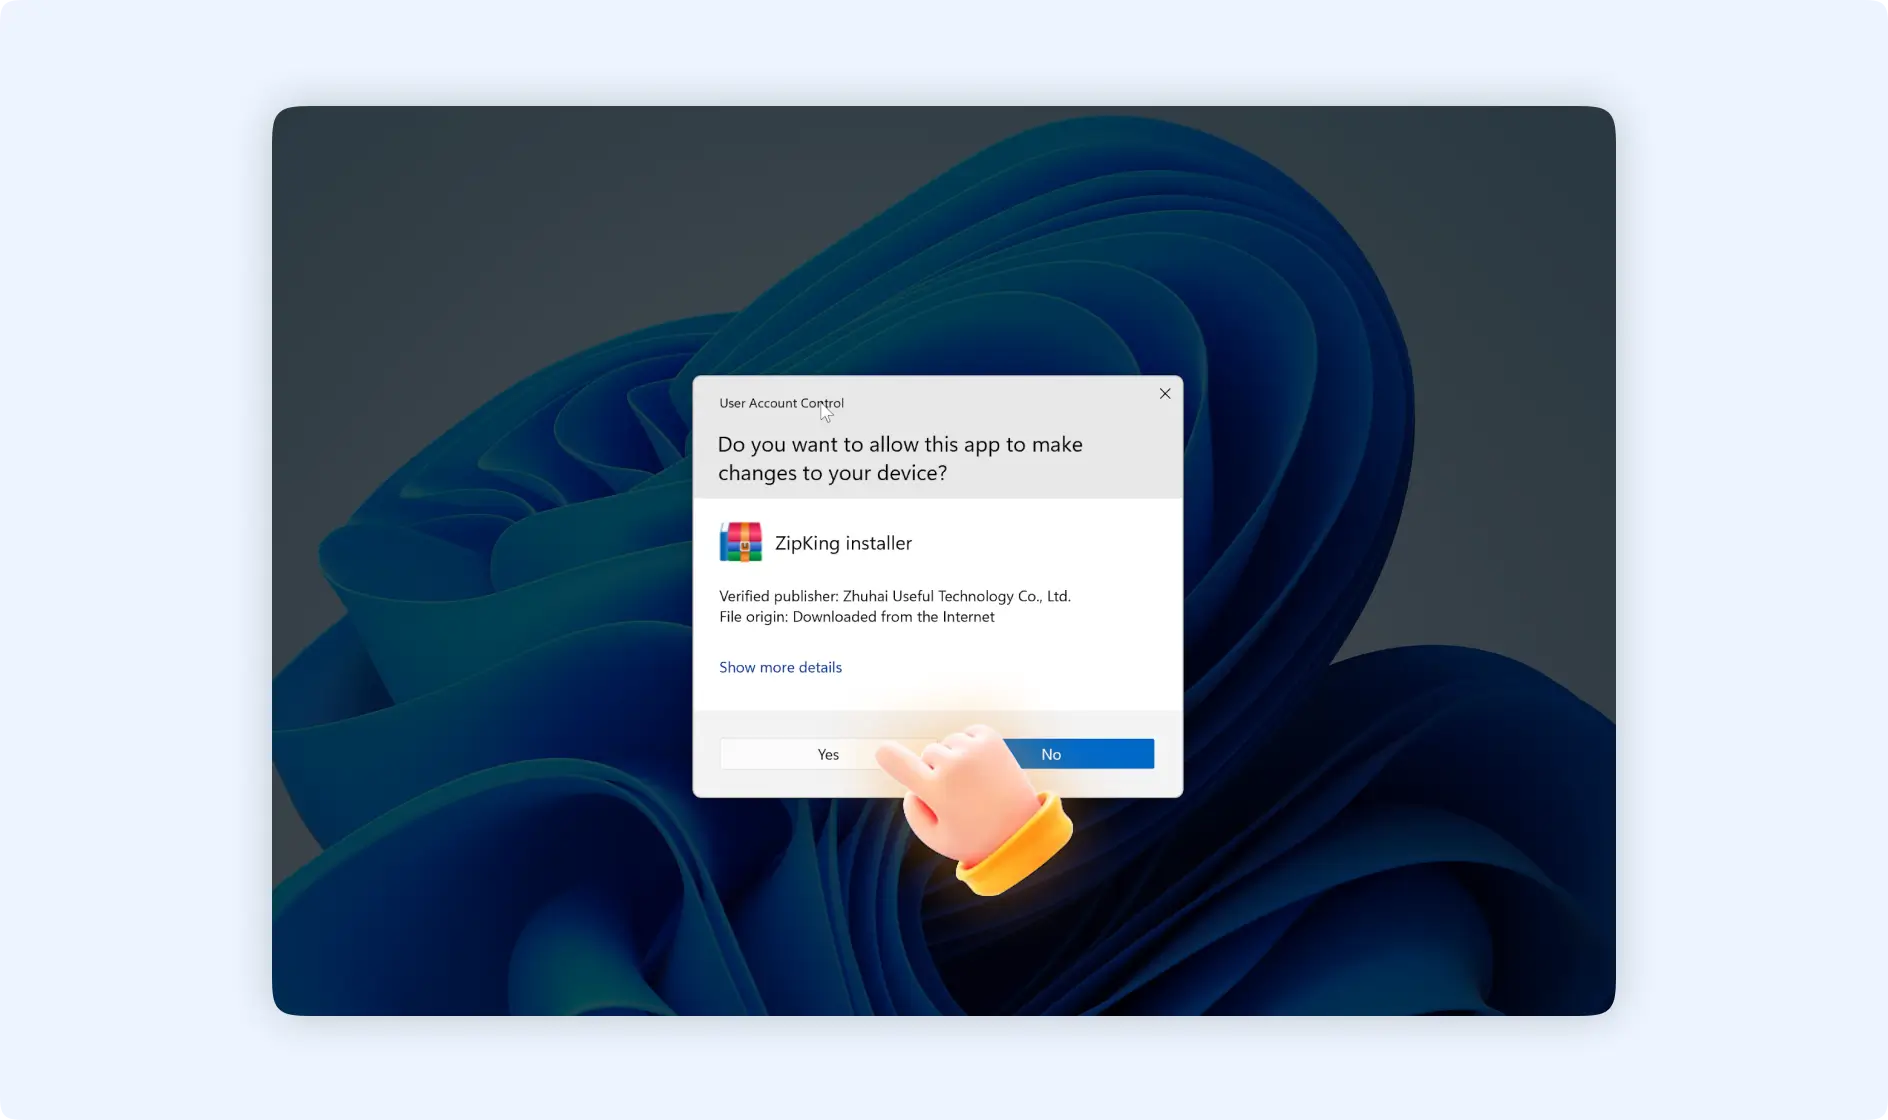
💡Tip 2: There will be a pop-up window asking“Do you want to allow this app to make changes to your device?”, just click “Yes”.
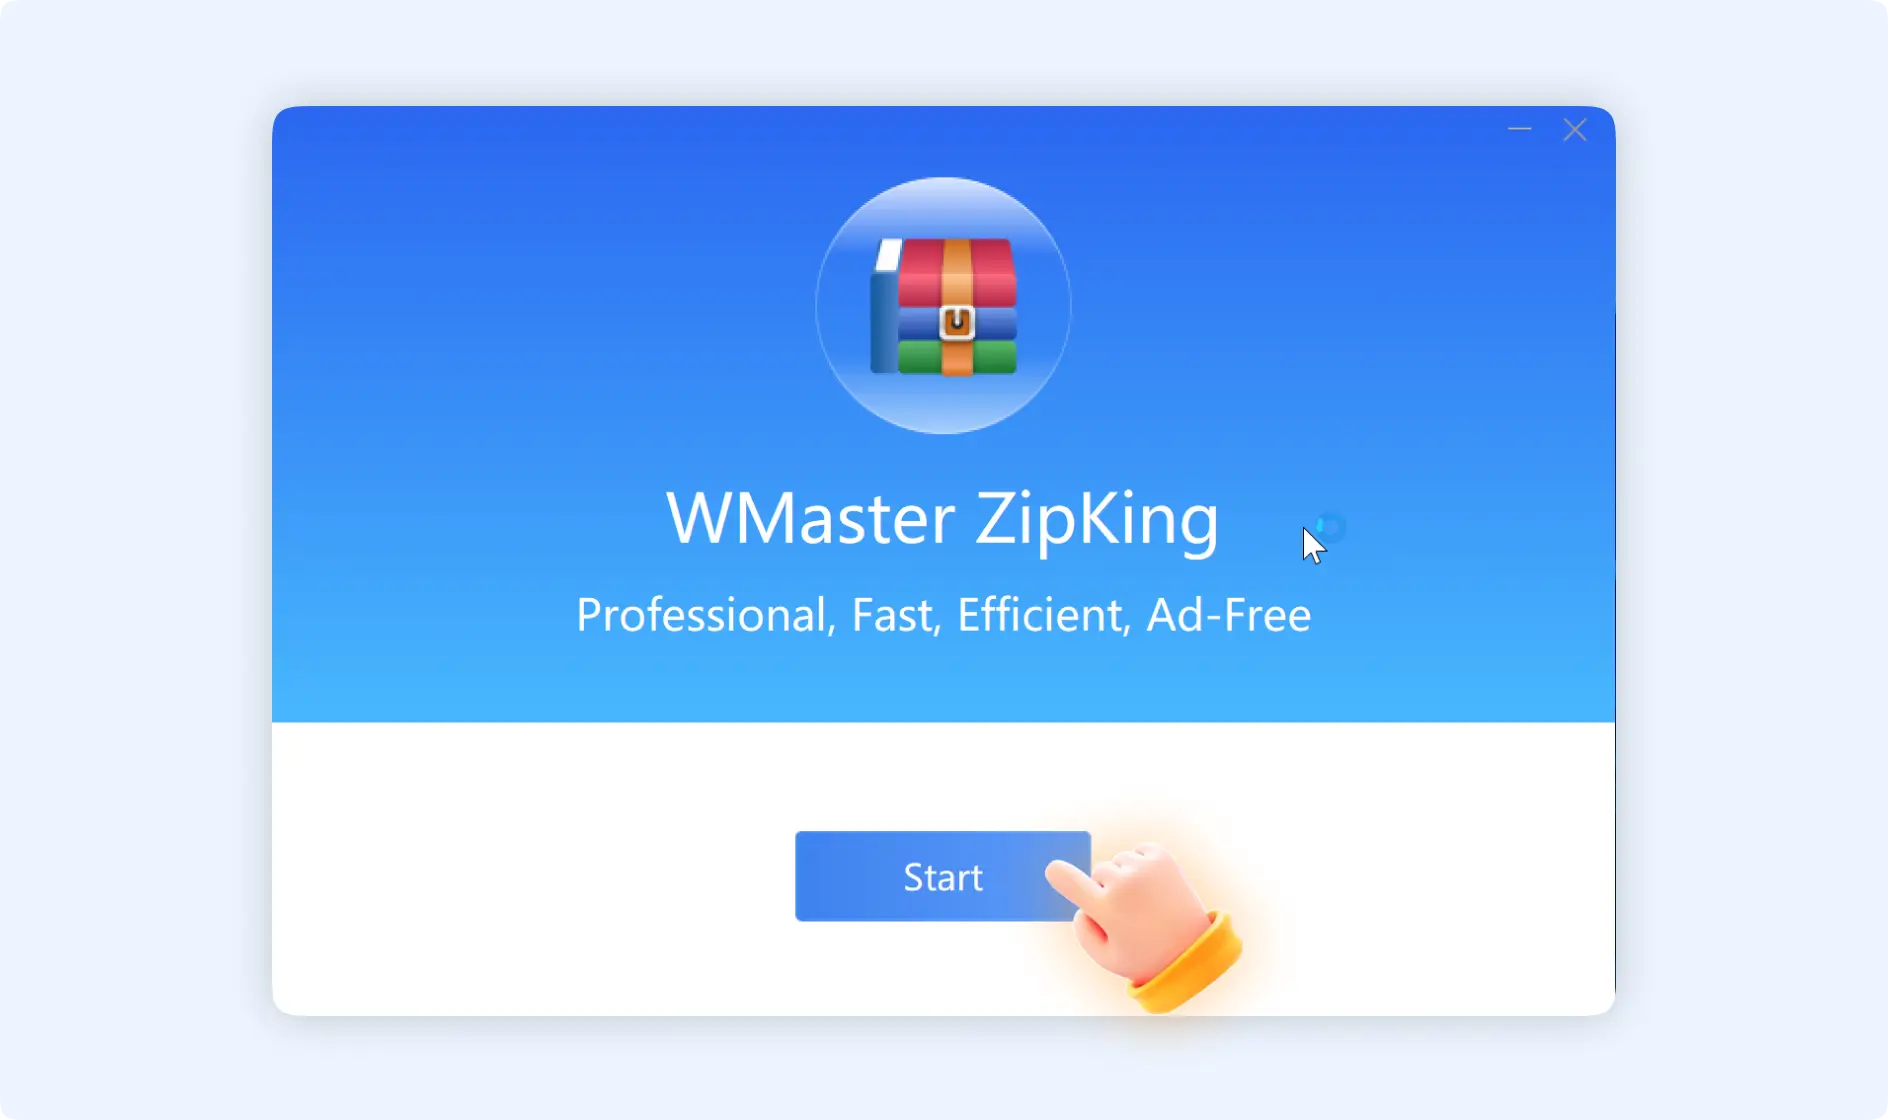
Step 3: Launch WMaster ZipKing Windows
It will take several seconds to finish the installation of WMaster ZipKing. Once it is finished, click“Start” to close the installer. Now you can launch ZipKing from your desktop.