
Are you looking to free up your device space and speed up your online uploads? Learning how to shrink image file size is a must-know skill if you have massive image files that are taking so long to upload and eating up your storage.
If you are stressed about optimizing a large image file, without dropping its quality, for web use or sharing as an email attachment, or just want to clear up excessive space from your gallery, you have come to the right place. Today, we will familiarize you with three reliable and straightforward ways to shrink image file size losslessly across Windows, Mac, and iPhone.
Carry on reading this write-up and try these lightweight yet powerful tools for your desktop and handy app for your iPhone to make your images smaller in size while maintaining image clarity and pixels.
In this article
Part 1: Fastest Way to Shrink Image File Size Losslessly
If you are a desktop user looking for how to shrink image file size without losing quality on your Windows, then WMaster Zipking is what you need. This all-in-one tool offers you lossless image compression along with quality preservation and speedy processing. Zipking's sleek design streamlines your process of shrinking images by combining advanced compression algorithms with a beginner-friendly interface so that even non-techies can navigate and shrink images quickly without much effort or skill.
Tutorial to Resize Photos for Instagram with WMaster ZipKing
5 Key Features of Using WMaster ZipKing to Shrink Image File Size
WMaster ZipKing
Shrink Image Size With One Click Losslessly
- Lossless Compression Technology: Assures that your images will keep their original quality.
- Batch Handling:Resize or shrink multiple images at once-no time and energy waste.
- Beginner-Friendly UI Design:Even first-time users can shrink files within a few seconds.
- Customization options: Input custom dimensions and sizes to shrink image file size.
- Wide Format Compatibility:Shrink any image file format, including JPEG, PNG, BMP, WEBP, and more.
How to Shrink Image File Size on Windows by WMaster ZipKing
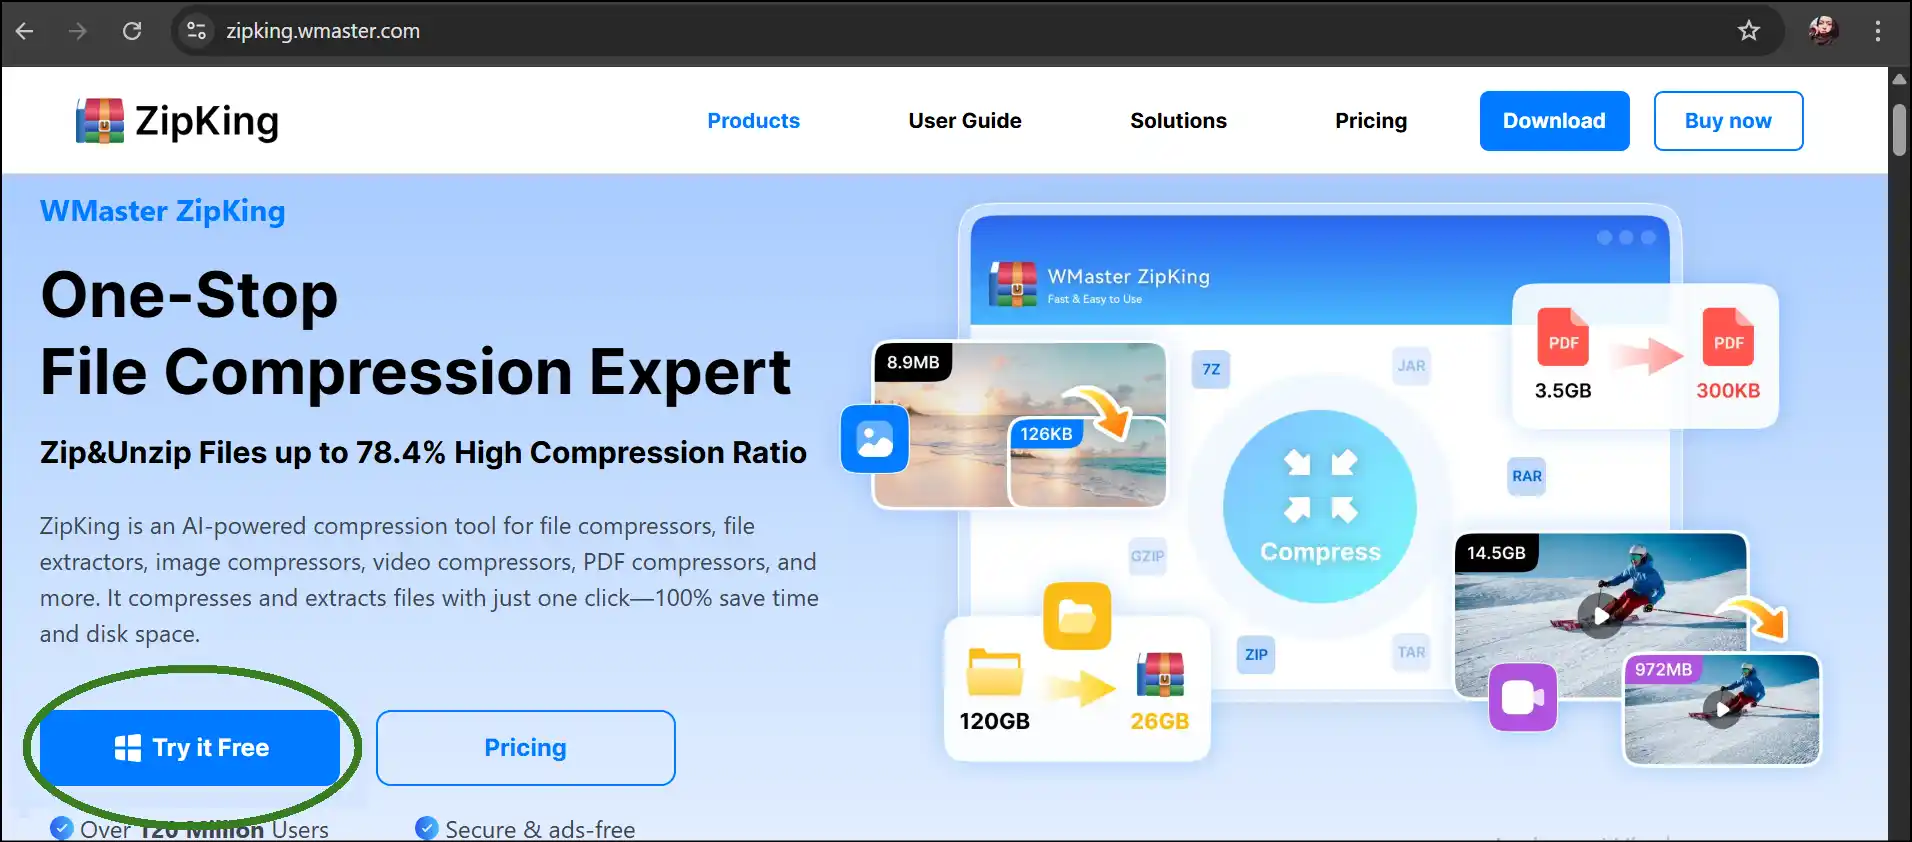
Step 1. Download and install the setup:From the official website of WMaster Zipking, download the tool by clicking "Try it Free" and install the setup by following the below image's instructions.

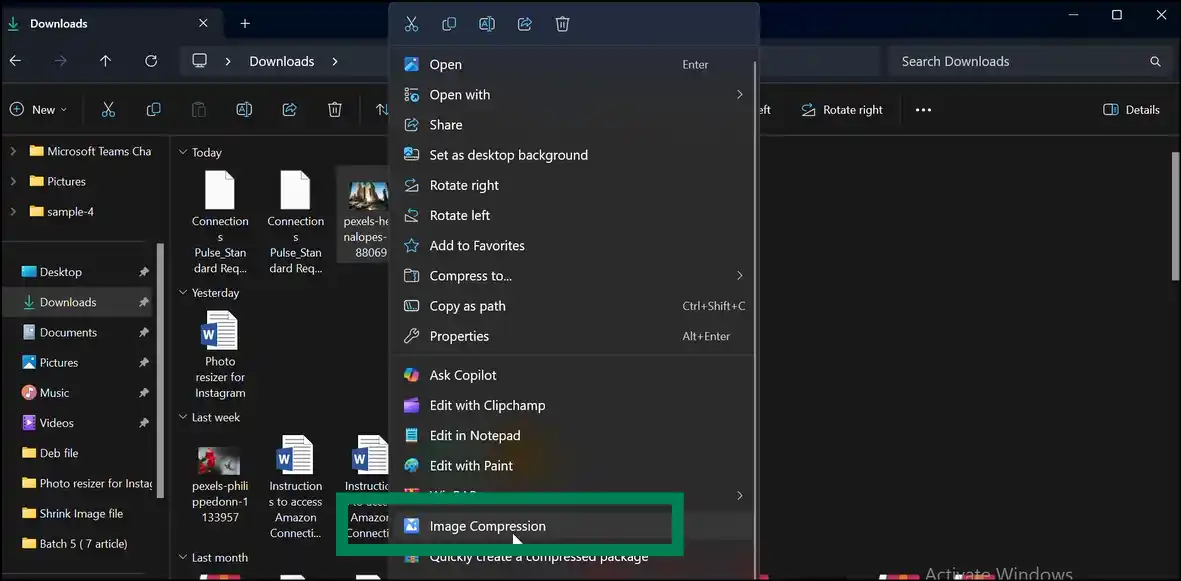
Step 2. Use right-click to shrink file size: Once you finish the installation process, navigate and right-click the image you want to compress, and then select "Image Compression". This step will open up the Zipking's workspace.
💡Tips:Select multiple images to shrink all the image files at once without losing their quality and clarity.
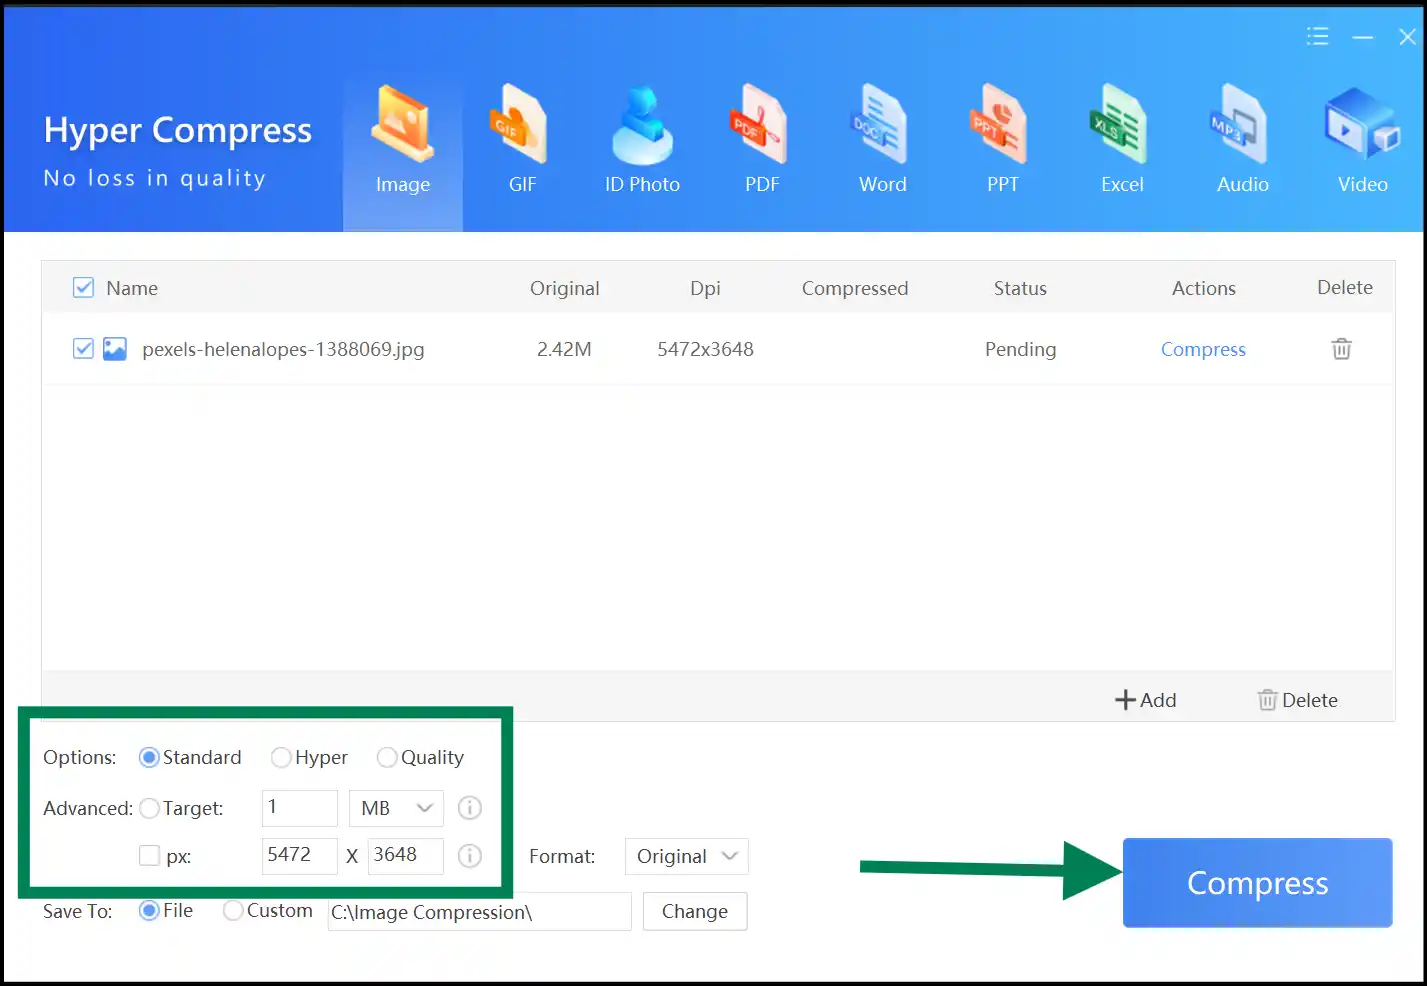
Step 3. Select compression size: Now select compression quality, input custom image size and dimensions, and then press "Compress" to shrink your image file size with our one-click desktop tool.
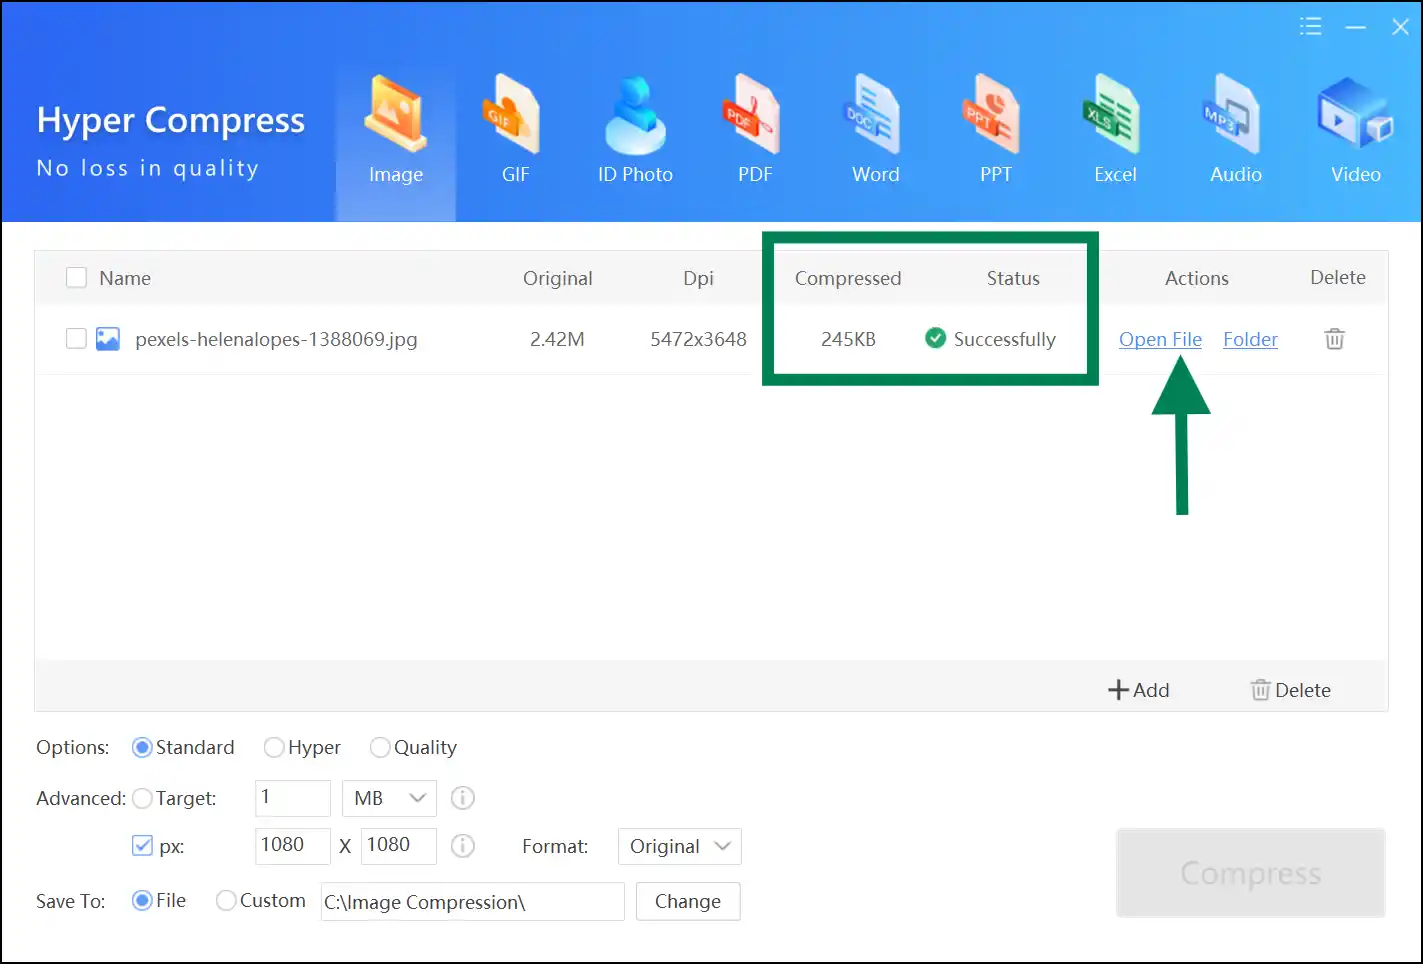
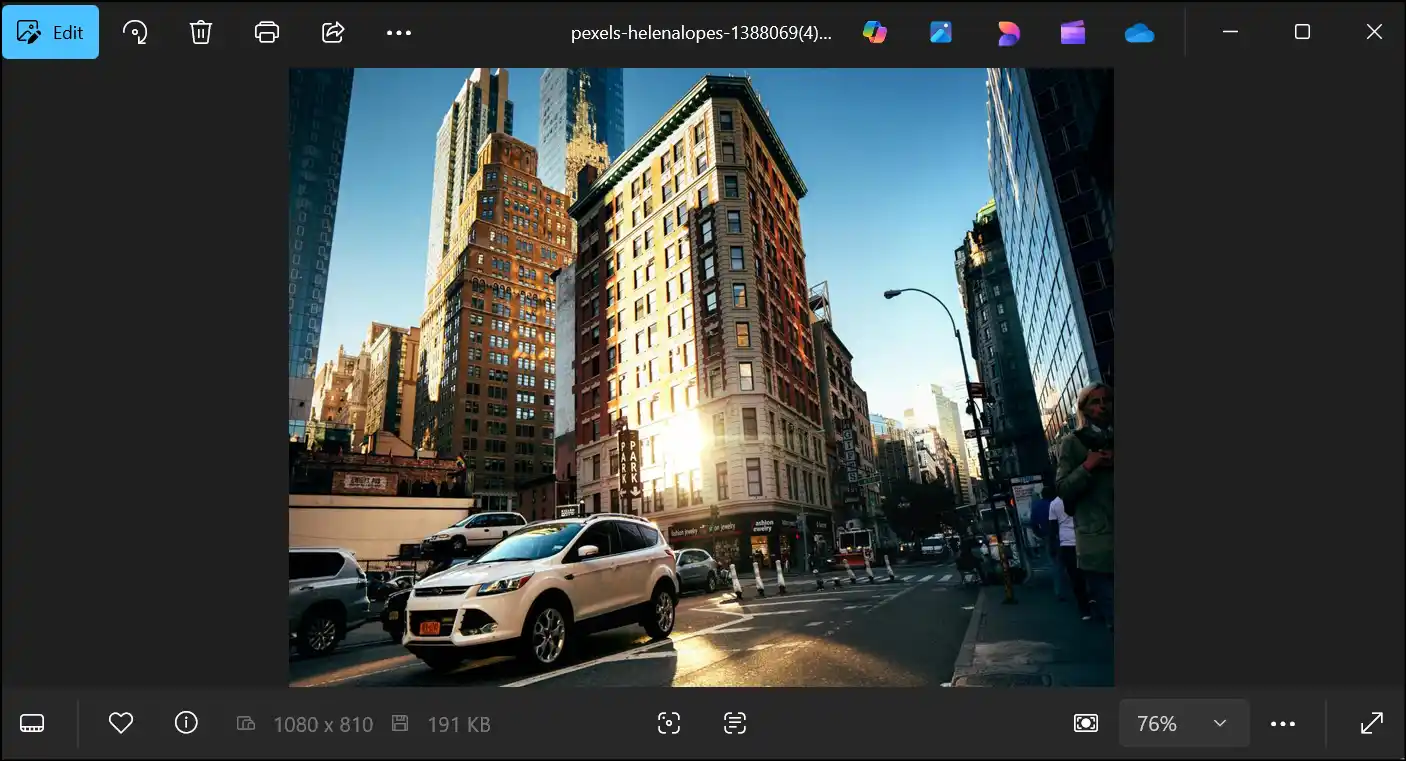
Step 4. Access and preview compressed image: After the compression process is completed, preview the compressed image file without losing quality by clicking "Open File". You can also access the compressed image file by clicking "Open Folder" to use and share it as usual.
Part 2: How to Shrink Image File Size on Mac
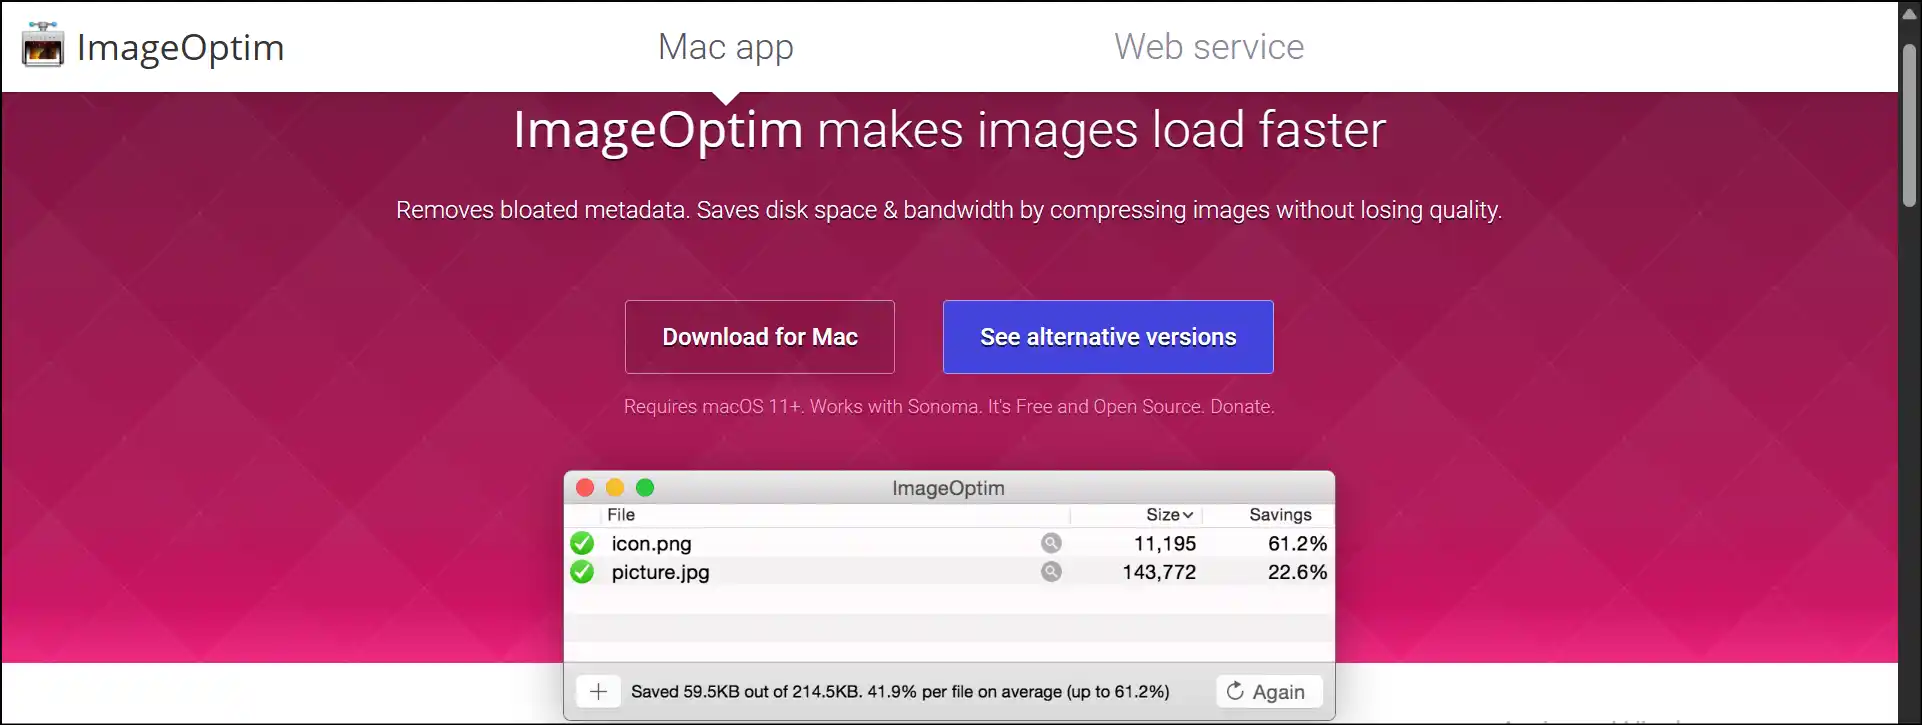
If you are a Mac user, you may seek how to shrink an image file size seamlessly on my device. Luckily, we have found a free and handy app for you called ImageOptim that can shrink your image files with just a few clicks without even losing their quality. The tool interface is sleek, highly efficient, and pretty straightforward.
Steps on How to Shrink Image File Size on Mac
Step 1. Download the image optimizer: Head over to Apple's Mac App Store or the official website to download ImageOptim to shrink image file size on your Mac device.
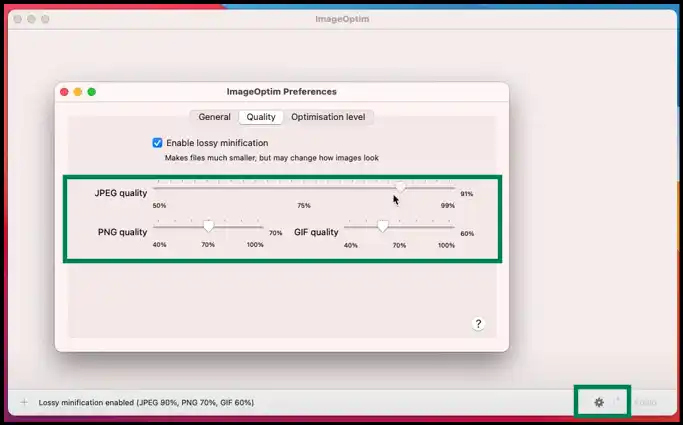
Step 2. Launch the app and set compression quality: Launch the app on your device and tap on the settings icon to adjust the compression level and quality for your compressed image.
💡Tips:You can also select the optimization level to compress image files. It is better to choose "Normal", as it may affect the quality of the image after the compression process.
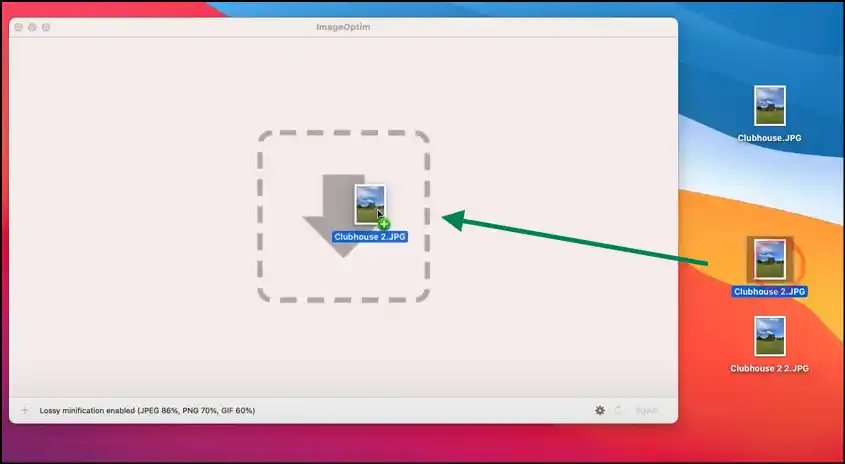
Step 3. Drag and drop the image file: Now drag and drop the image file to the workspace, which you want to shrink. The app will automatically start optimizing your large images using lossless compression.
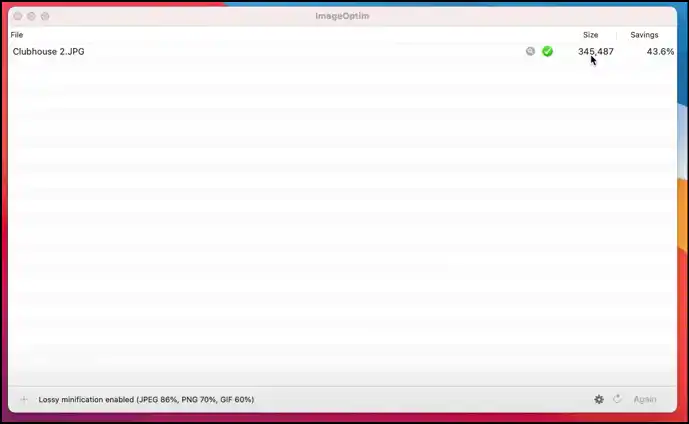
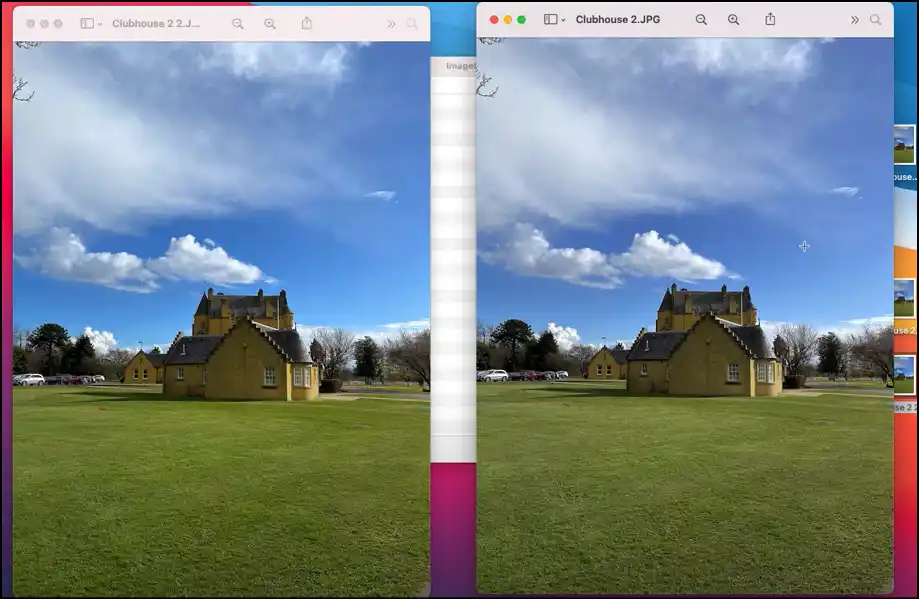
Step 4: Access and compare: Once completed, your images with smaller sizes will be saved directly in the same folder-access, preview, compare, and share as usual.
Part 3: How to Shrink Image File Size on Iphone
If you are an iPhone user looking for a handy app to shrink image file sizefor your device, look no further, as you can do it using the built-in “Photos” app—all at no cost. This is a most popular choice to quickly reduce image files without losing quality and integrity without having to download any additional app.
Steps for How to Shrink Image File Size on Iphone
Step 1. Open images using the Photos app: Navigate to the "Photos" app and double-tap to view all your images. Select an image that you want to shrink on your iPhone.

Step 2: Share and Save: Once the selected image is in the workspace, tap on the share icon and then scroll down to select "Save to files" to shrink the image file size on iPhone.
Tap on share icon to shrink image file size on iPhone

Step 3. Save the image file: Now input the image file name as desired, navigate to the top right corner, and tap "Save".

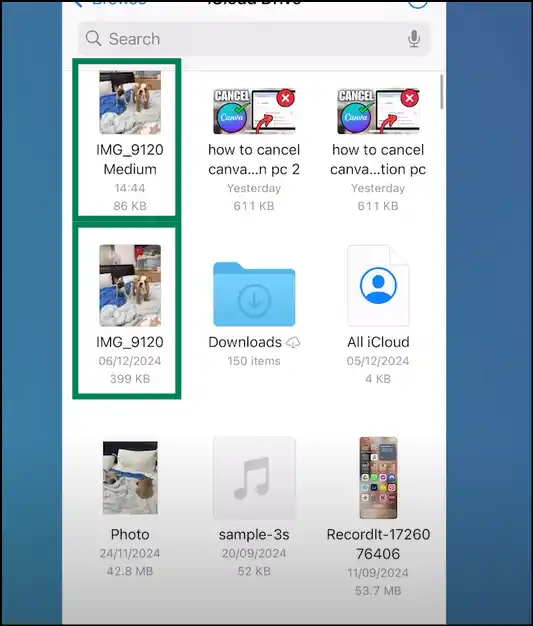
Step 4. Access the compressed image file: Now head over to the "Files" app and locate your newly saved image file, which is significantly smaller in size without even dropping the image quality.
💡Tips:Compare and verify the image file size and image quality by opening both the images and then delete the larger one if it is not needed any more to save storage.
If you want to know how to shrink image file size on Android, check out our hands-on article on how to decrease image file size by 6 proven methods.
Summary
To sum up, having skills like change photo aspect ratiosor knowing how to shrink image file size can be a game-changer if you want faster uploads, save device storage, or improve your website's performance. It does not matter whether you use desktop or mobile; there are plenty of solutions that can let you effectively reduce image file size smarter, not harder.
For Windows operators, we highly recommend using our all-in-one tool, WMaster Zipking . This desktop tool is versatile, easy to navigate, and can handle lossless image compression excellently. What's more? Our one-click tool is currently free to use with all its features accessible. So, download it right now and keep your image sharp, your image quality high, and your workflow smooth.
Part 4: FAQs About How to Shrink an Image File Size
1. What affects the file size of an image?
The image's resolution, the format of the image file, the color depth, and the compression method you use can considerably influence the file size.
2. Which option is used to reduce the size of an image?
Options like WMaster Zipking for Windows and ImageOptim for Mac can reduce image file size without dropping its quality and clarity. Other than that, mobile apps and free online tools can also help you shrink image size in no time.
3. Can I shrink images without losing quality?
Yes, you can definitely shrink your image files without losing their quality. Try using use lossless compression techniques or tools, like WMaster Zipking or ImageOptim that can preserve visual clarity even after compressing image file
4. How can I pick the best tool to shrink my image file?
Consider these key points when you are looking for an image file size reducer.
- The image reducer interface should be lightweight and user-friendly.
- The tool should let you have control over quality and size.
- Whether it offers batch processing to shrink multiple files at once.
- Know the image file size limit you can upload to process.
- Does it support your desired image format, like JPG, PNG, WebP, BMP, or more?
5. Is it safe to compress images multiple times?
If you are using lossless compression techniques, then it will not harm your image's quality. On the other hand, multiple lossy compressions can degrade an image's quality and its integrity.
